Appearance
Airtable
Airtable is a powerful, user-friendly cloud-based platform that combines the simplicity of a spreadsheet with the functionality of a database. Ideal for managing projects, tracking inventory, planning events, and more, Airtable offers customizable templates and seamless integration with popular apps. Its intuitive drag-and-drop interface, robust collaboration features, and flexible data organization capabilities make it the perfect tool for individuals and teams seeking to streamline their workflows and enhance productivity.
Key Features of Airtable:
- Customizable Templates: Pre-built templates for diverse use cases like project management and event planning.
- Collaborative Workspace: Real-time collaboration with comments, attachments, and activity tracking.
- Flexible Data Views: Multiple views including grid, calendar, Kanban, and gallery for versatile data visualization.
- Integration with Apps: Connects seamlessly with Slack, Google Drive, Zapier, and more.
- Automation: Simplifies repetitive tasks with workflows and triggers.
- User-Friendly Interface: Intuitive drag-and-drop design for easy data management.
Further information
Read more detailed information on Airtable here.
Action:
- Create record: Creates a new record with fields that automatically populate.
- Find record: Finds a record using simple field search or use Airtable's formula syntax to find a matching record.
Connect with Airtable:
INFO
Pop-up windows must be allowed for this browser session to enable the connection of this third-party app with Workflow Automation.
Log in to your Airtable account.
Click this link and click the Register an OAuth integration button.

Fill in the Name field.

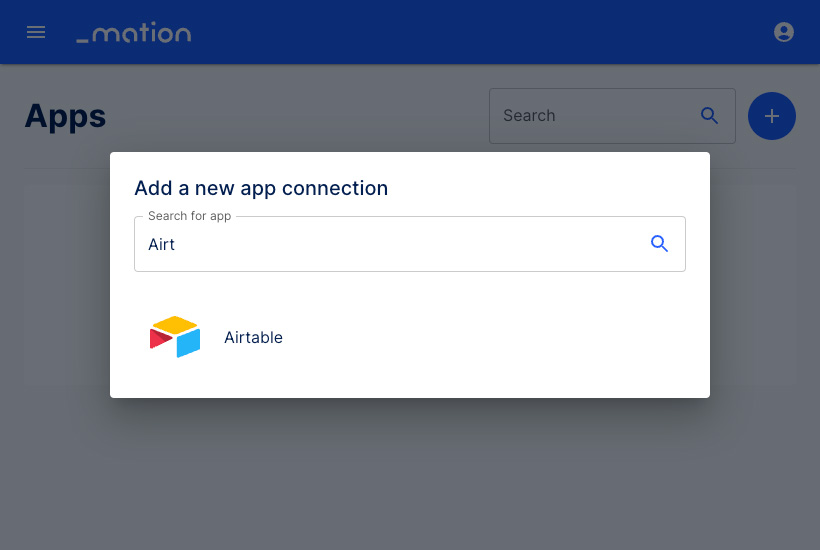
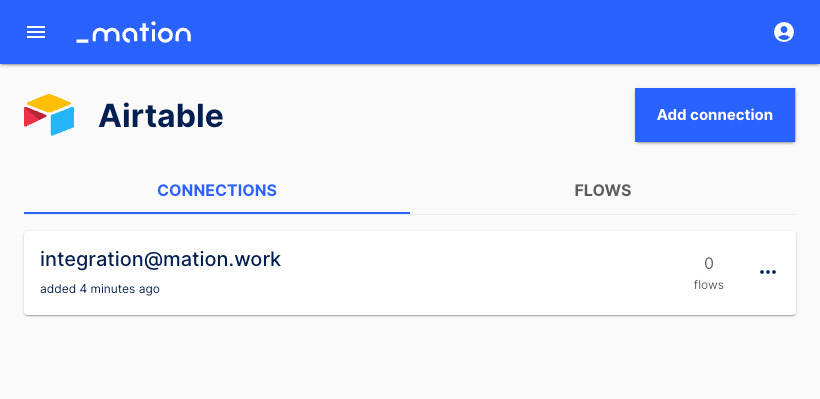
Go to Workflow Automation and navigate to Apps. Click the + Add Connection button. In the popup, select Airtable from the list.
Copy the
OAuth Redirect URL.
Go to Airtable and paste the
OAuth Redirect URLvalue into the OAuth Redirect URL field. Click the Register integration button.
Fill in the Tagline field and enter your
Application instance URLin the Homepage URL field. Optionally, add your logo.
In the Developer Details section, click the Generate client secret button.

A pop-up window appears. Click the Generate button.

Another pop-up window appears.

WARNING
Copy your
client secretand store it in a safe, secure location for future use.After copying the
client secretvalue the Done button will become active. Click the Done button.
Check the checkboxes in the Scopes section. Click the Grant access button.

Optionally enter a Support email address, a Privacy policy URL, and a Terms of service URL. Click the Save changes button.

Copy the
Client IDvalue on Airtable and paste it into the Client ID field on Workflow Automation.
Copy the
Client secretvalue you saved earlier, and paste it into the Client secret field on Workflow Automation.
Click the Submit button on Workflow Automation.
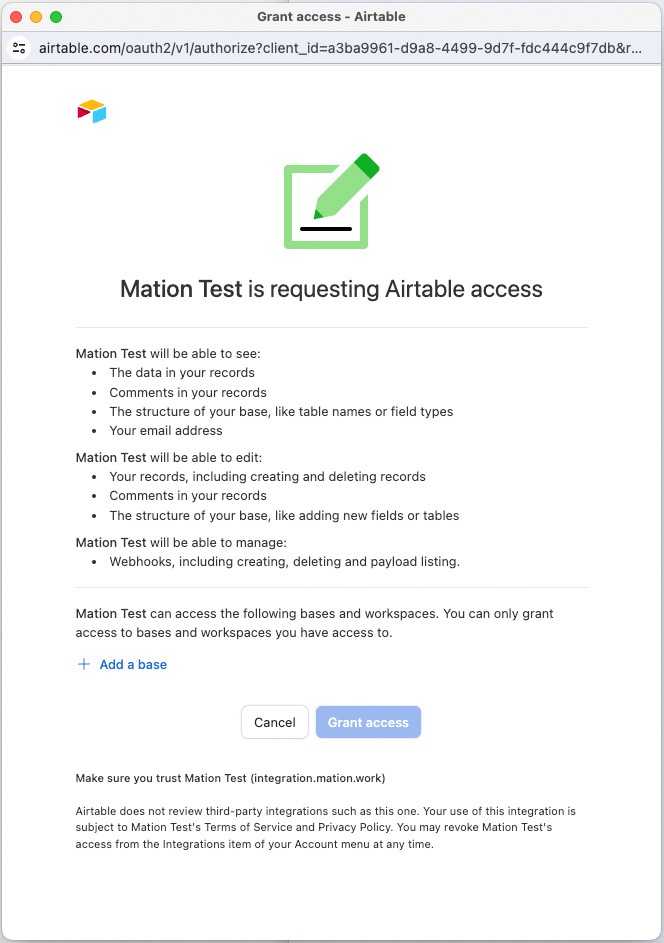
A pop-up window appears. Click the Add a base button.
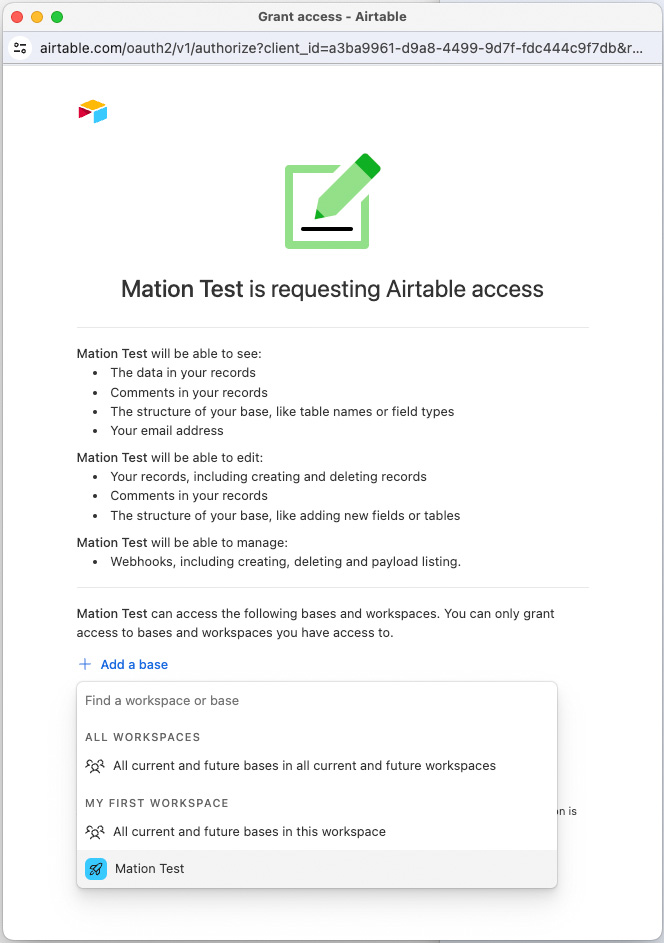
Select your workspace.
Click the Grant access button.
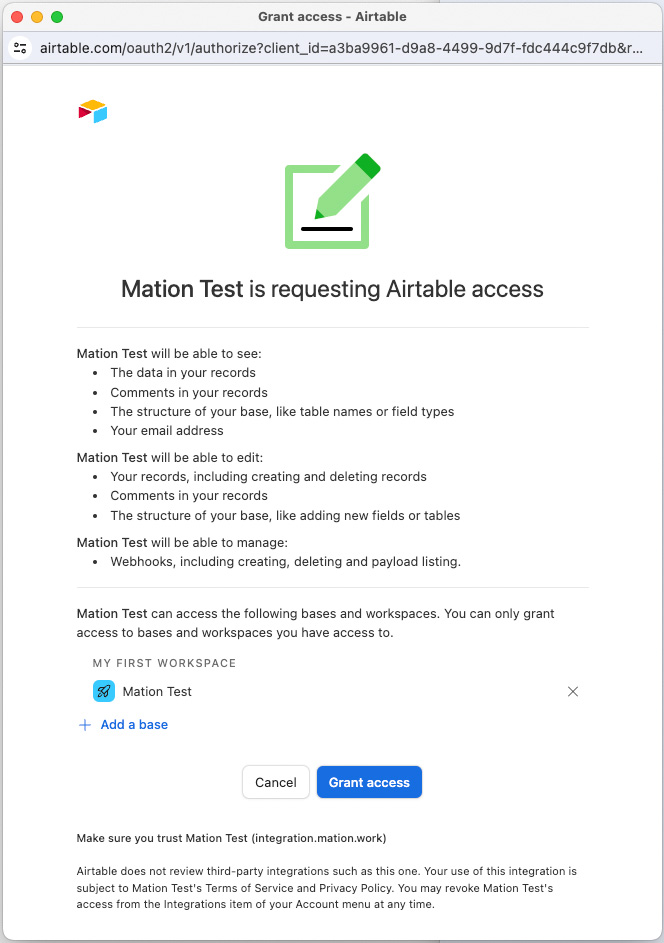
The connection with Airtable is now established.
Start using your new Airtable connection with Workflow Automation.