Appearance
Google Calendar
Google Calendar is a time-management and scheduling service provided by Google. It enables users to create and edit events, reminders, and tasks.
Key features of Google Calendar:
- Event Creation and Management: Easily create, edit, and manage events.
- Sharing and Collaboration: Share calendars with others for collaborative scheduling.
- Integration with Gmail: Create events directly from Gmail messages.
- Reminders and Notifications: Set notifications via email or pop-ups for upcoming events.
- Multiple Calendar Support: Manage several calendars simultaneously for different purposes.
- Mobile Access: Full calendar management on mobile devices.
- Customizable Views: Offers daily, weekly, monthly, and agenda views.
- Time Zone Support: Automatically converts time zones for scheduling across locations.
- Task Management: Add and manage tasks and to-do lists.
- Event Attachments: Attach documents or files to calendar events.
Further information
Read more detailed information on Google Calendar here.
Triggers:
- New calendar: Triggers when a new calendar is created.
- New event: Triggers when a new event is created.
Connect with Google Calendar:
INFO
Pop-up windows must be allowed for this browser session to enable the connection of this third-party app with Workflow Automation.
Log in to your Google account.
Go to API Library in Google Cloud console.
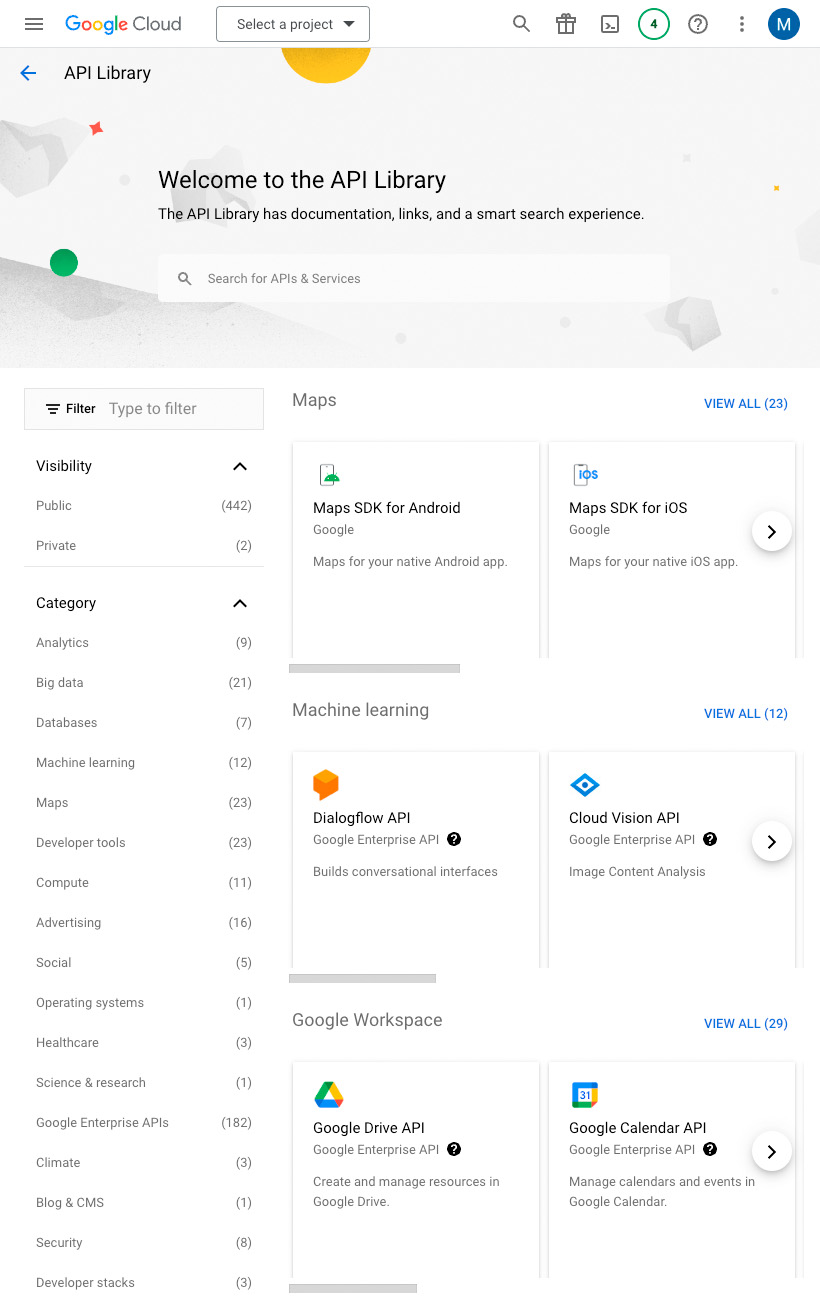
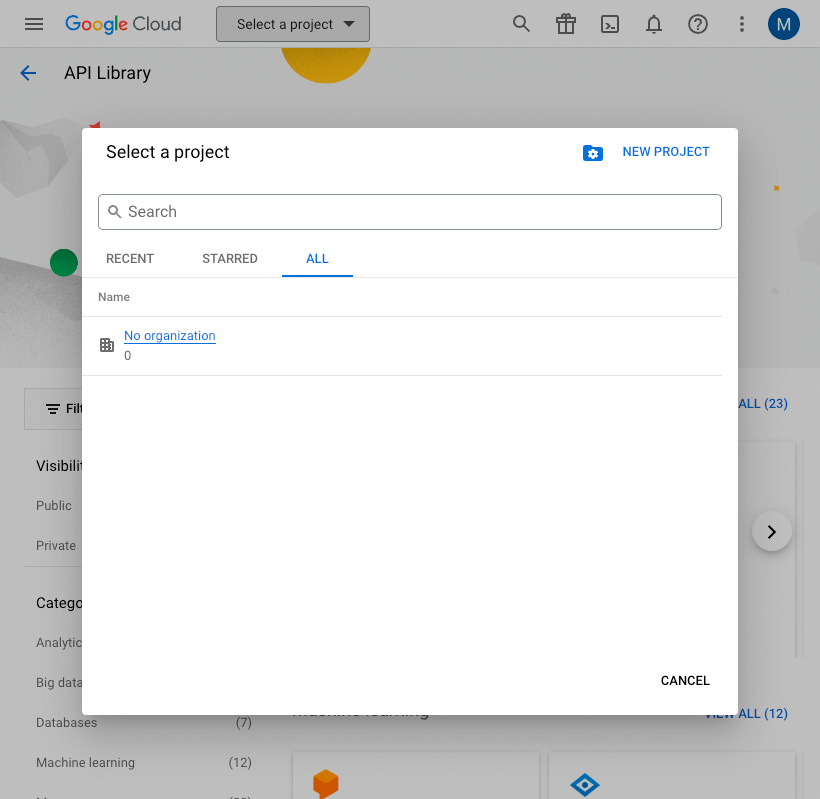
Click the Select a project drop-down menu at the top of the page, and click the New Project button.
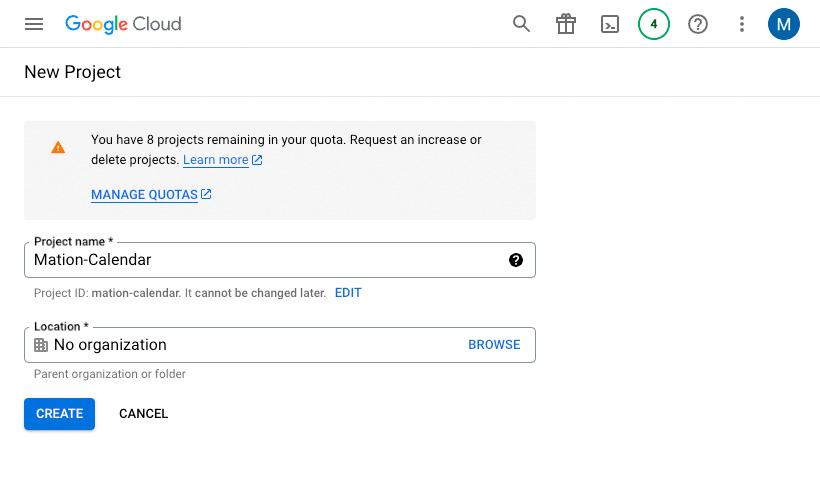
Enter a name for your project and click the Create button.
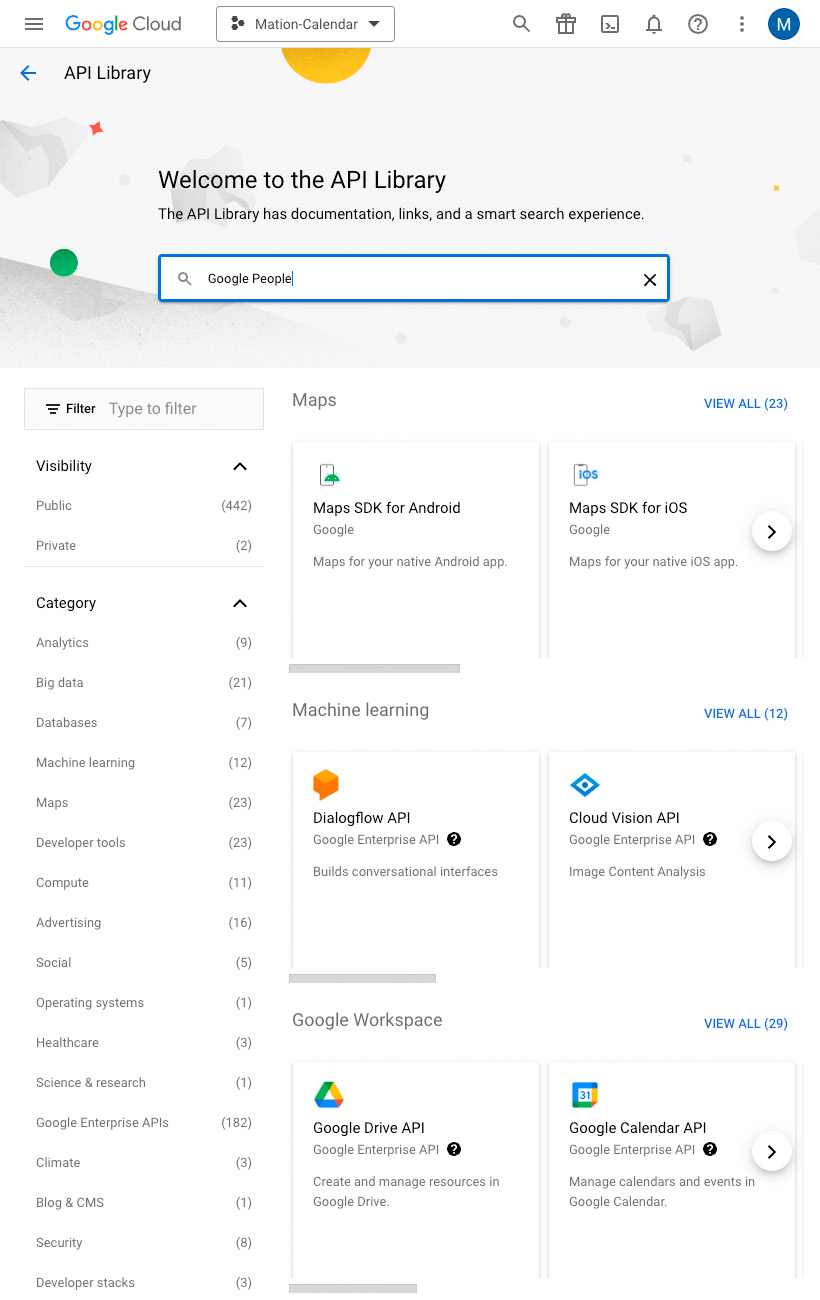
Go to API Library in Google Cloud console.
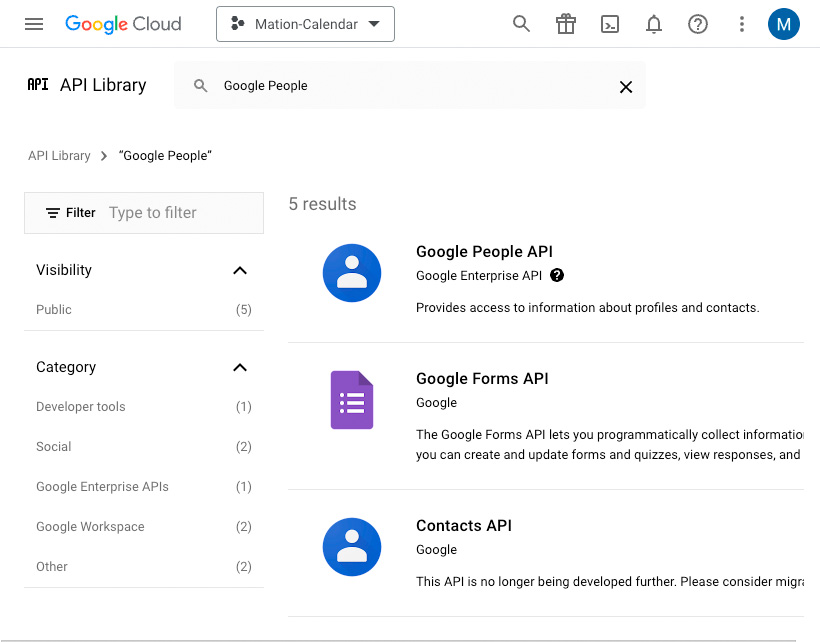
Search for Google People API in the search bar and click on it.
TIP
In case you've already connected another Google service using the same API skip the following steps and proceed to step 9.
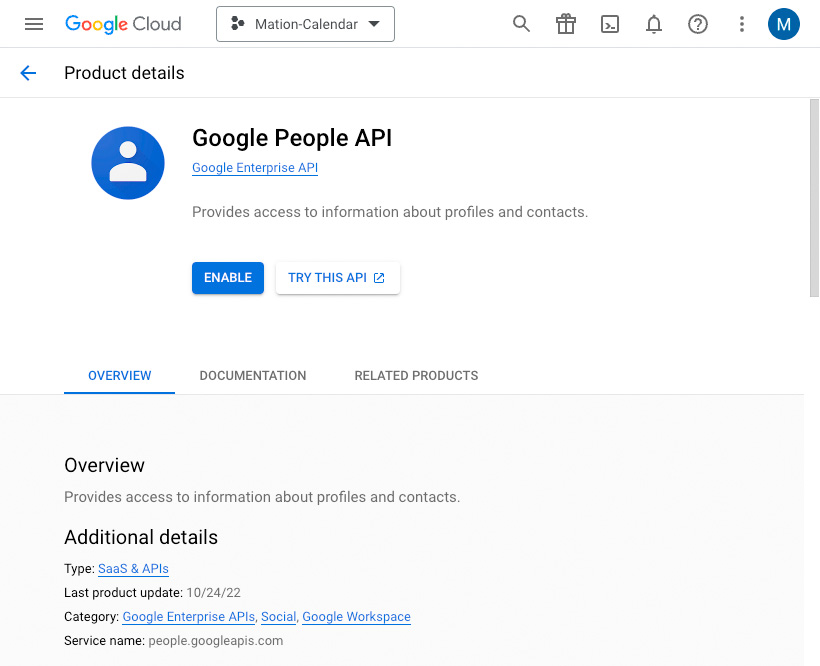
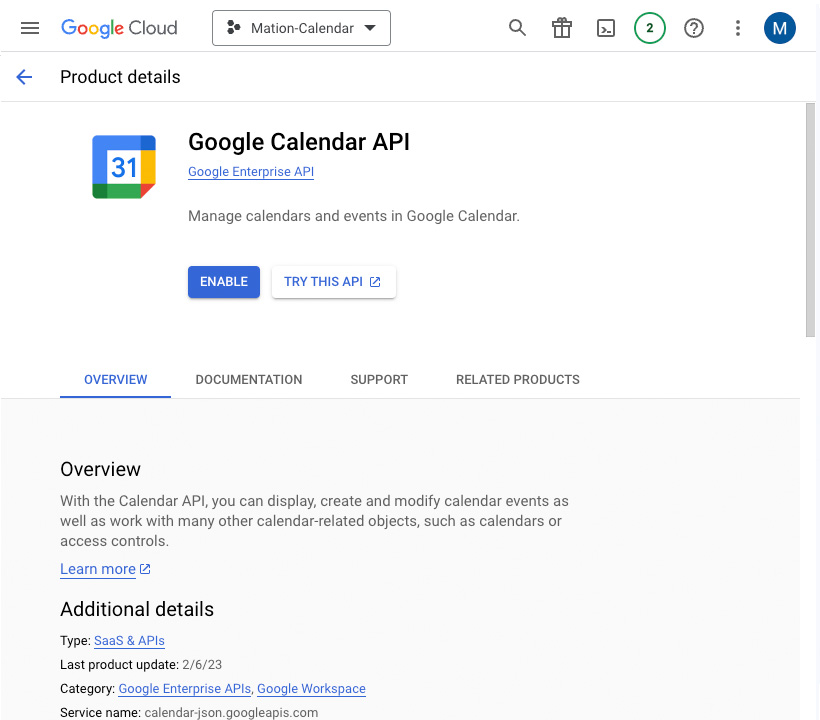
Click on Google People API in the list.
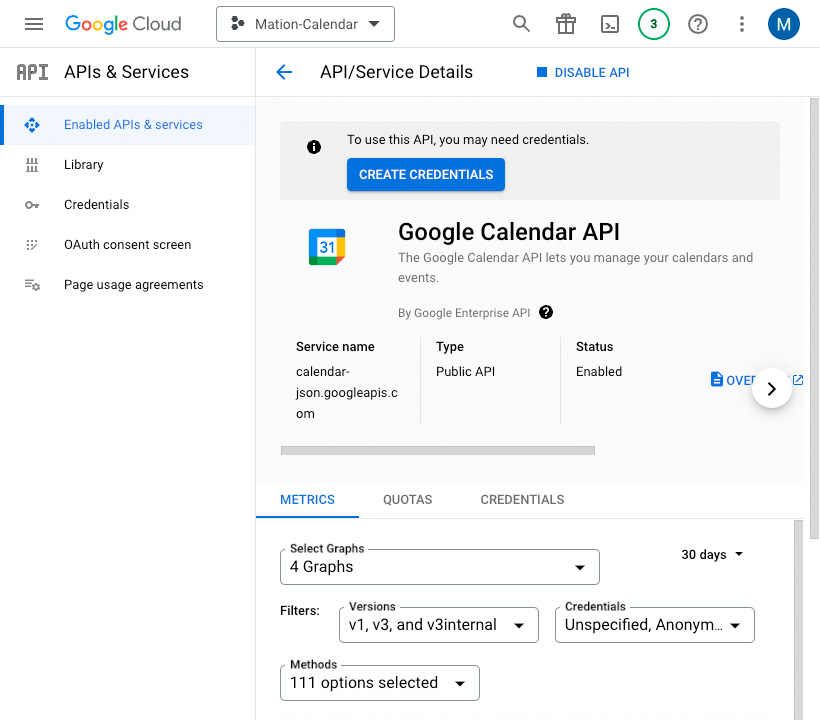
Click the Enable button to enable the API.
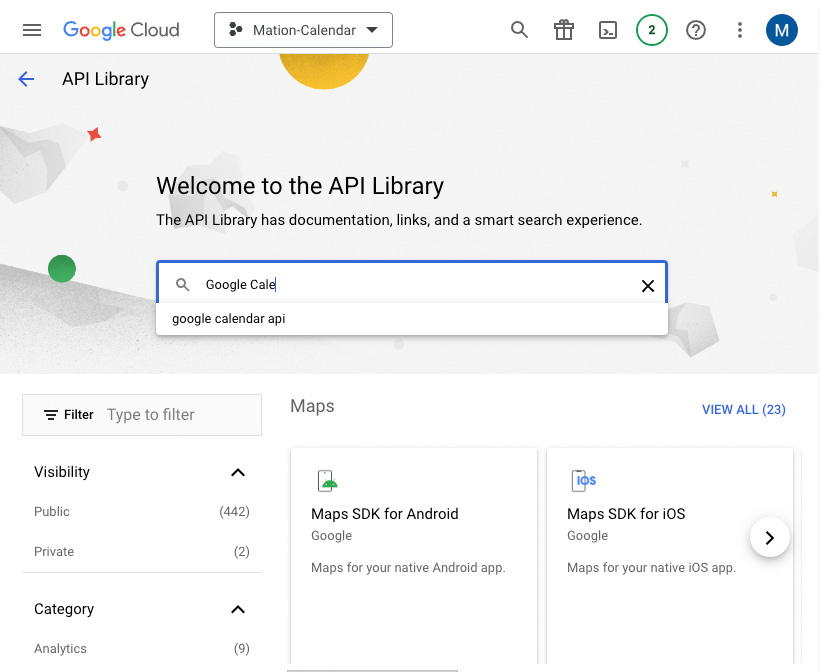
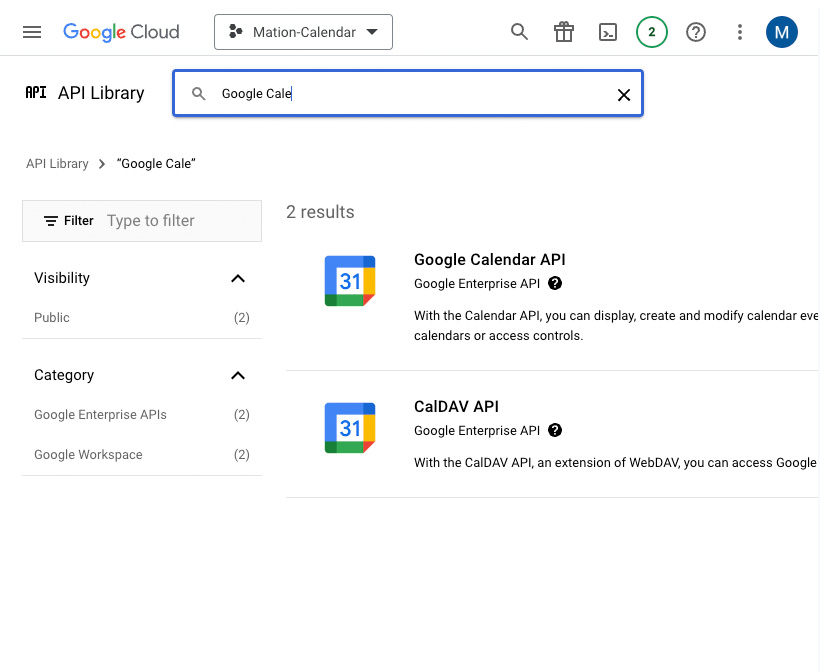
Repeat steps 5, 6, 7, and 8 for the Google Calendar API.
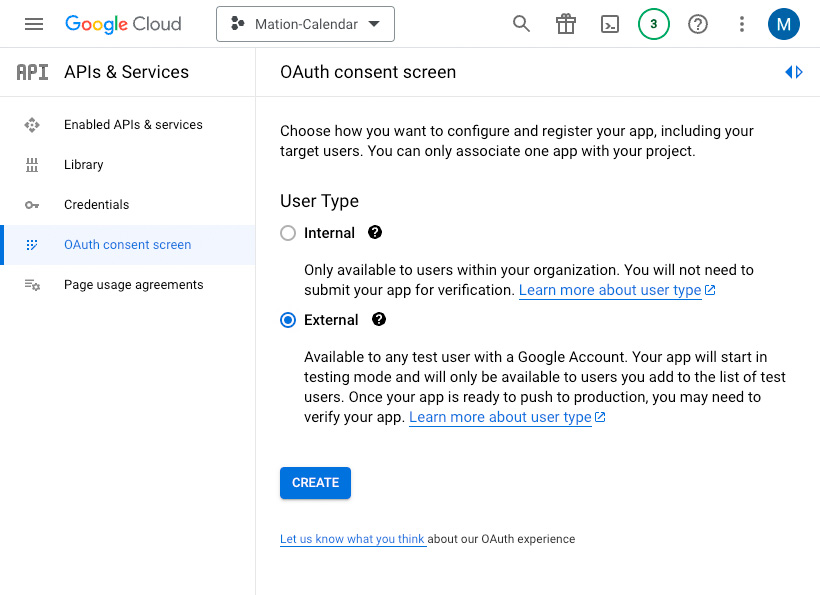
Go to OAuth consent screen in Google Cloud console.
Select External here for starting your app in testing mode at first. Click the Create button.
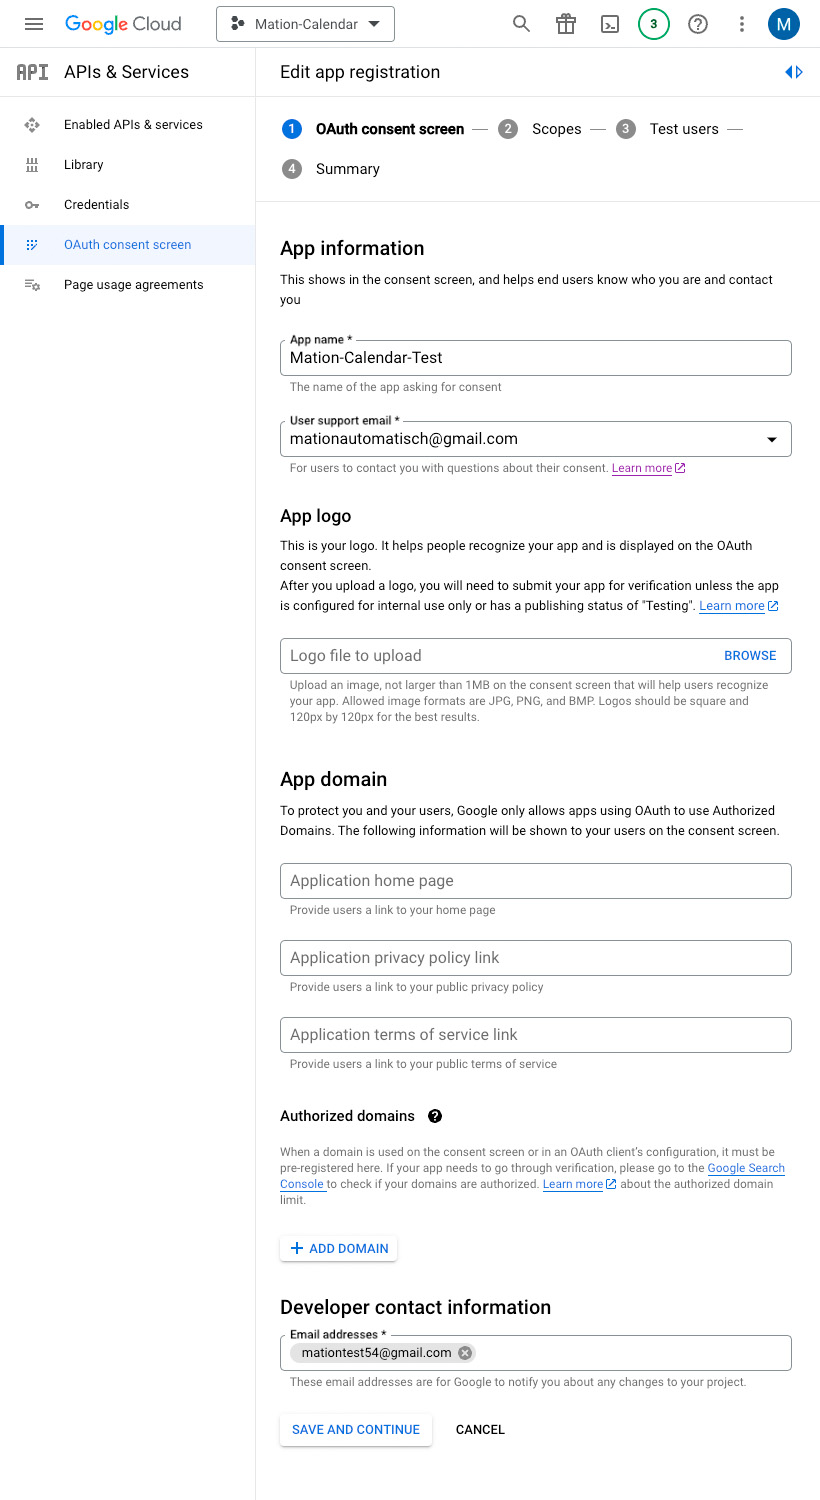
Fill in App name, User support email, and Developer contact information. Click the Save and Continue button.
Skip adding or removing scopes and click the Save and Continue button.
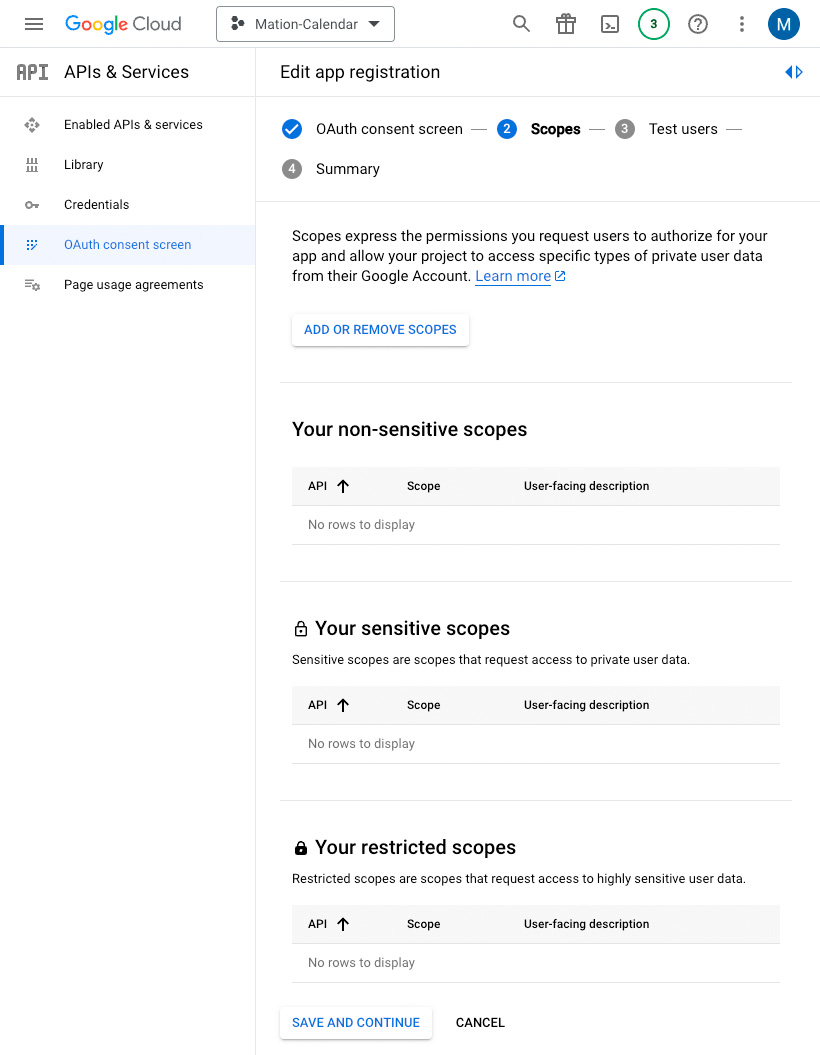
Click the Add Users button to add a test email address, since only test users can access the app while the publishing status is set to "Testing".

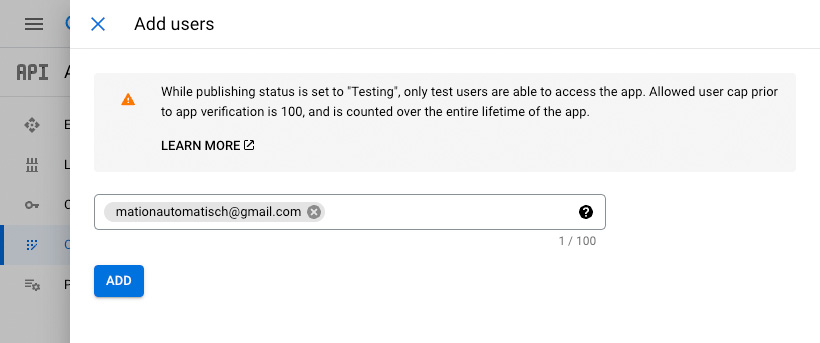
Enter an email address and click the Add button in the Add Users window.
WARNING
Make sure to use the same email address you're logged into Google with as the test user email address.
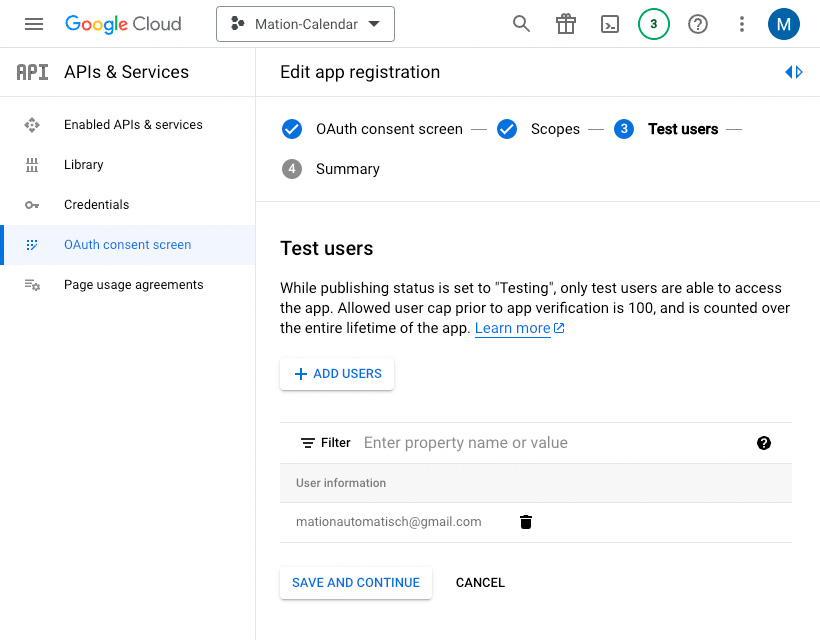
Click the Save and Continue button to complete the configuration of the consent screen.
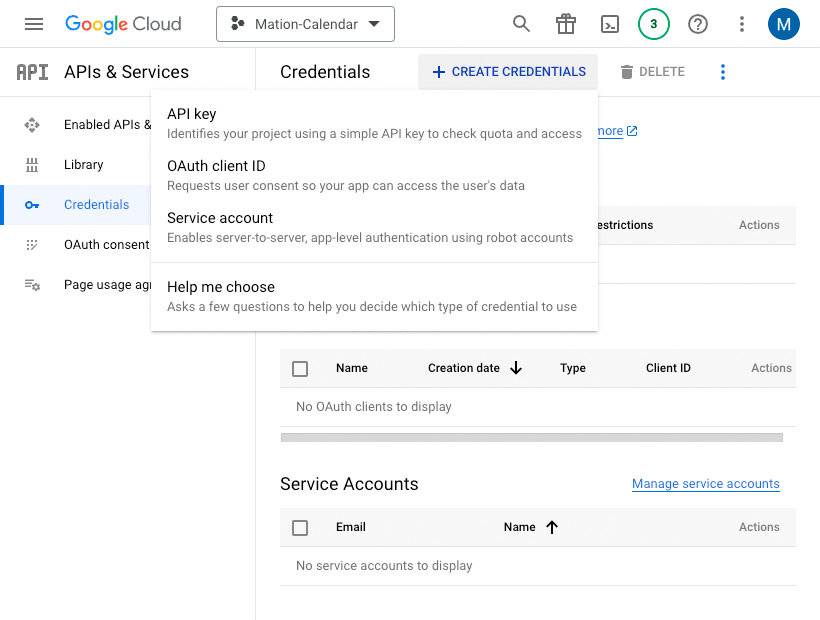
Go to Credentials.
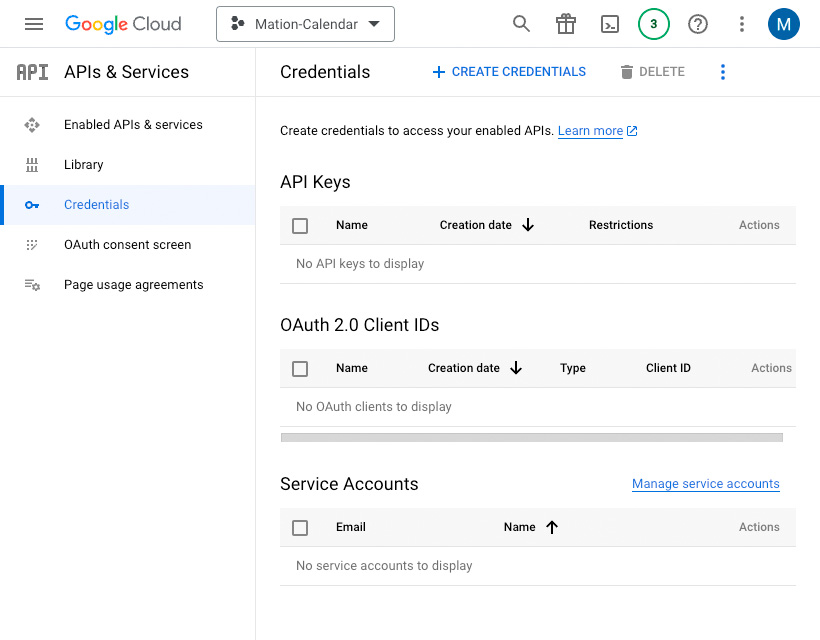
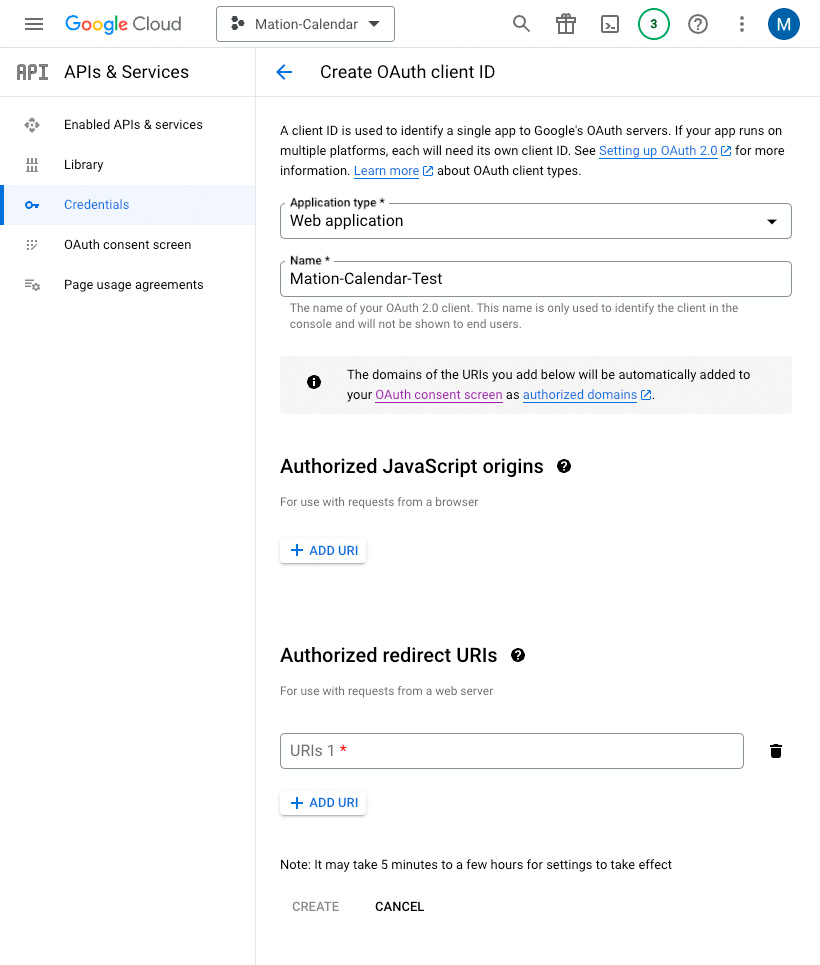
Click the Create Credentials button and select the OAuth client ID option.
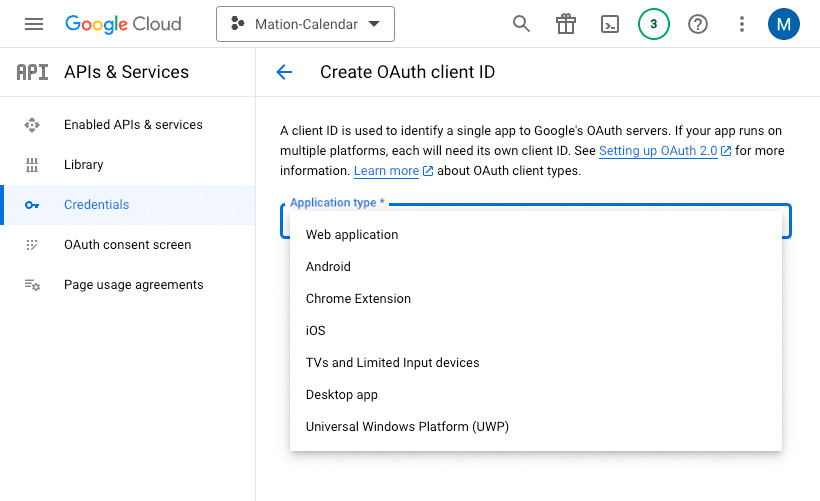
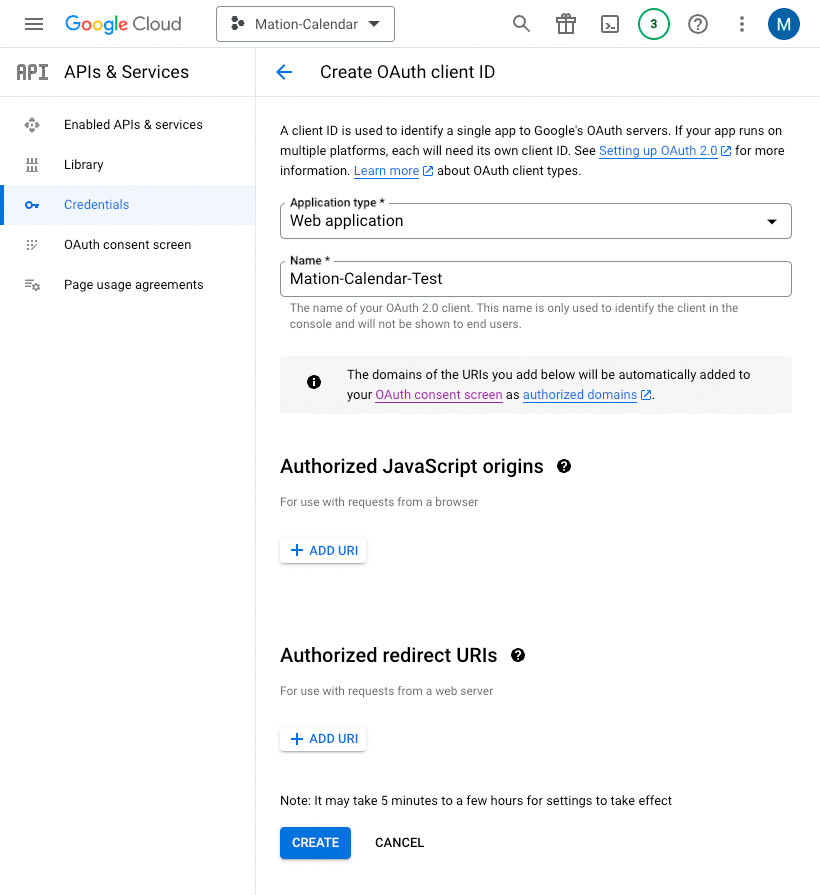
Select Web application as the application type.
Fill in the Name field.
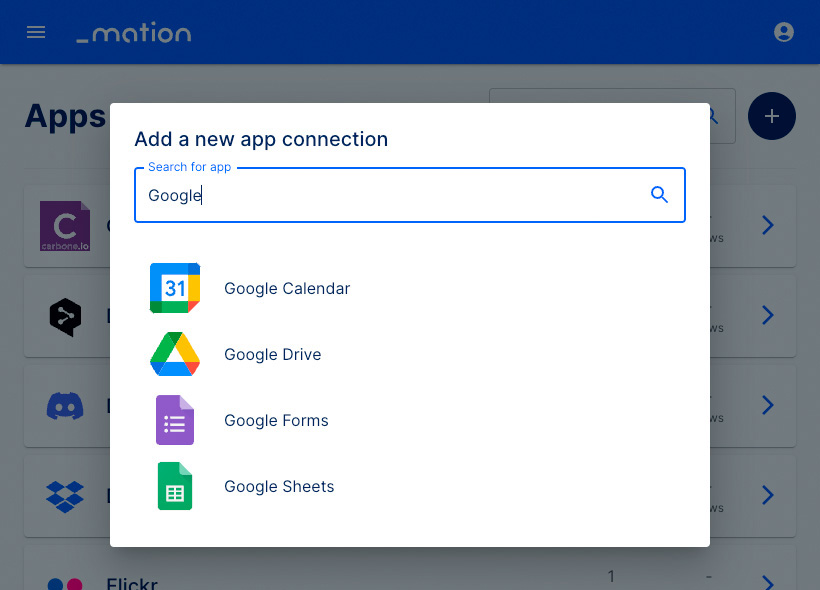
Go to Workflow Automation and navigate to Apps. Click the + Add Connection button. In the popup, select Google Calendar from the list.
Copy the
OAuth Redirect URLvalue.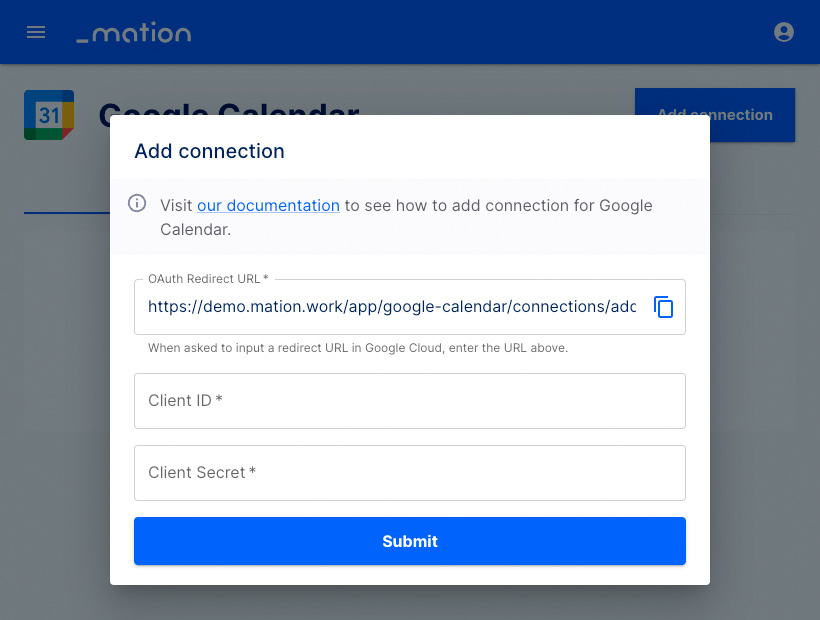
Go back to Google Cloud Console and click the Add URI button in the Authorized redirect URIs section.
Paste the
OAuth Redirect URLvalue into the Authorized redirect URIs field and click the Create button.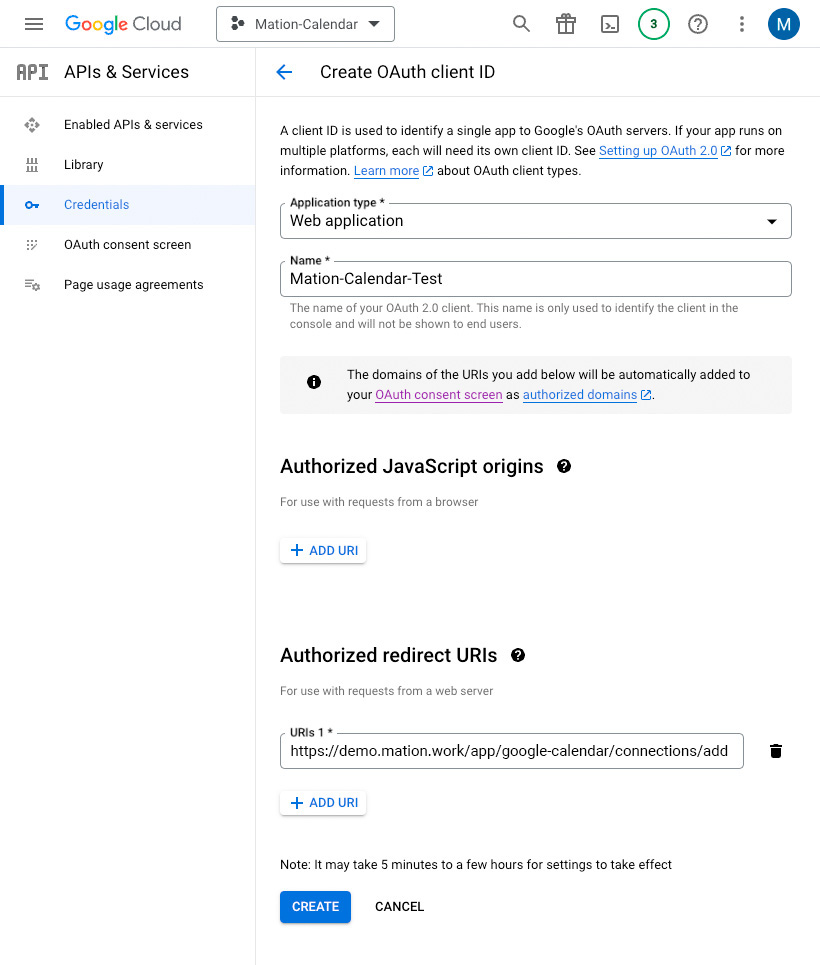
Copy the
Client IDvalue from the following pop-up.
Paste the
Client IDvalue into the Client ID field on Workflow Automation.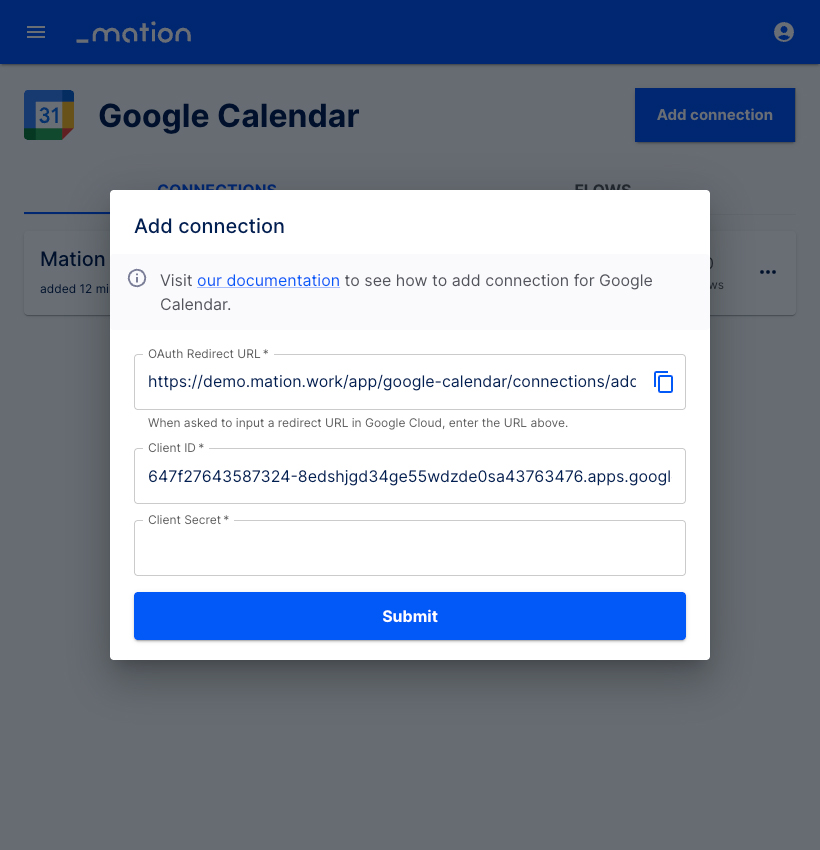
Go back to Google and copy the
Client Secretvalue.
Paste the
Client Secretvalue into the Client Secret field on Workflow Automation.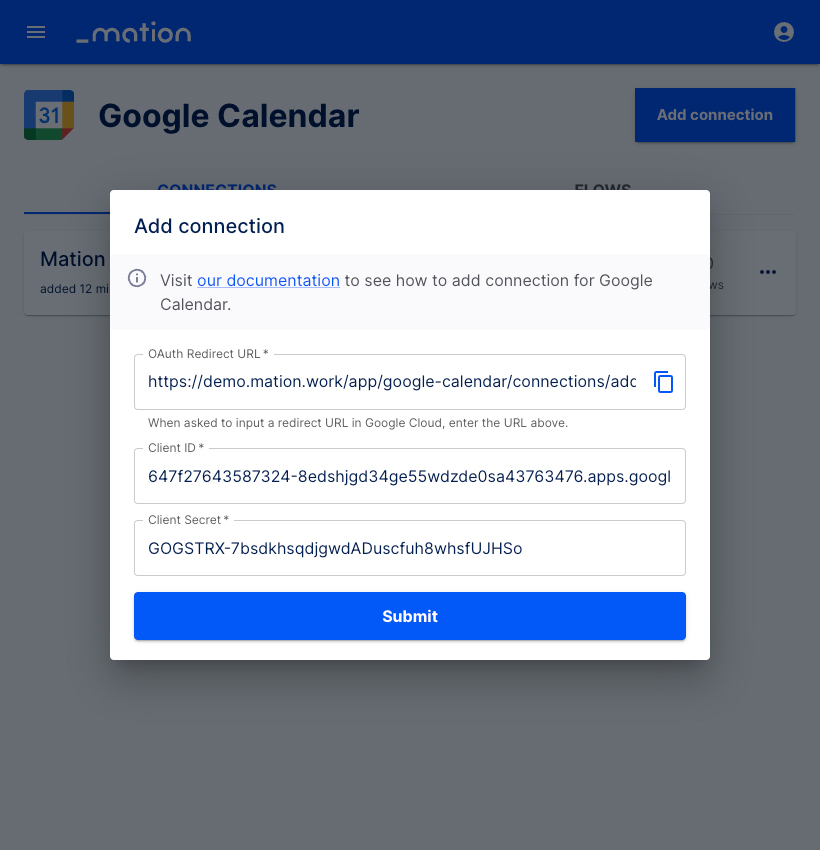
Click the Submit button.
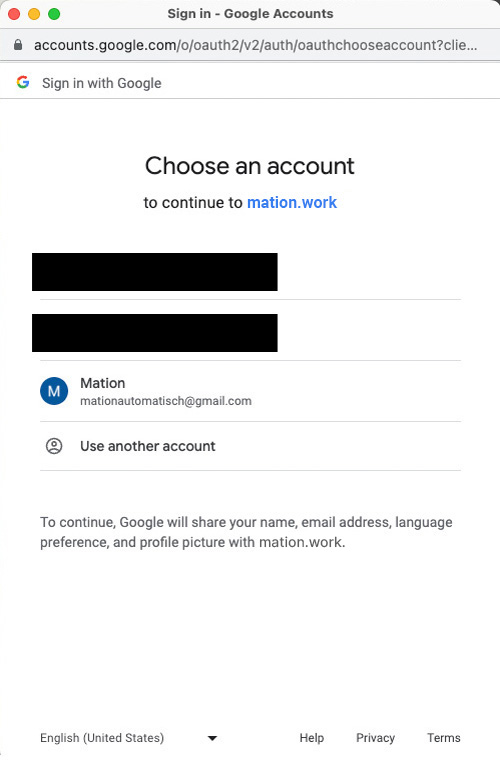
A pop-up window appears. Select your Google account.
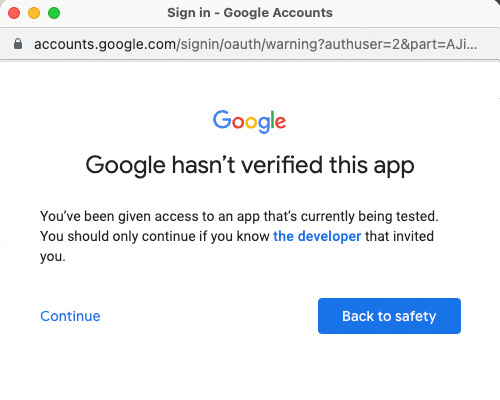
Click the Continue button.
Click the Continue button.
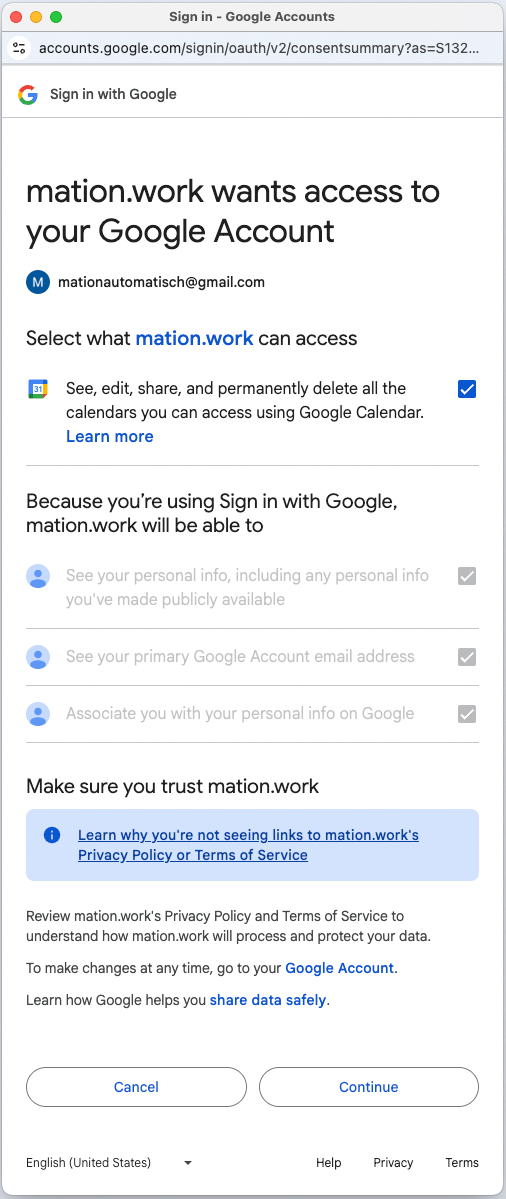
Your Google Calendar connection is now established.
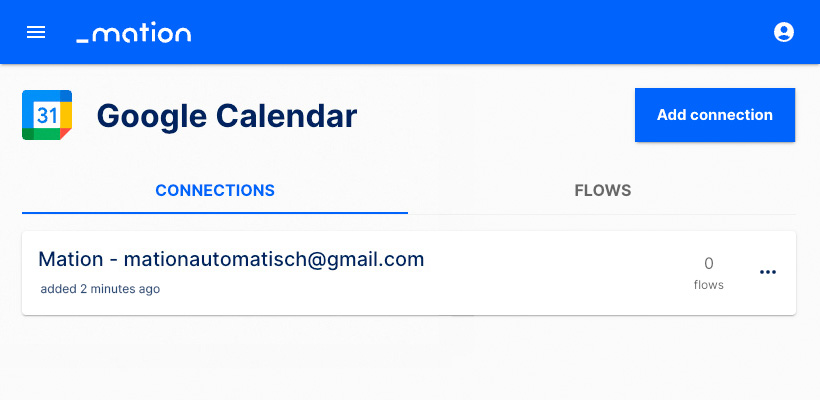
Start using your new Google Calendar connection with Workflow Automation.