Appearance
User management
Users and roles
- Users are registered persons that have access to the Workflow Automation application instance.
- Roles can be created and configured by administrators only.
Users
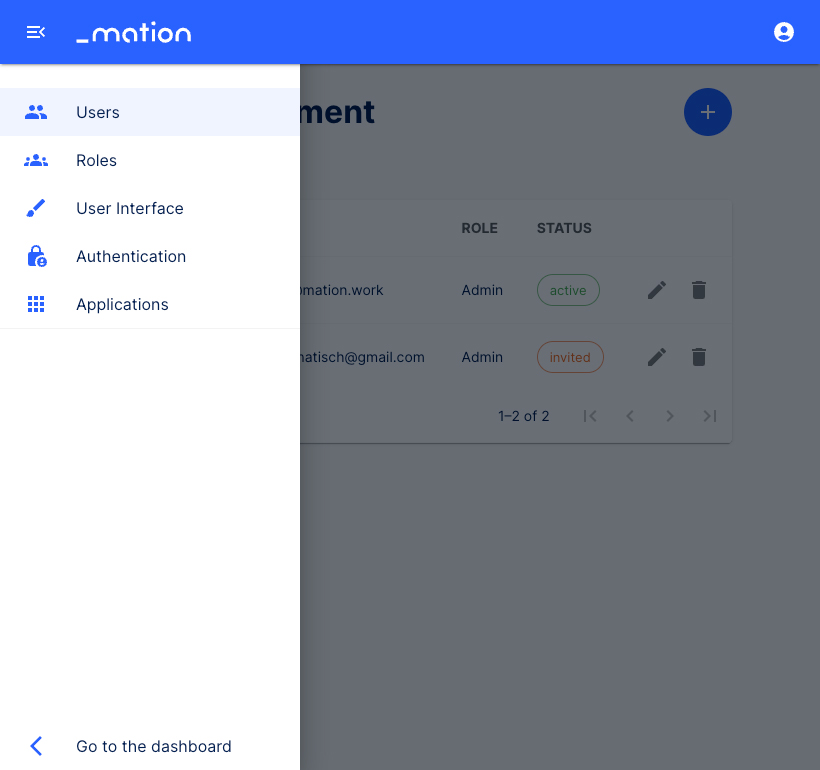
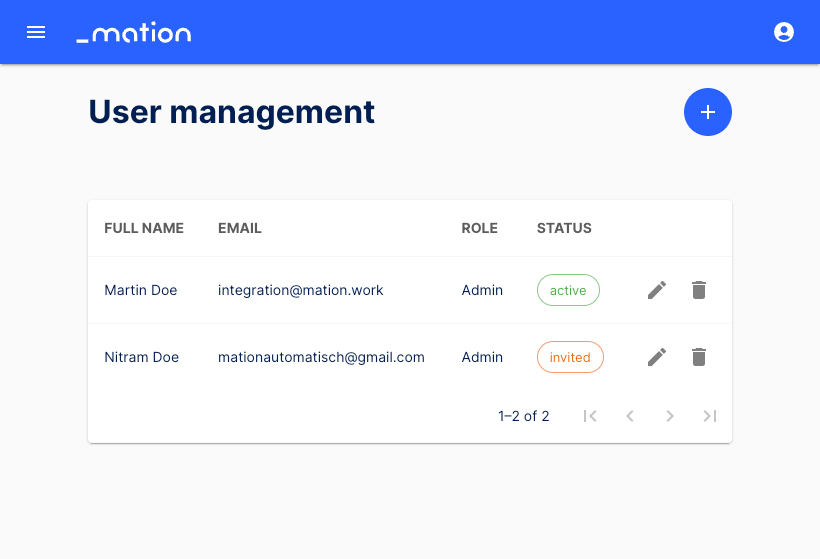
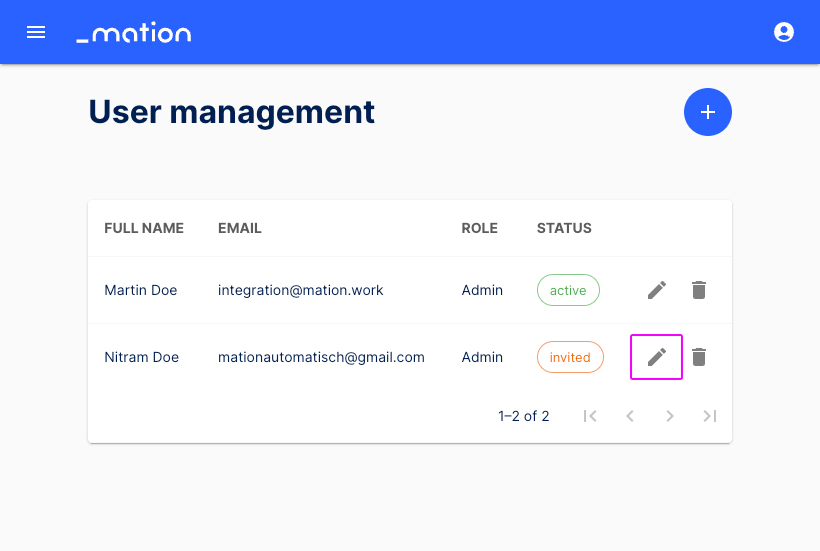
Click Users in the sidebar navigation to access the User management overview page.
Click the Create user button to create new users.
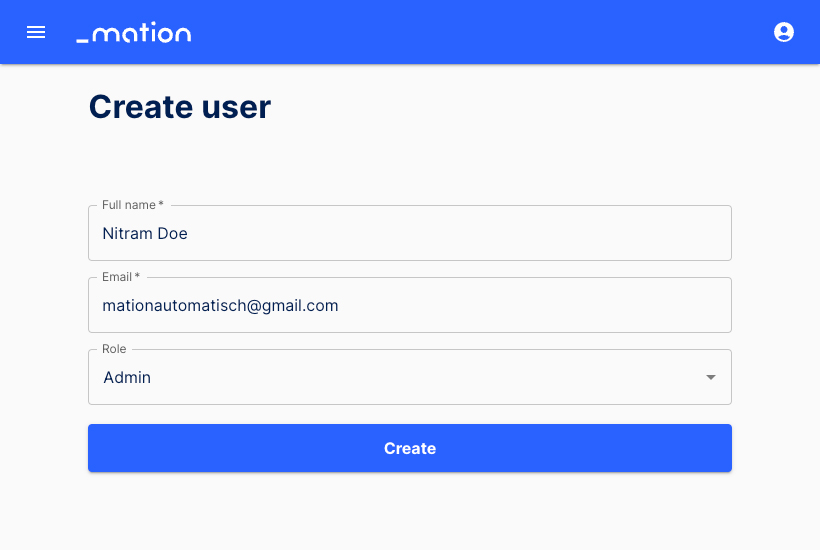
Enter Full name, Email, Password, assign a Role, and then click the Create button to create a new user.
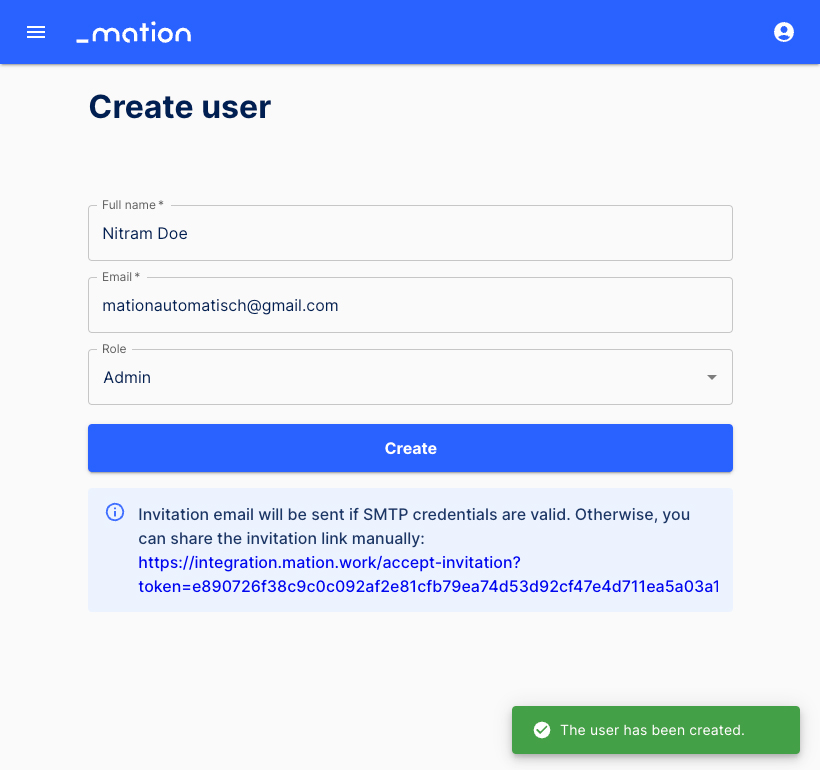
The info box below the Create button provides an invitation link that you can share manually if the SMTP credentials are invalid and the invitation email cannot be sent automatically.
Click the Edit button to edit existing user settings.
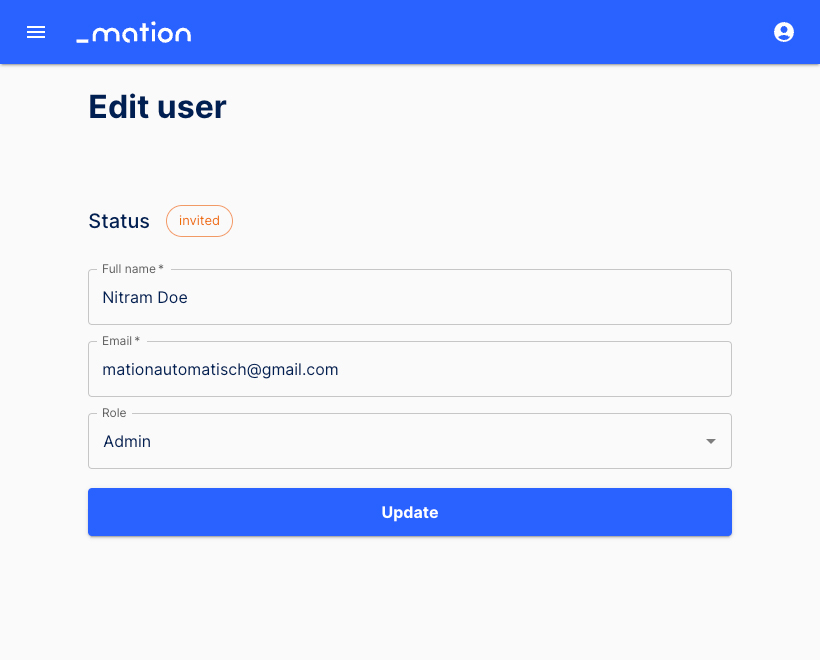
Edit the user`s name, email address, and role and click the Update button.
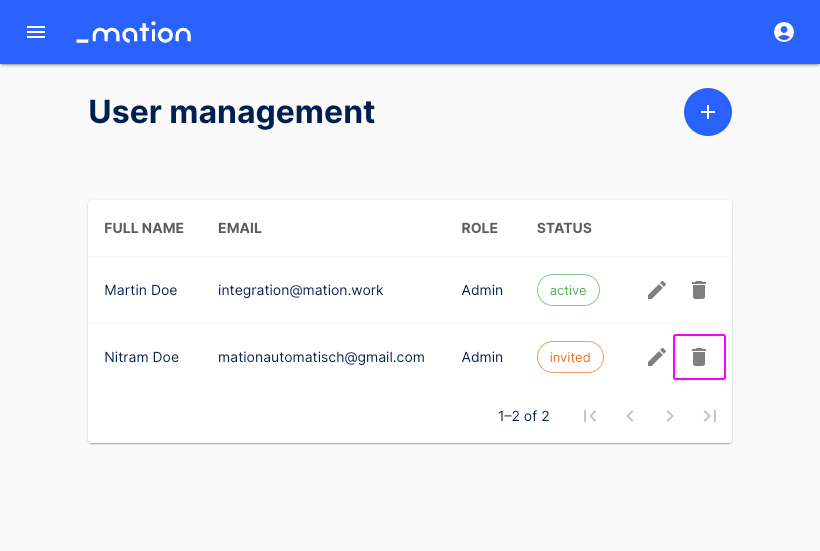
Click the Move to trash button to delete users.
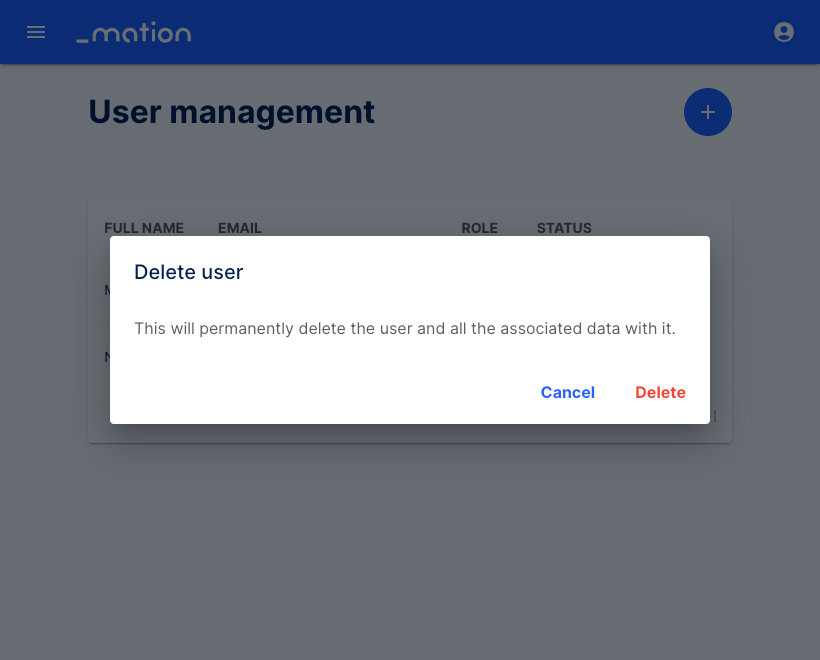
Click the Delete button to permanently delete the user.
Roles
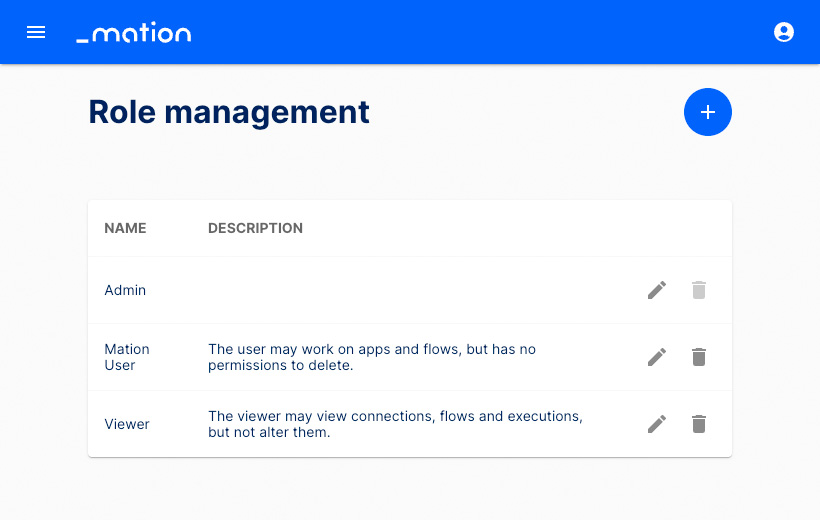
Click Roles in the sidebar navigation to access the Role management overview page.

Different roles may be assigned to an array of users of your Workflow Automation application instance. Click the Create role button.
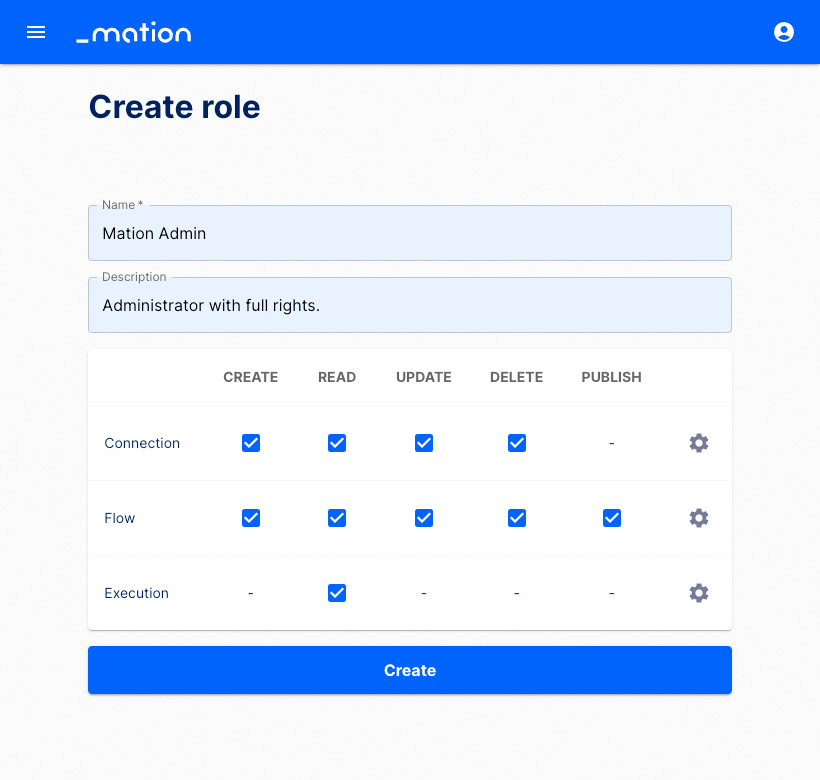
Fill in the Name and Description fields. You can define permissions catering exactly to your needs by ticking the respective boxes. Click the Create button to finish the set-up of this role.
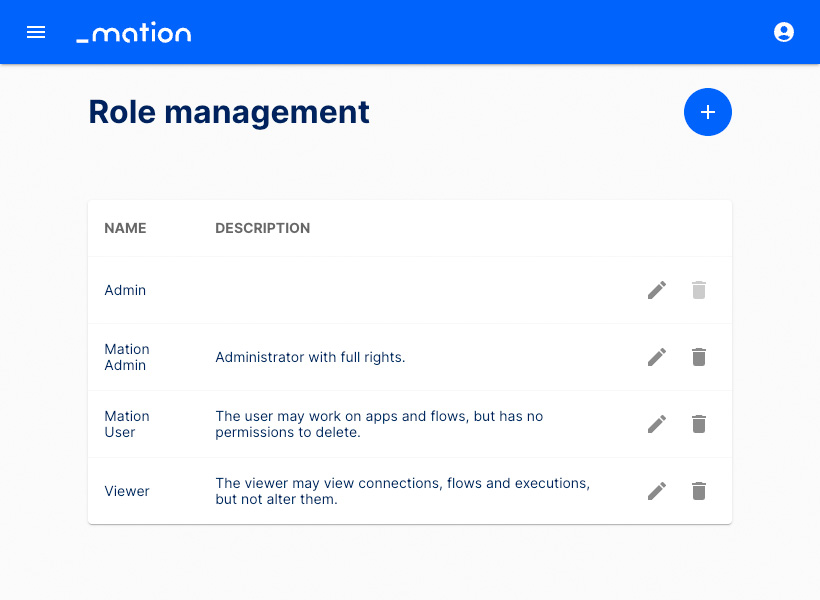
You're back on the Role management overview page. The Workflow Automation Admin role has been created. Simply click the Edit button to edit a role. Click the Move to trash button to delete a role.
After clicking the Edit button, you can configure the Conditions of this role. To access the Conditions settings, click the gear icon located to the right of each row. Tick the checkboxes according to your needs and click the Apply button.

Authentication
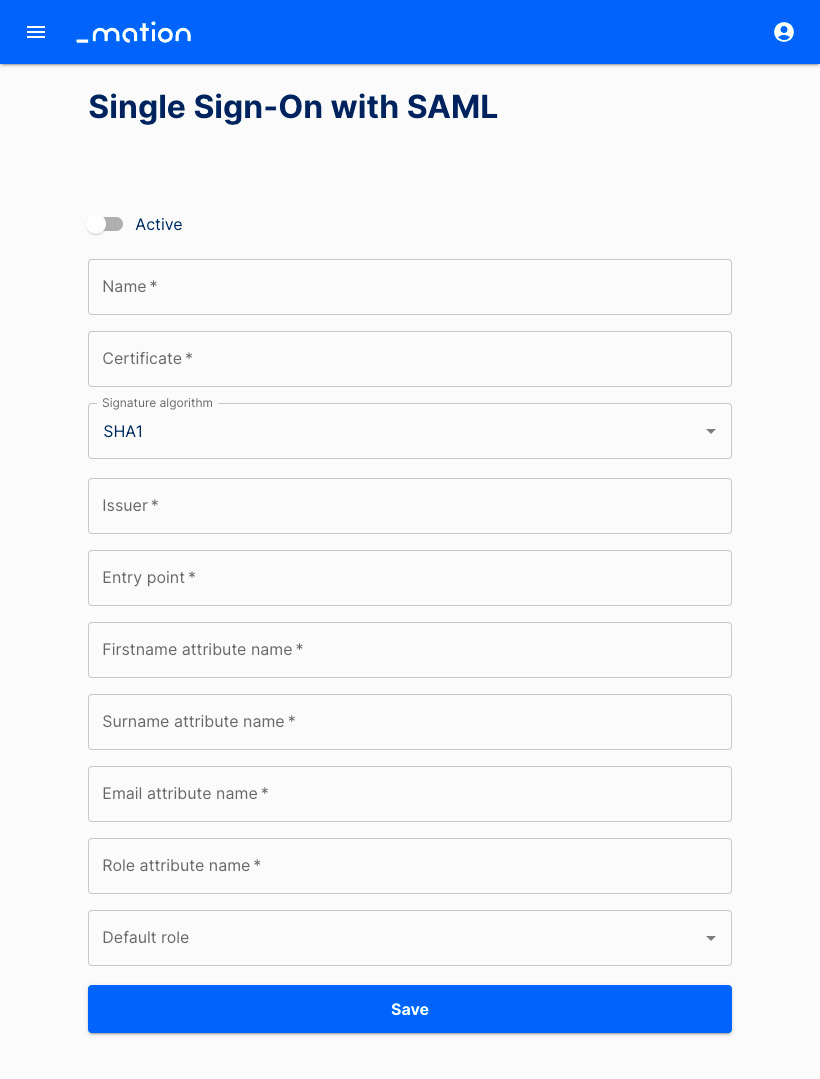
- Click Authentication in the sidebar navigation to access the Authentication settings page.
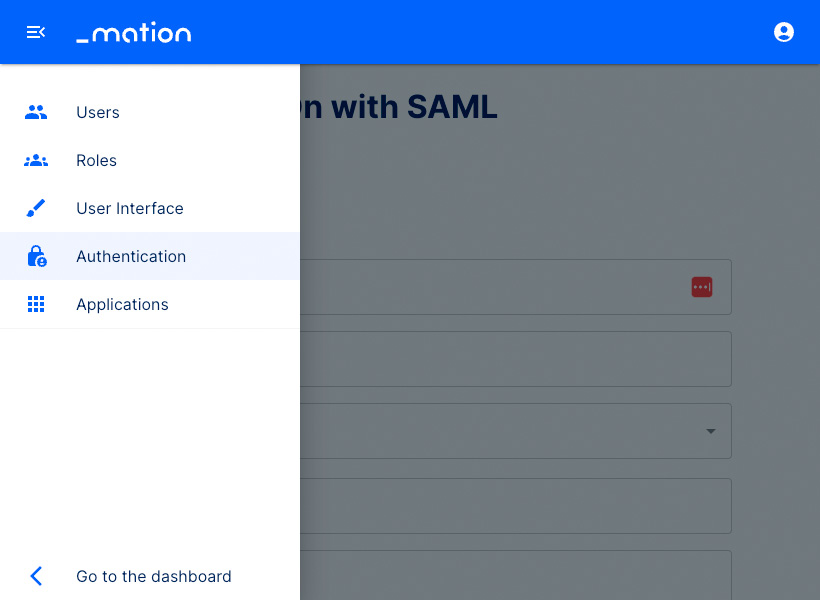
- Here you may assign Authentication rights and define these settings individually.
Application management
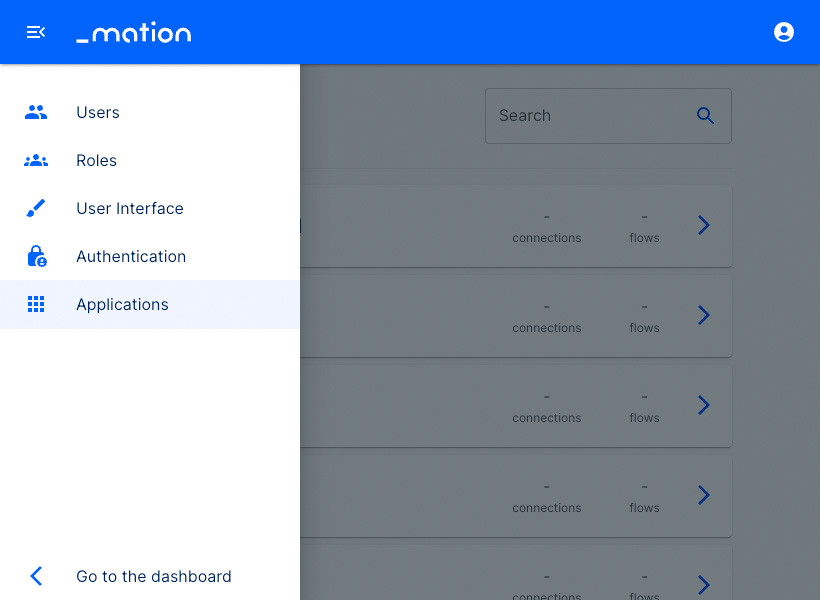
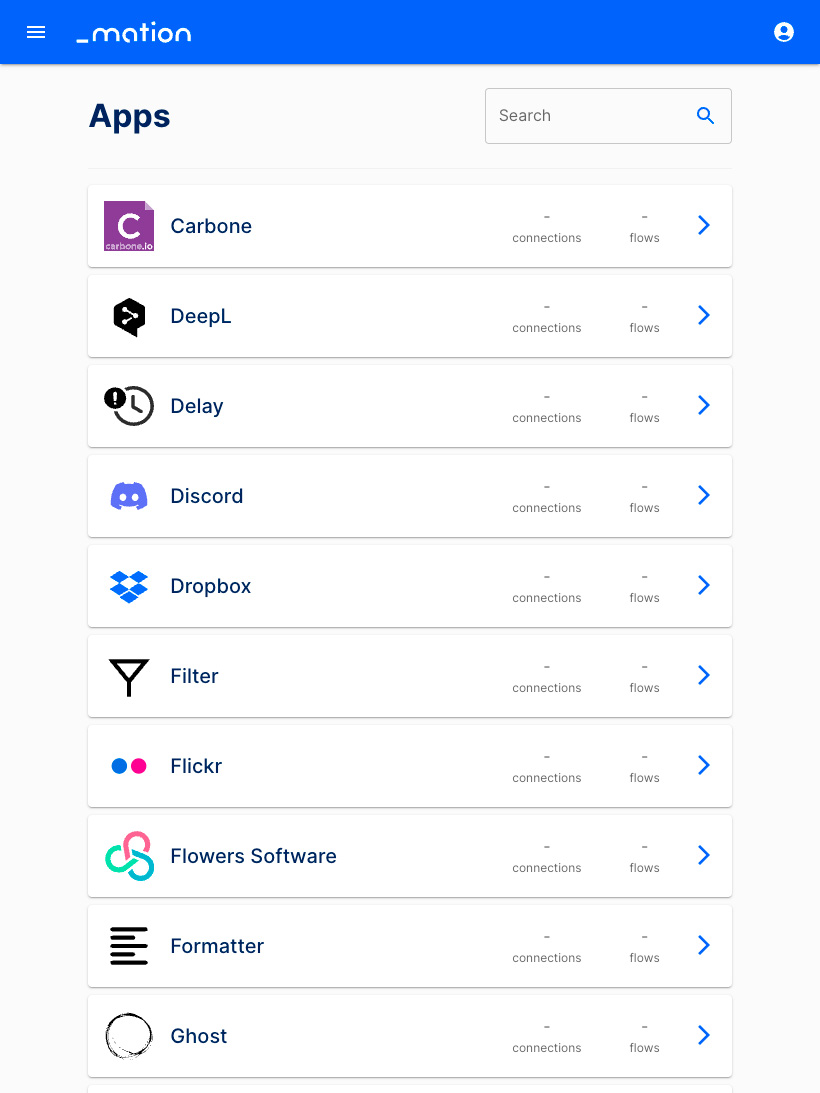
- Click Applications in the sidebar navigation to access the applications overview page.
- Administrators may click the > button to configure, customize and/or disable specific apps.
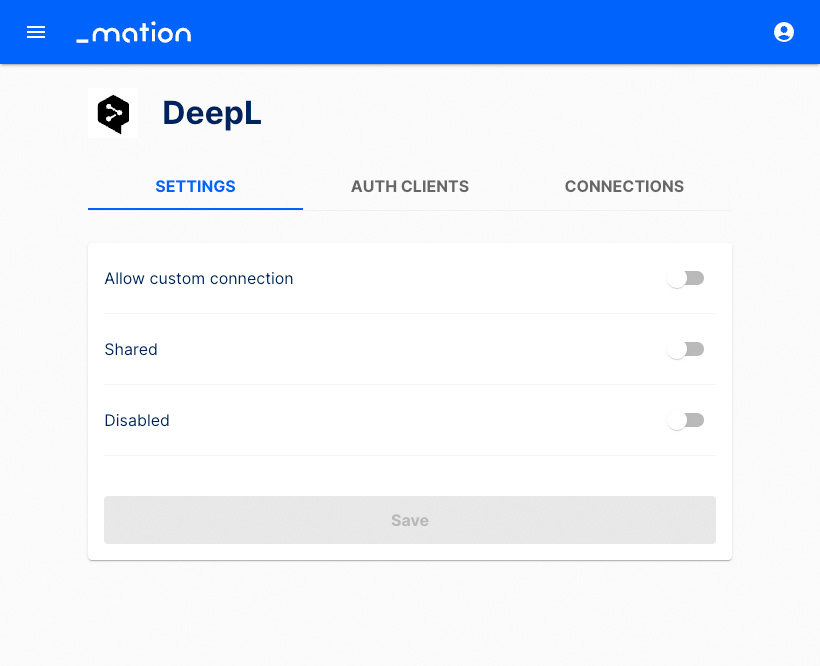
- Here you may edit the specific Settings, Auth Clients, and Connections of an app.
My Profile
Click the User icon in the top right corner and navigate to Settings.
On the My Profile page, you can edit your Full Name, Email Address, and Password.
If you make changes, click the Update Your Profile button to save them.
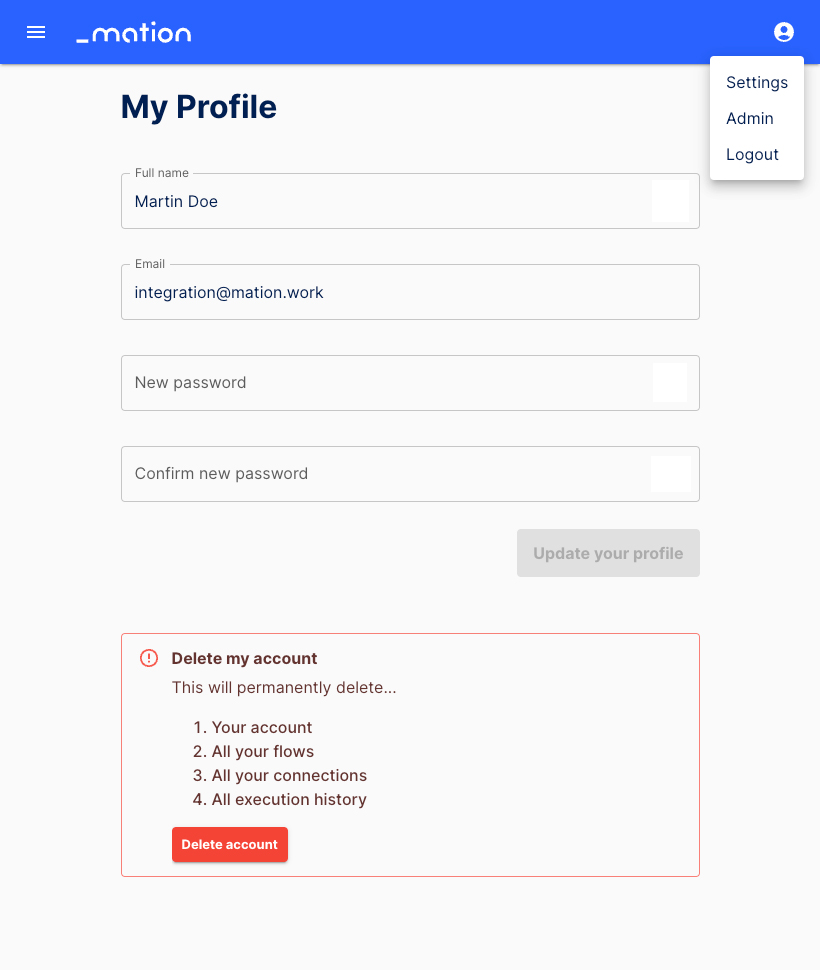
Additionally, you may delete your account. If you click the Delete Account button, a pop-up window will ask you to confirm your decision. If you proceed with deleting your account by clicking the Yes, delete it button, all your flows, connections, and execution history will be permanently deleted. Click Cancel to return to My Profile.

Click the User icon in the top right corner and navigate to Admin to access User Management.
Click the User icon in the top right corner and navigate to Logout to leave your Workflow Automation instance application.