Appearance
Gitea
Gitea is a lightweight, self-hosted Git service for managing source code. It provides features like repository hosting, issue tracking, code review, CI/CD integration, and team collaboration tools. Designed for speed and simplicity, Gitea is easy to install, runs on minimal resources, and supports cross-platform deployment. Ideal for developers and teams seeking full control over their DevOps workflows without relying on cloud-based services.
Key Features of Gitea:
- Lightweight and Fast: Designed for efficiency with low resource usage and quick performance.
- Self-Hosted Git Service: Full control over your repositories and infrastructure.
- Repository Management: Supports Git repositories with features like pull requests and branch protection.
- Issue Tracking: Integrated system for tracking bugs, features, and tasks.
- Code Review Tools: Inline comments, approvals, and change requests for collaborative development.
- CI/CD Integration: Compatible with external CI/CD tools for streamlined development workflows.
- User and Team Management: Fine-grained permissions for individuals and teams.
- Cross-Platform Support: Runs on multiple OS environments including Linux, macOS, and Windows.
- Web-Based Interface: Clean and responsive UI for managing all aspects of development.
- Open Source: Actively developed, fully open-source under the MIT license.
Further information
Read more detailed information on Gitea here.
Action:
Create issue: Creates a new issue.
Triggers:
- New issues: Triggers when a new issue is created.
- New pull requests: Triggers when the user creates a new pull request.
- New stargazers: Triggers when a user stars a repository.
- New watchers: Triggers when a user watches a repository.
Connect with Gitea:
INFO
Pop-up windows must be allowed for this browser session to enable the connection of this third-party app with Workflow Automation.
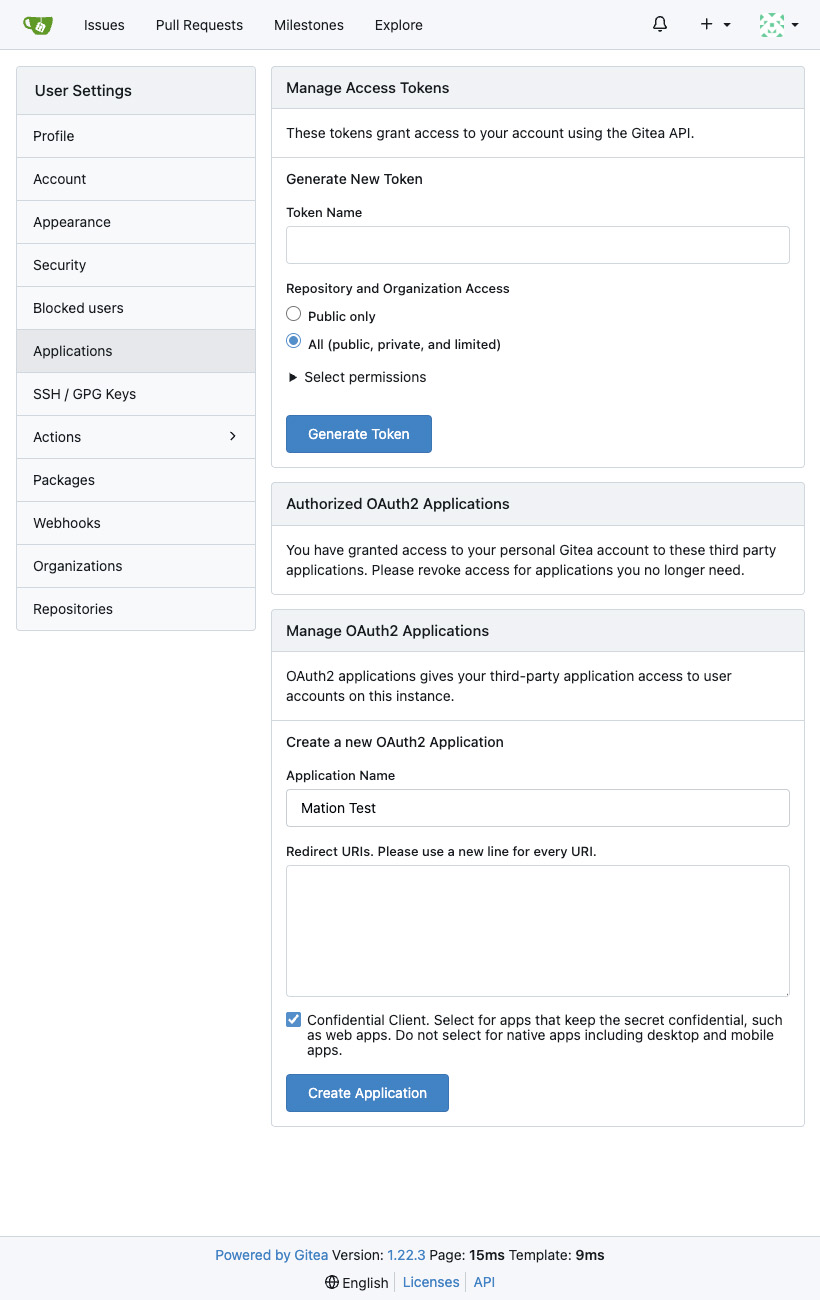
Go to your Gitea Settings panel and navigate to Applications.

Enter an Application Name in the Manage OAuth2 Applications section.
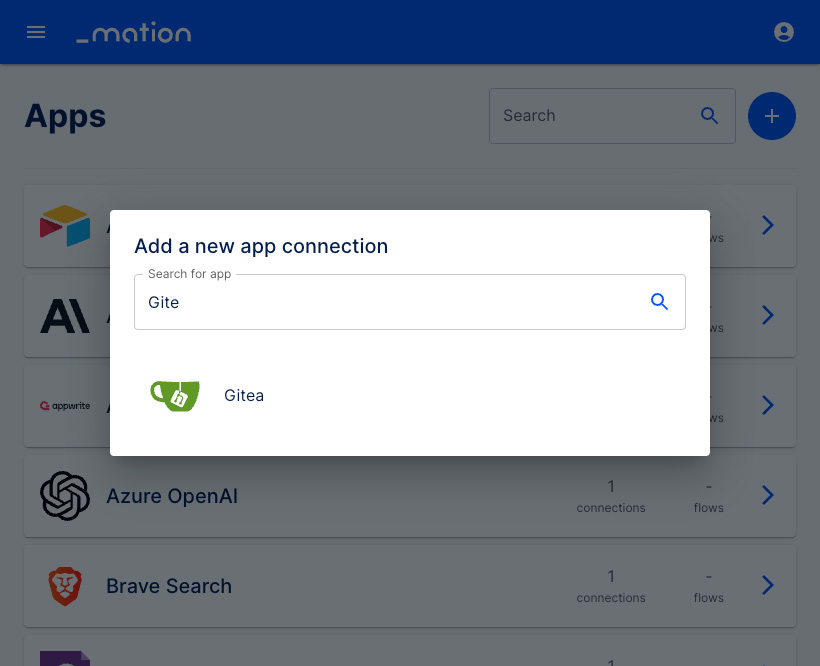
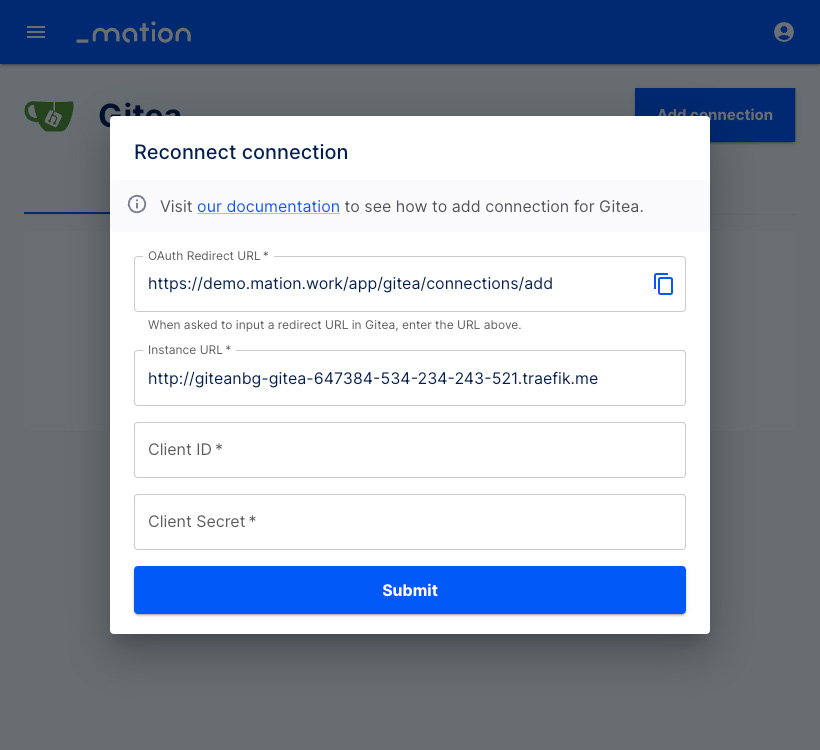
Go to Workflow Automation and navigate to Apps. Click the + Add Connection button. In the popup, select Gitea from the list.
Copy the OAuth Redirect URL.

Go back to Gitea and paste the
OAuth Redirect URLinto the RedirectURIs field.TIP
Use a new line for each Redirect URI.
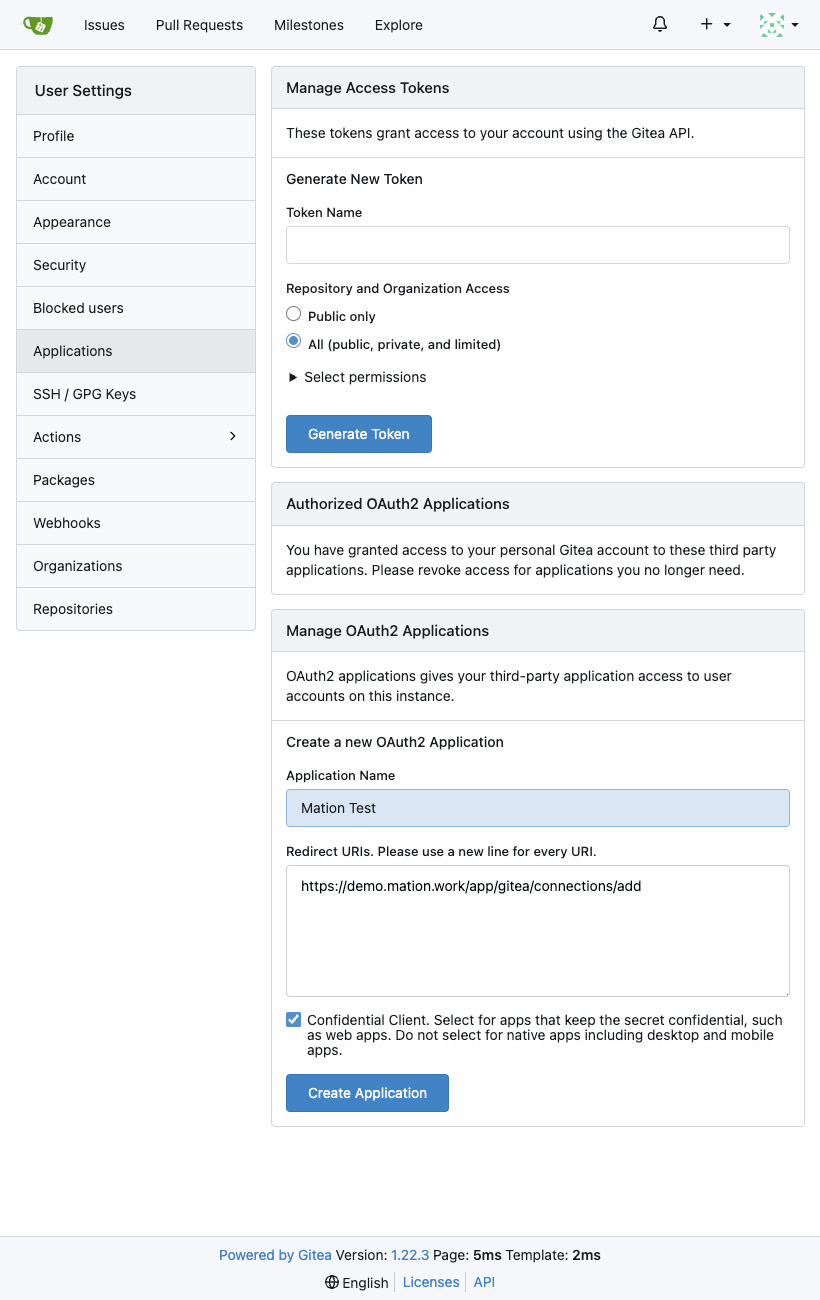
Click the Create Application button.
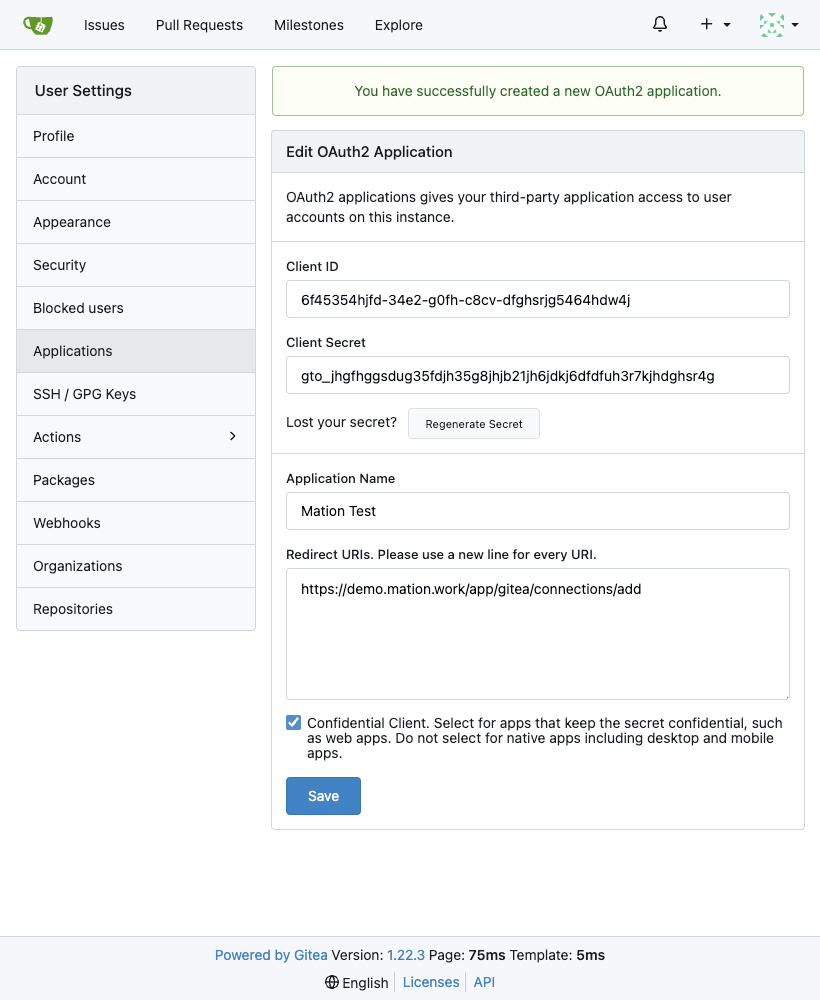
Your OAuth2 Application has been successfully created.
Go to Workflow Automation and enter your Instance URL.
Go back to Gitea and copy the
Client ID.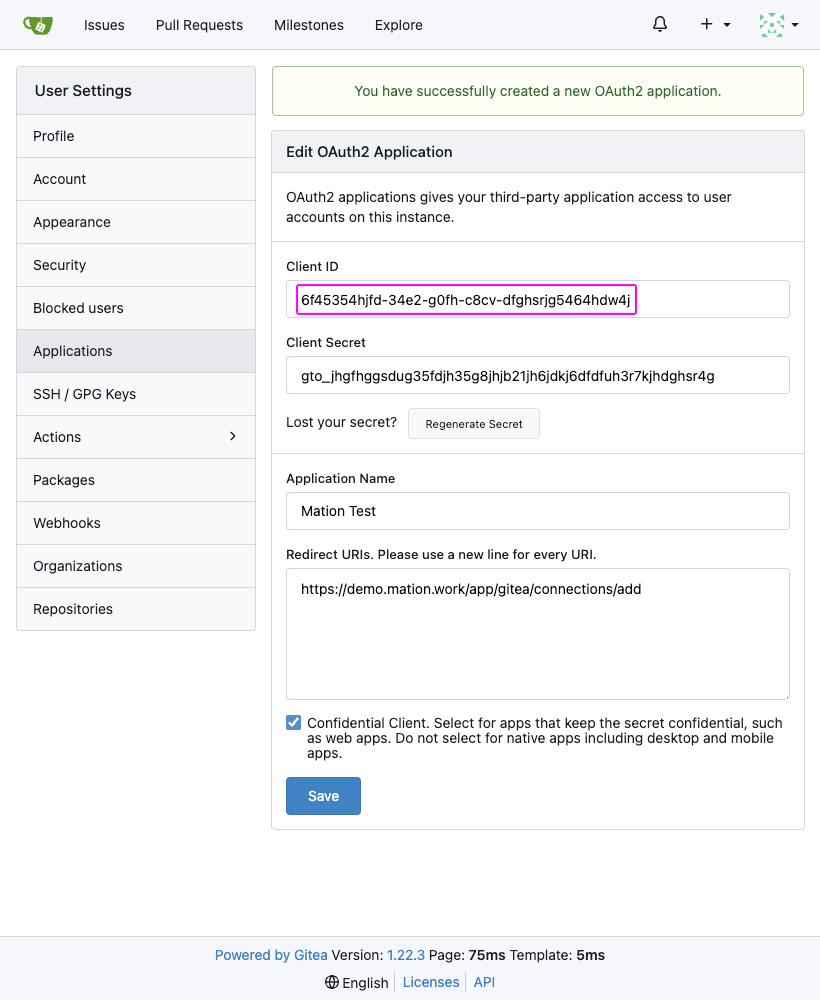
Return to Workflow Automation and paste the
Client IDvalue into the Client ID field.
Go back to Gitea and copy the
Client Secret.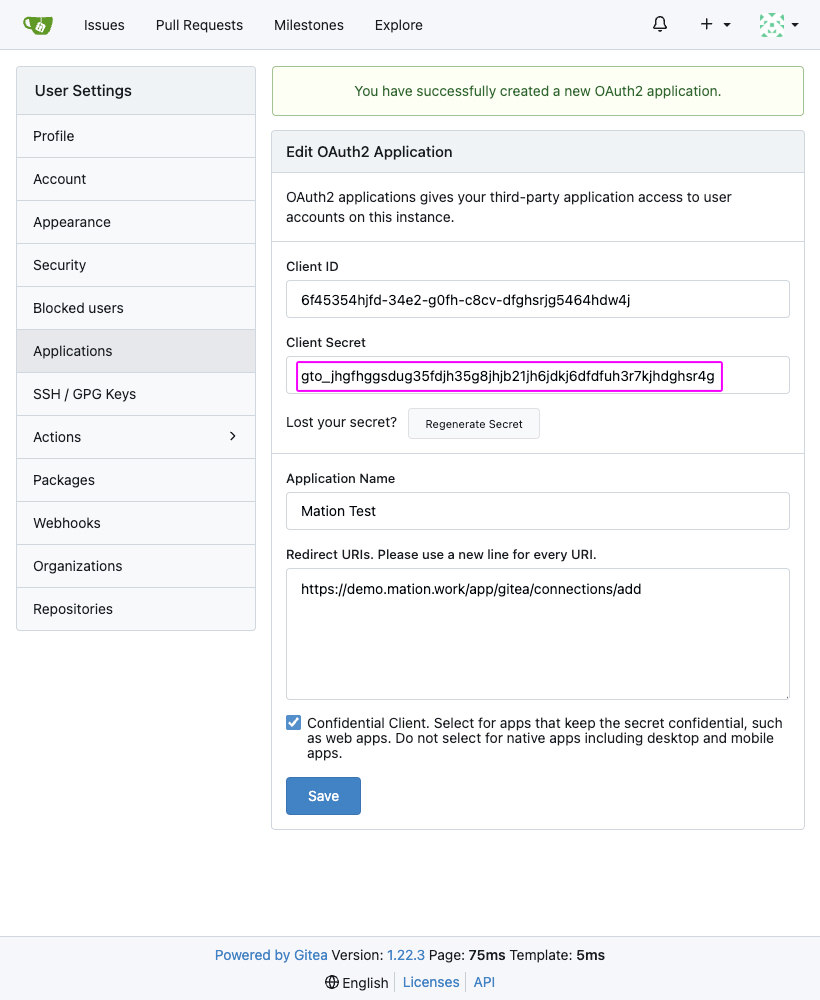
Return to Workflow Automation and paste the
Client Secretvalue into the Client Secret field.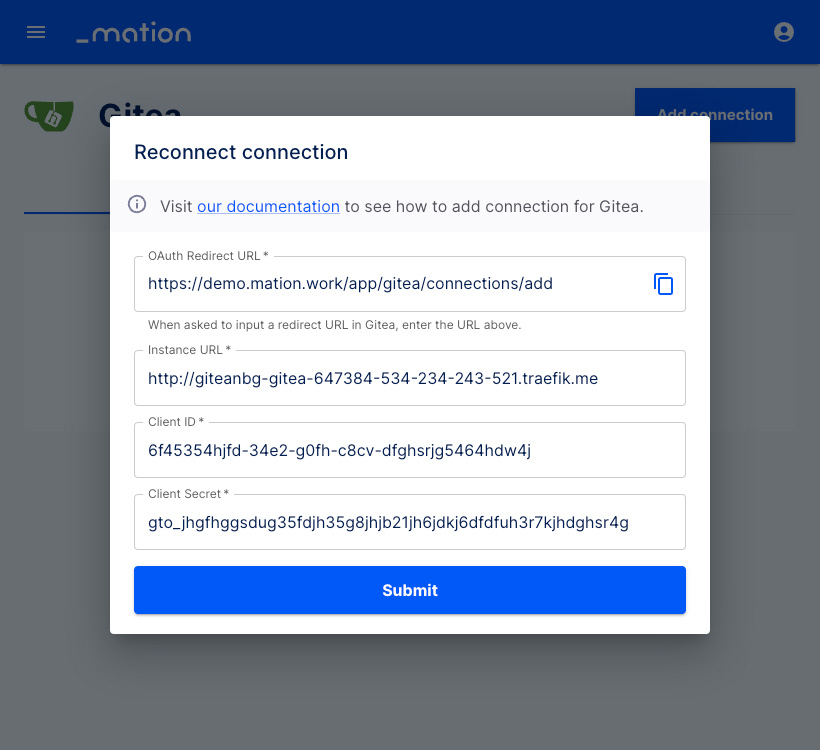
Click the Submit button.
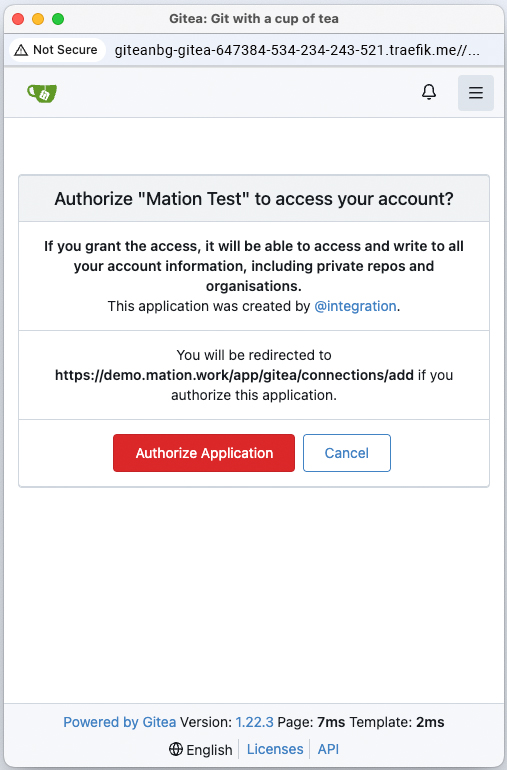
A pop-up window appears. Click the Authorize Application button.
Your Gitea connection is now established.
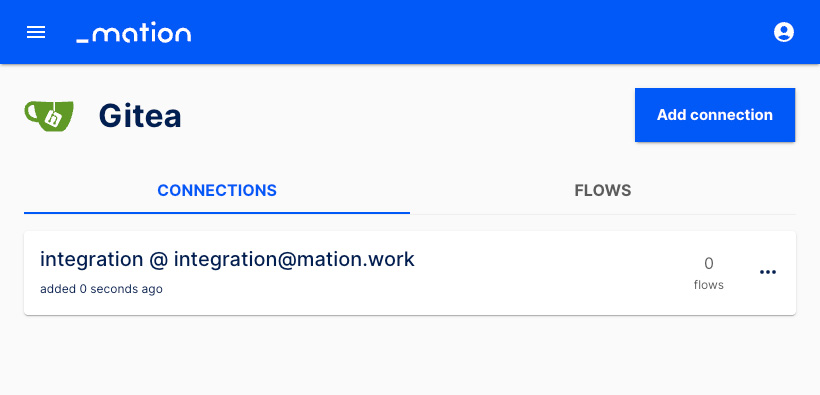
Start using your new Gitea connection with Workflow Automation.