Appearance
X (Twitter)
X (formerly known as Twitter) is a social media platform that enables users to send and read short 280-character messages known as "tweets". Registered users can post, like, and retweet tweets, but unregistered users can only read them. Users interact with Twitter through browser or mobile frontend applications, or programmatically via its APIs.
Key Features of X (Twitter):
- Following: Stay updated by following accounts of interest including individuals, brands, and news sources.
- Trending Topics: Discover what’s popular in real-time through curated trends tailored to your location and interests.
- Twitter Threads: Share and read extended stories or discussions by linking multiple tweets together.
- Lists: Organize followed accounts into custom lists for focused content streams.
- Direct Messages: Private one-on-one or group conversations with other users.
- Media Support: Share images, videos, GIFs, and polls to enhance engagement and storytelling.
Further information
Read more detailed information on X (Twitter) here.
Triggers:
- My Tweets: Triggers when you tweet something new.
- New followers: Triggers when you have a new follower.
- Search Tweets: Triggers when there is a new tweet containing a specific keyword, phrase, username or hashtag.
- User Tweets: Triggers when a specific user tweet something new.
Actions:
- Create Tweet: Creates a tweet.
- Search User: Searches an user.
Connect with X (Twitter):
INFO
Pop-up windows must be allowed for this browser session to enable the connection of this third-party app with Workflow Automation.
NOTE
The free plan on X (Twitter) only allows users to create a new tweet with the API. You need to upgrade to a paid plan to be able to search for tweets.
Log in to your X (Twitter) account.
Go to the X (Twitter) Developer Portal, complete the questionnaire and click the Let's do this button.
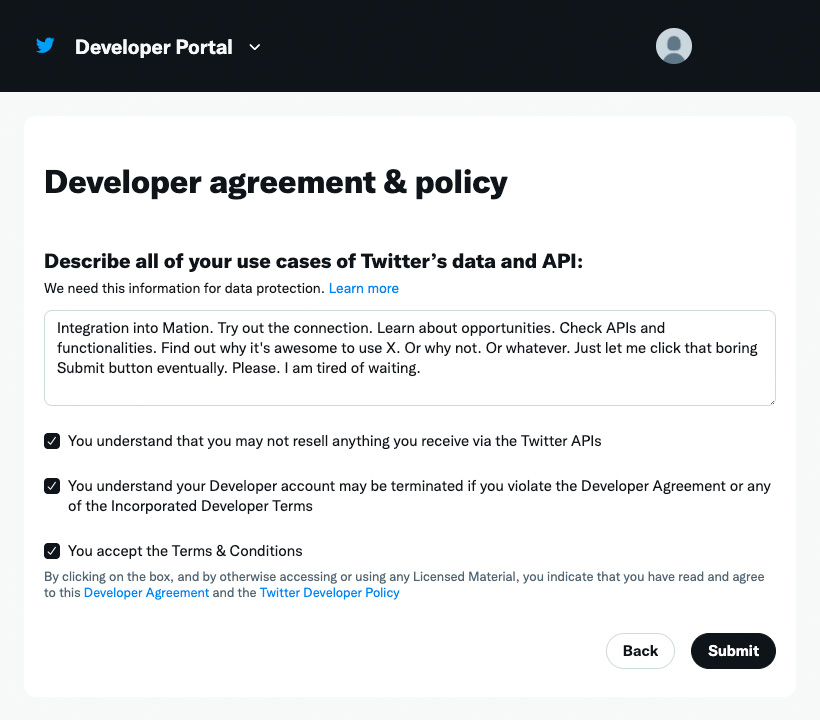
Accept the Developer agreement policy on the following page, check the checkboxes and click the Submit button.
WARNING
If you see an error saying
There was a problem completing your request. User must have a verified phone number on file prior to submitting application.Go to the phone settings page and set up your phone number to be able to continue with step 2.You will receive a verification email from X (Twitter). Copy the verification code and paste it on X (Twitter) to confirm your email address.
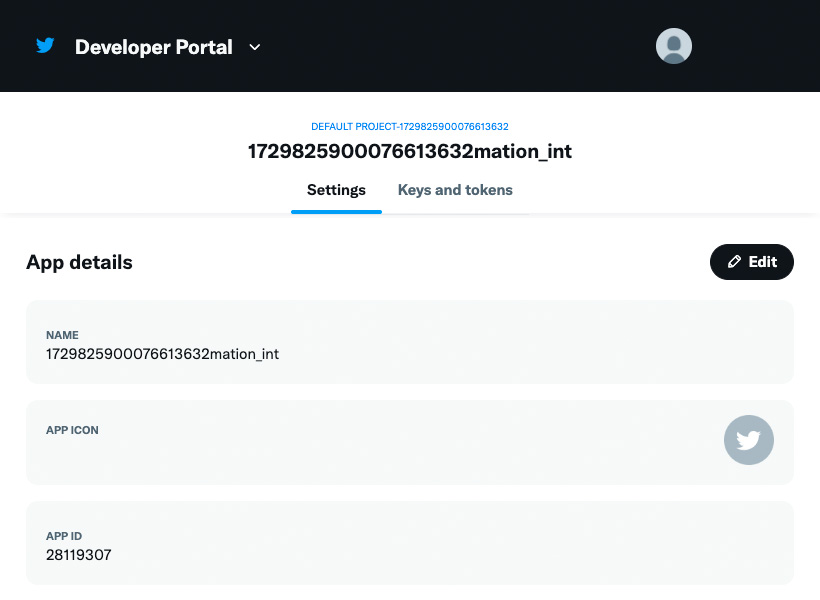
Welcome to the the Dashboard. Your first Project app has already been generated.

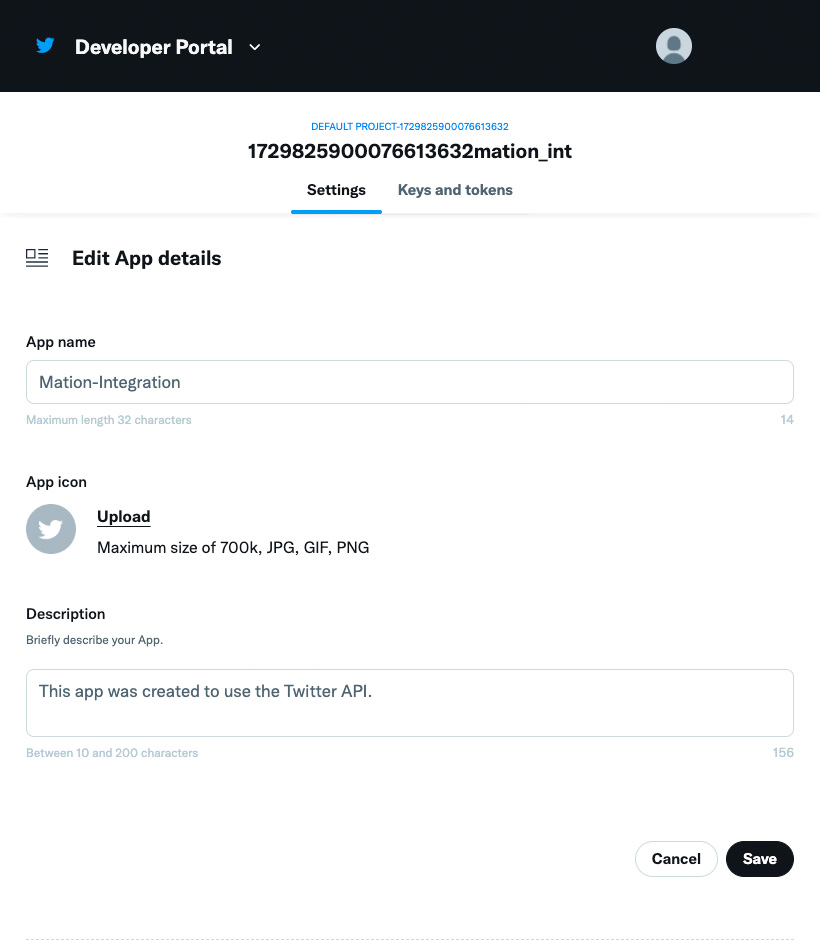
Click the Gear button to get access to the Settings tab and click the Edit button to change the App details.
Enter an App name and click the Save button.

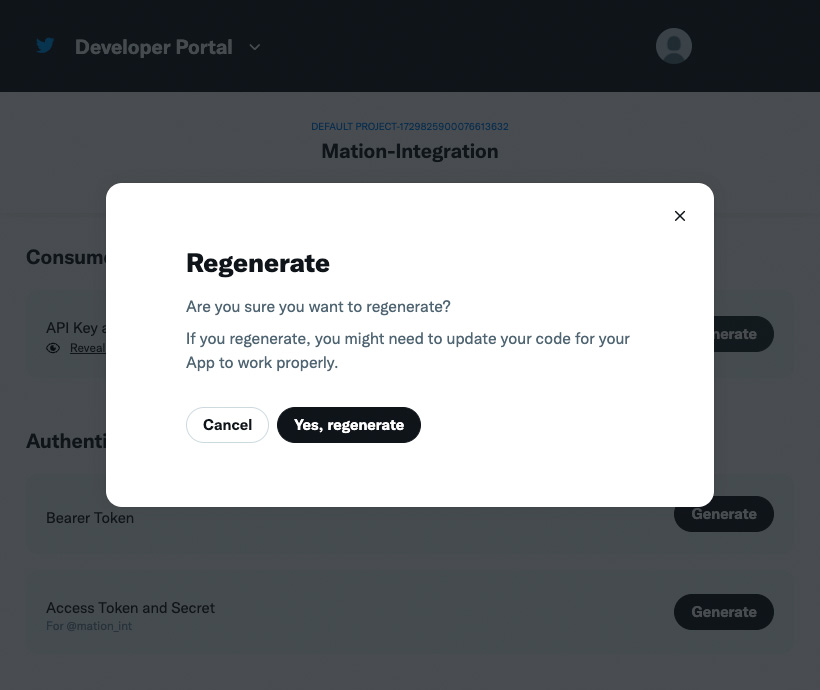
Switch to the Keys and tokens tab. Click the Regenerate button.
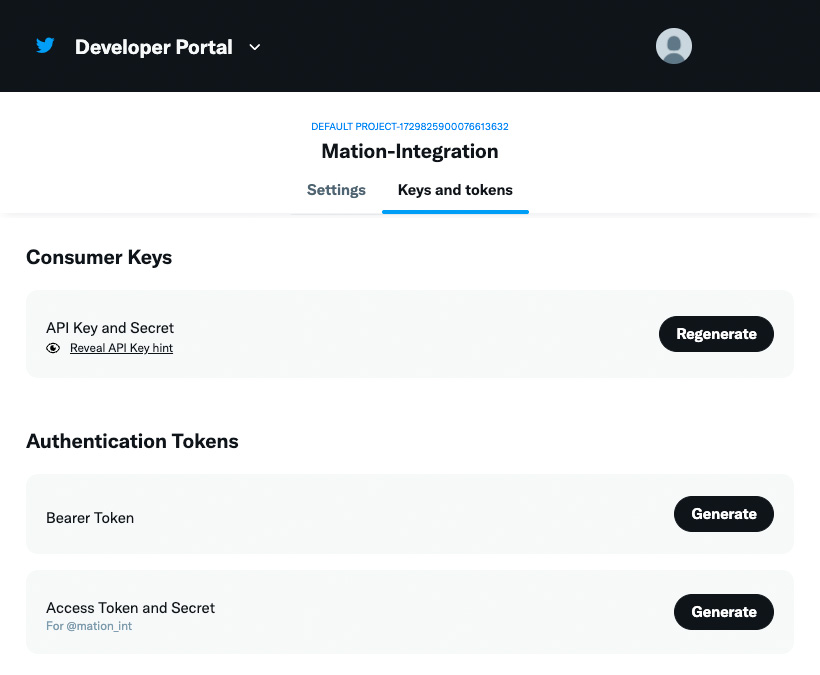
In the following pop-up click the Yes, regenerate button.
Copy the
API KeyandAPI Key Secretvalues and save them for future use.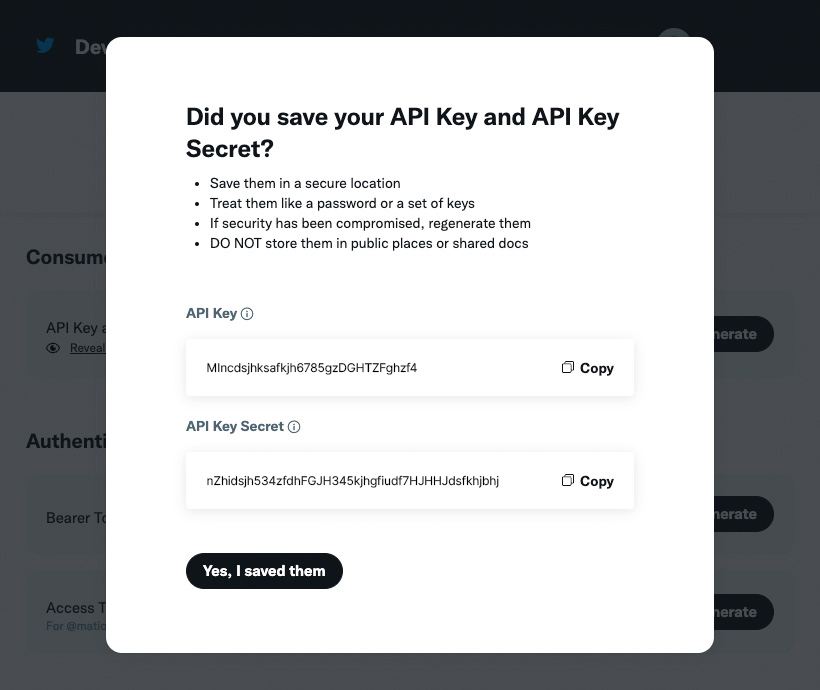
Click the Yes, I saved them button.
Switch back to the Settings tab.
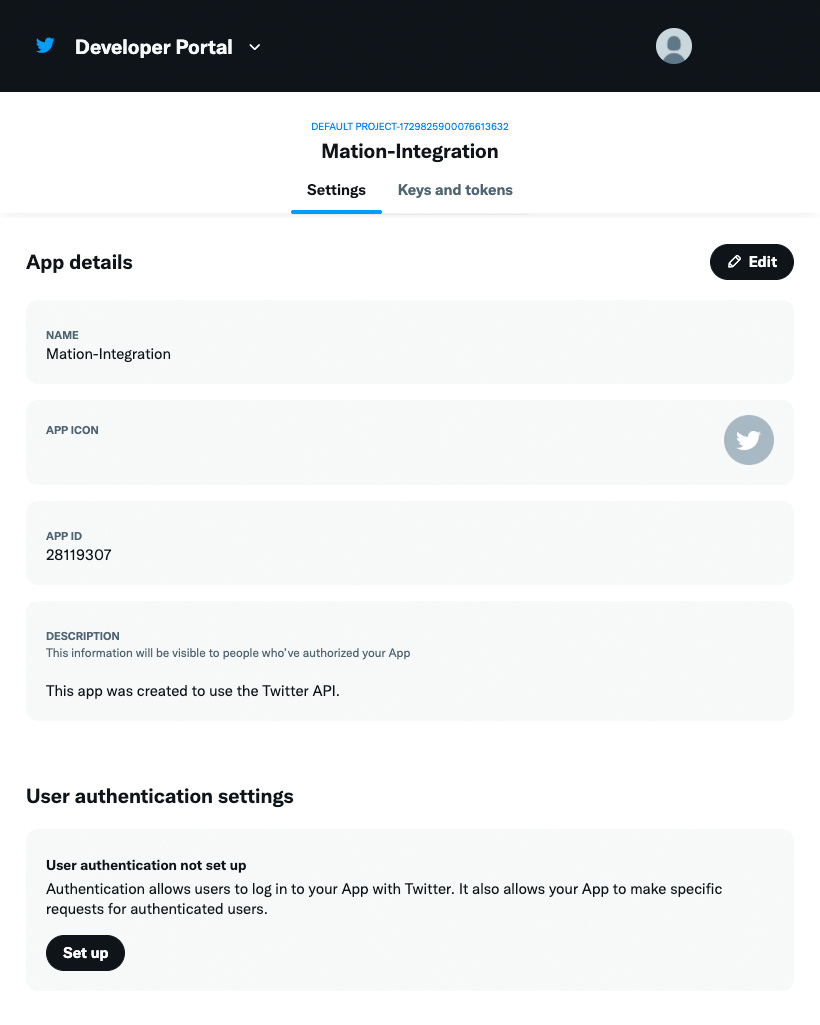
Go to the User authentication settings section and click the Set up button.

In the OAuth 1.0A Settings section, select the Read and write option.
In the Type of App section click the Web App, Automated App or Bot radio button to enable OAuth 2.0a authentication.
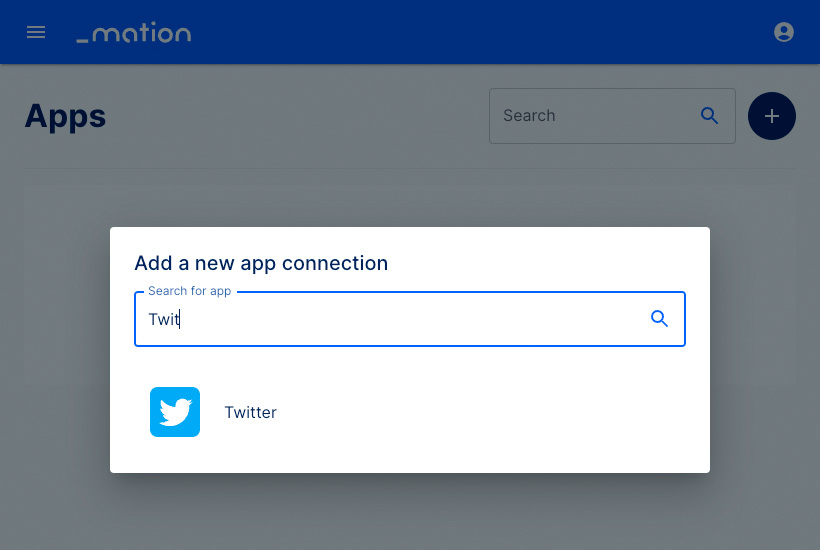
Go to Workflow Automation and navigate to Apps. Click the + Add Connection button. In the popup, select Twitter from the list.
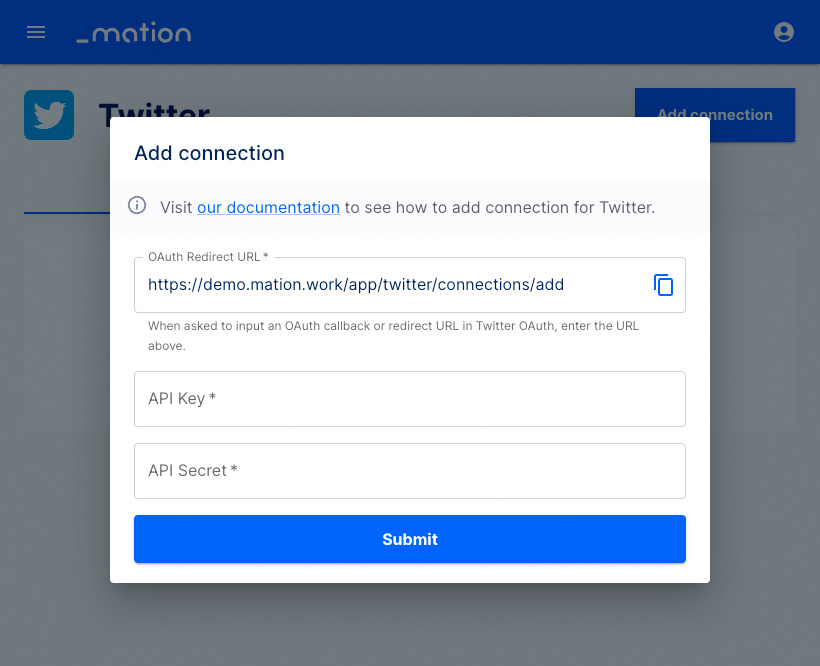
Copy
OAuth Redirect URLfrom Workflow Automation and paste it into the Callback URI / Redirect URL field on X (Twitter).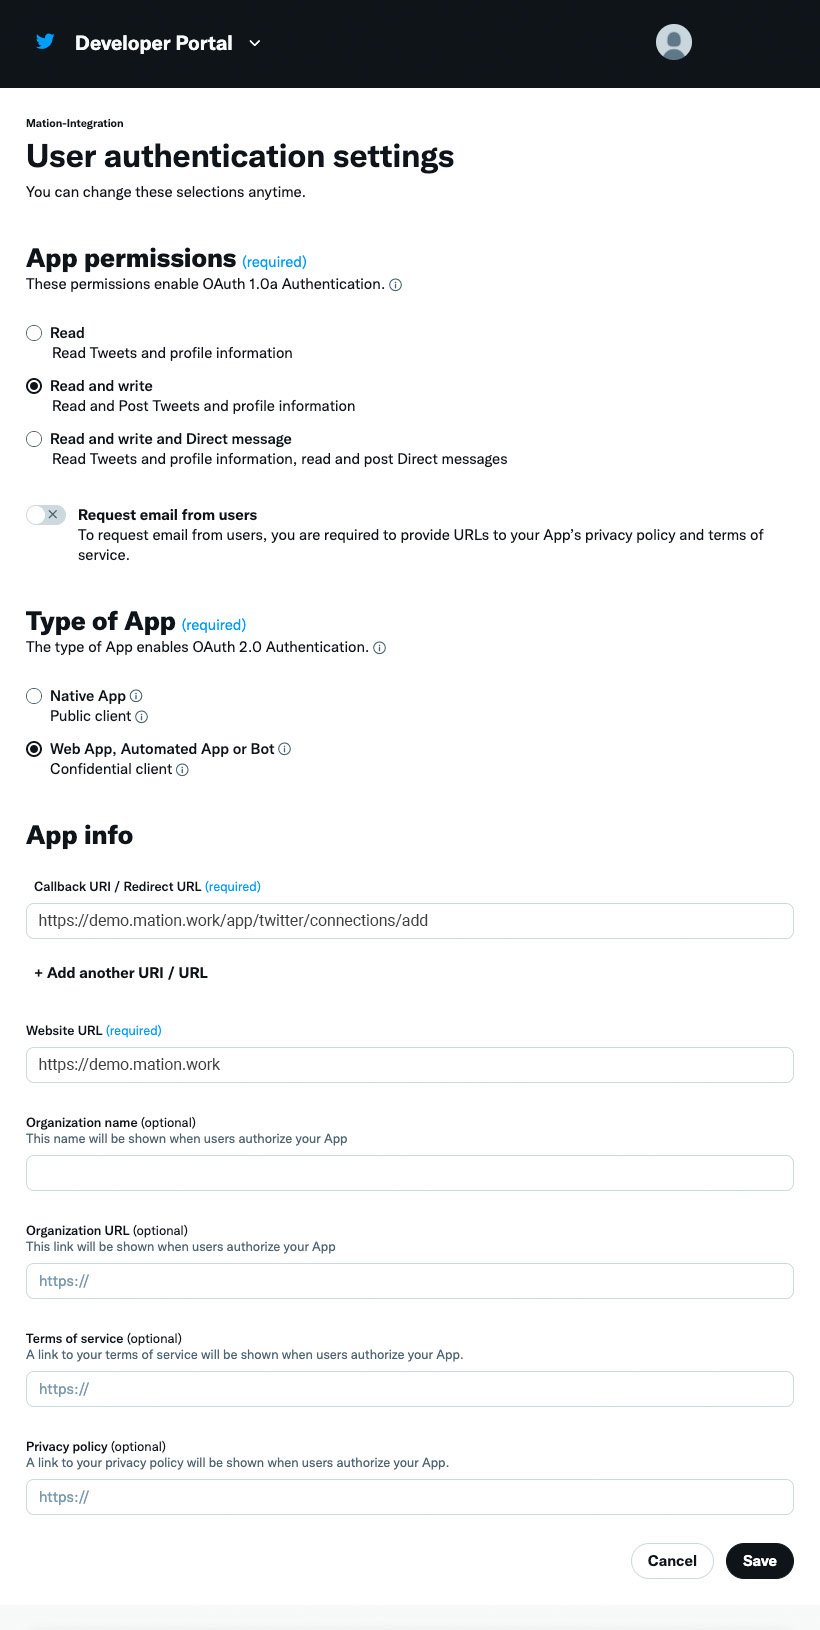
Fill in the Website URL and click the Save button.
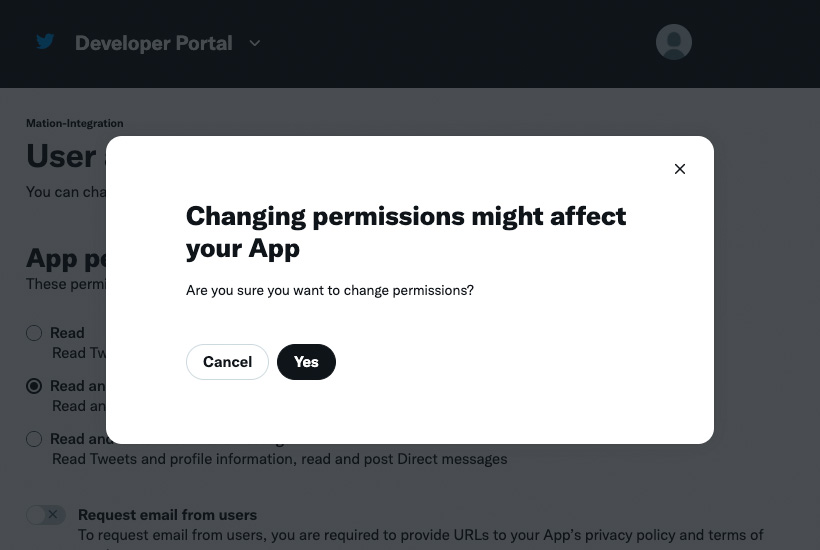
In the pop-up window, click the Yes button.
Copy the
API KeyandAPI Key Secretvalues you have saved earlier and paste them into the API Key and API Secret fields on Workflow Automation, respectively.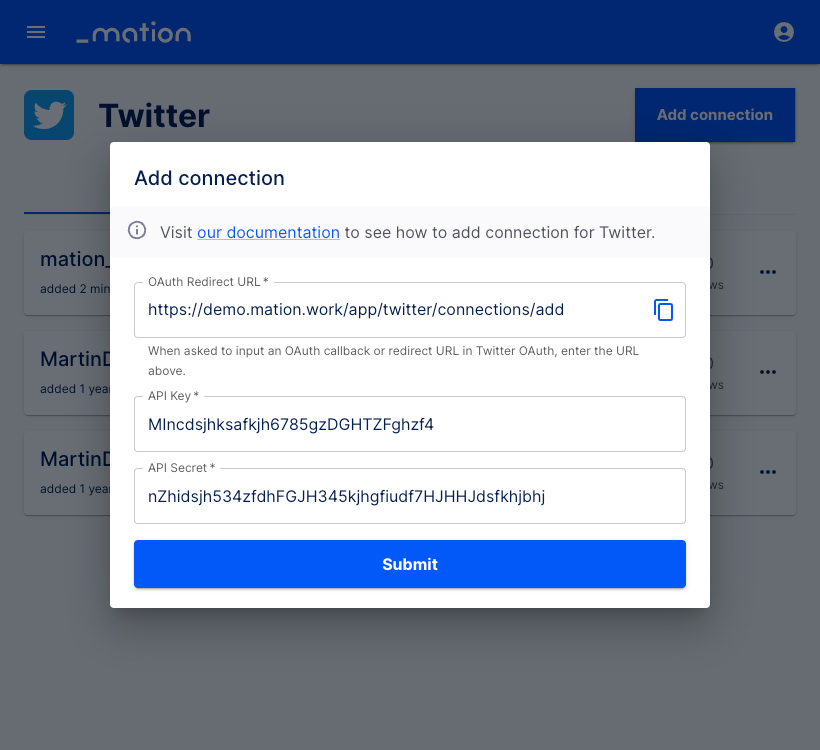
Click the Submit button.
A pop-up window appears. Click the Authorize app button.
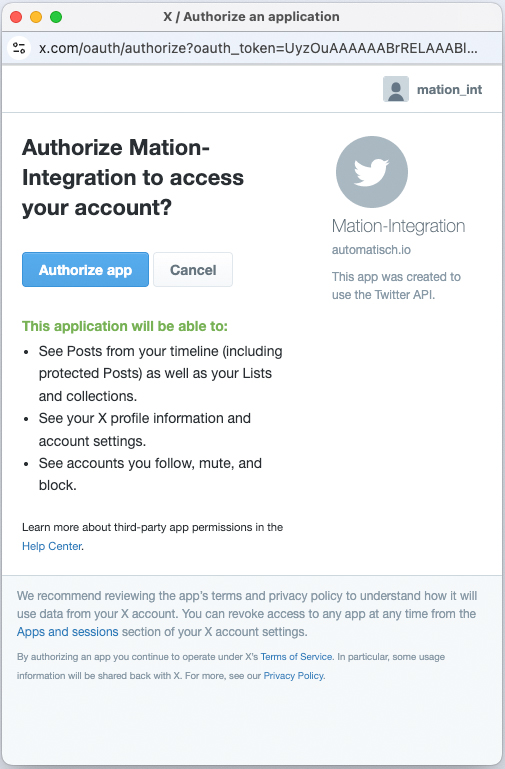
Your Twitter connection is now established.
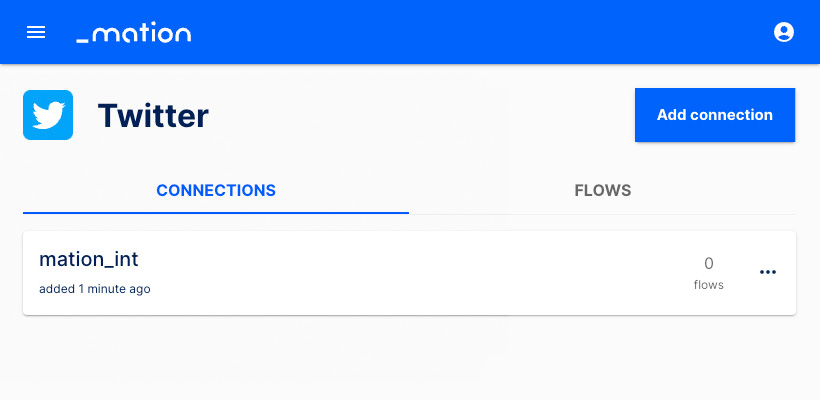
Start using your new Twitter connection with Workflow Automation.