Appearance
VirtualQ
VirtualQ is a cloud-based solution that eliminates hold times in call centers by offering intelligent callback systems, real-time queue monitoring, and seamless customer experience tools. Designed for enterprises, VirtualQ enhances service efficiency, increases agent productivity, and improves customer satisfaction through AI-powered voice solutions and smart integrations.
Key Features of VirtualQ:
- Virtual Waiting Lines: Eliminate hold times by placing callers in a virtual queue and calling them back when it's their turn.
- Callback Solutions: Offer scheduled or immediate callbacks to improve customer satisfaction and reduce abandonment rates.
- Queue Management: Optimize call and service center operations with intelligent queue monitoring and analytics.
- Real-Time Status Updates: Eeep customers informed with real-time updates via voice, SMS, or web.
- Integration Ready: Seamlessly integrates with major phone systems, CRMs, and helpdesk platforms.
- Data & Insights: Access performance metrics and customer behavior data to improve service strategies.
- Omnichannel Support: Works across voice, web, and mobile for a consistent customer experience.
Further information
Read more detailed information on VirtualQ here.
Actions:
- Create waiter: Creates a waiter.
- Delete waiter: Deletes a waiter.
- Show waiter: Shows a waiter.
- Update waiter: Updates a waiter.
Connect with VirtualQ:
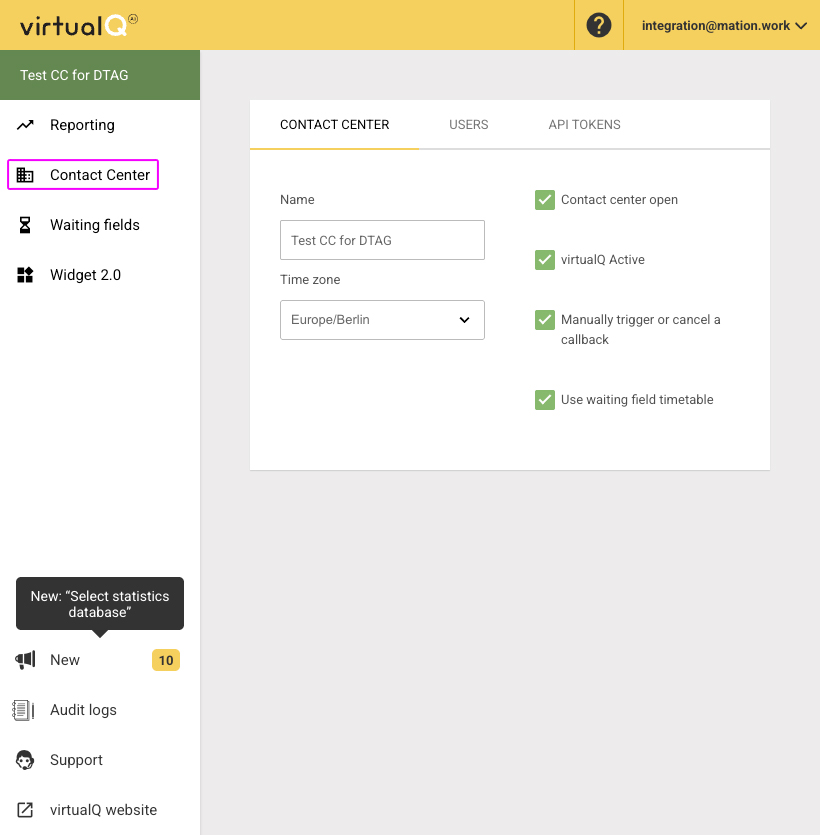
Go to the VirtualQ dashboard and navigate to the Contact Center page.
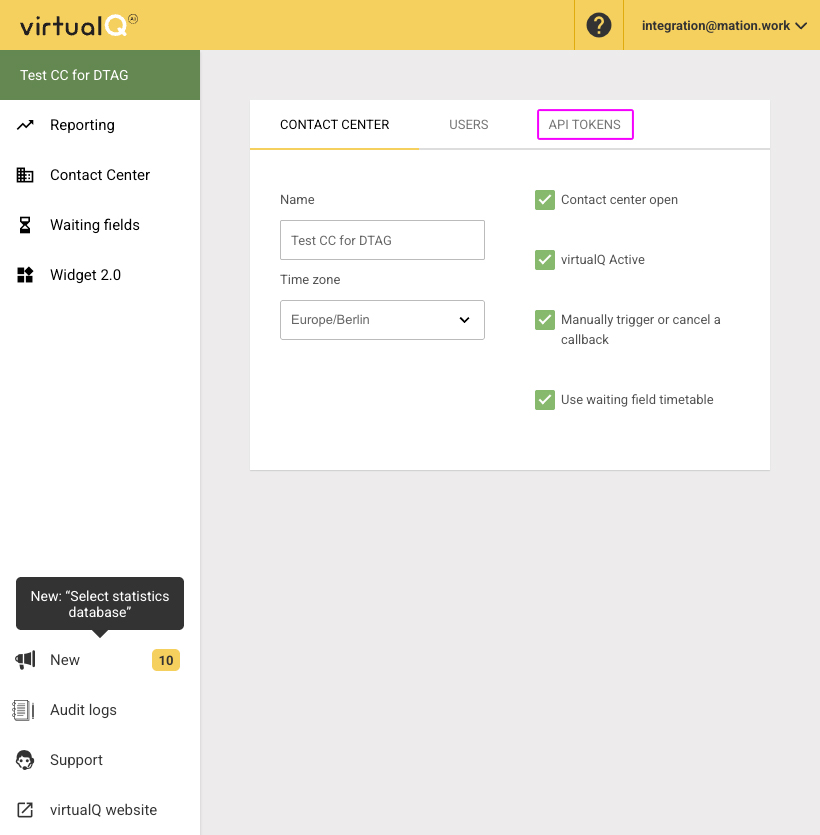
Click the API Tokens tab.
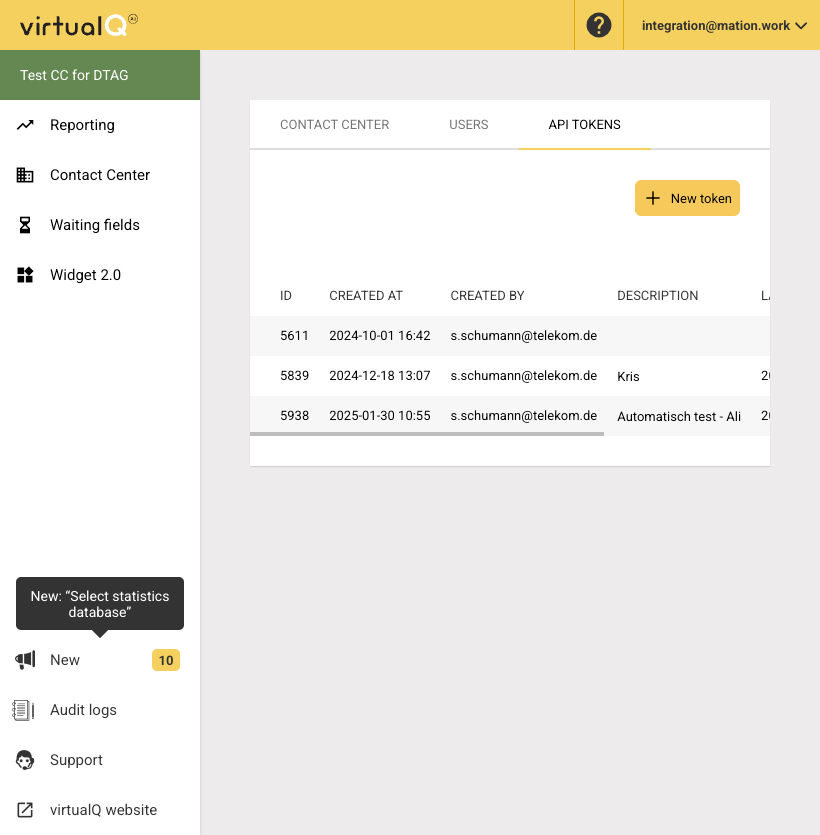
Click the + New token button.
Enter a name in the Optional description field and click the Create Token button.
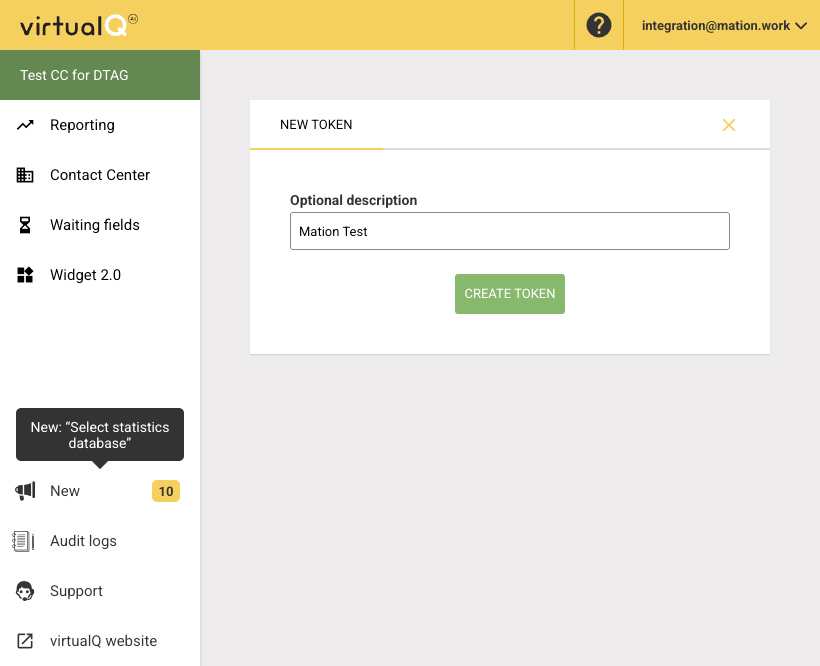
Your new token has been successfully created. Copy the
tokenvalue.WARNING
Copy the
tokennow for later use, you won't be able to see it again!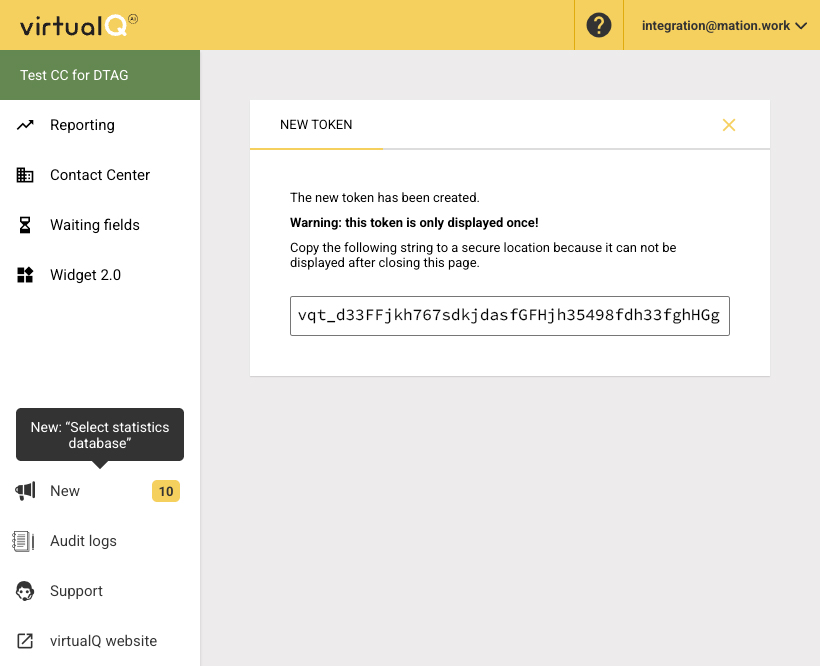
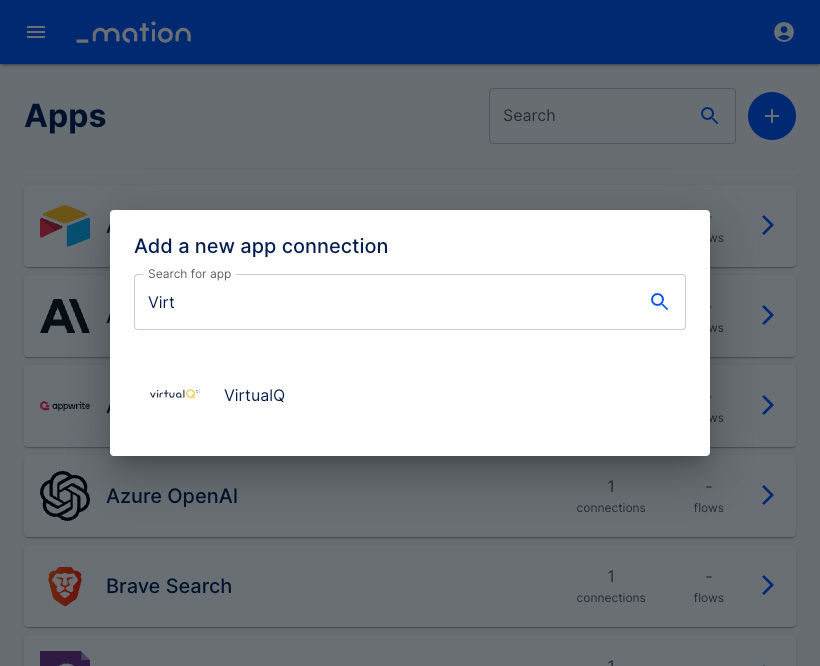
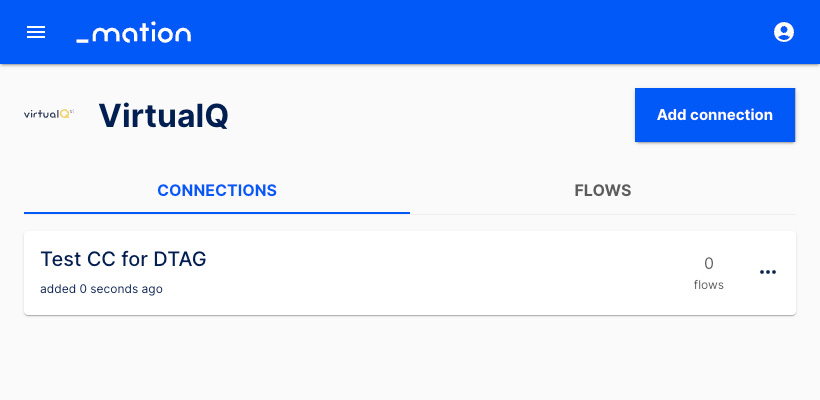
Go to Workflow Automation and navigate to Apps. Click the + Add Connection button. In the popup, select VirtualQ from the list.
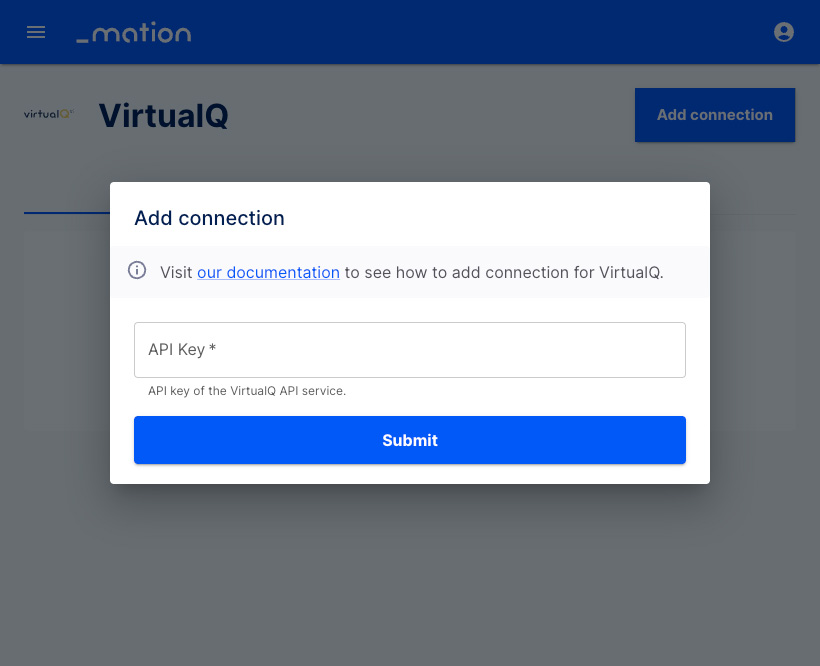
Paste the
tokenvalue into the API Key field.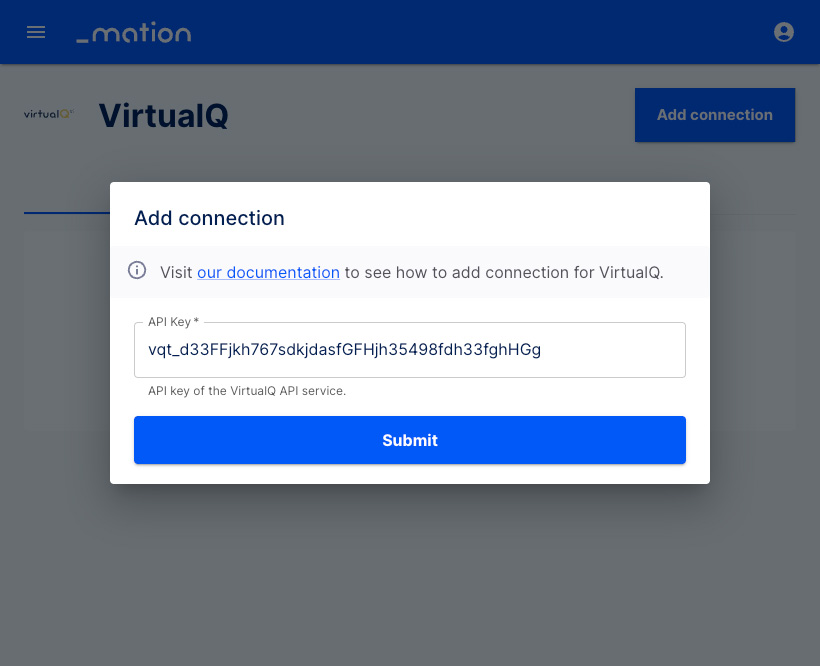
Click the Submit button.
Your VirtualQ connection is now established.
Start using your new Vtiger CRM connection with Workflow Automation.