Appearance
Google Tasks
Google Tasks is a simple yet powerful task management tool that helps you stay organized and productive. Seamlessly integrated with other Google services like Gmail and Google Calendar, Google Tasks allows you to easily create, manage, and prioritize your to-do lists across all your devices.
Key features of Google Tasks:
- Intuitive Task Creation: Quickly add new tasks with a simple and user-friendly interface.
- Integration with Google Services: Access and manage your tasks directly from Gmail and Google Calendar, ensuring all your important tasks are in one place.
- Subtasks and Deadlines: Break down large tasks into subtasks and set deadlines to stay on top of your projects.
- Multiple Lists: Create and organize multiple task lists for different projects or areas of your life.
- Mobile Access: Sync your tasks across all your devices, allowing you to stay organized on the go with the Google Tasks mobile app.
- Notifications and Reminders: Set reminders to ensure you never miss an important deadline.
- Simple and Clean Design: Enjoy a clutter-free and straightforward interface that makes task management easy.
Whether you're managing personal to-do lists, work projects, or daily errands, Google Tasks provides a streamlined and efficient way to keep track of everything. Enhance your productivity and stay organized with Google Tasks.
Further information
Read more detailed information on Google Tasks here.
Triggers:
- New completed tasks: Triggers when a task is finished within a specified task list.
- New task lists: Triggers when a new task list is created.
- New tasks: Triggers when a new task is created.
Actions:
- Create task: Creates a new task.
- Create task list: Creates a new task list.
- Find task: Looks for a specific task.
- Update task: Updates an existing task.
Connect with Google Tasks:
INFO
Pop-up windows must be allowed for this browser session to enable the connection of this third-party app with Workflow Automation.
Log in to your Google account.
Go to API Library in Google Cloud console.
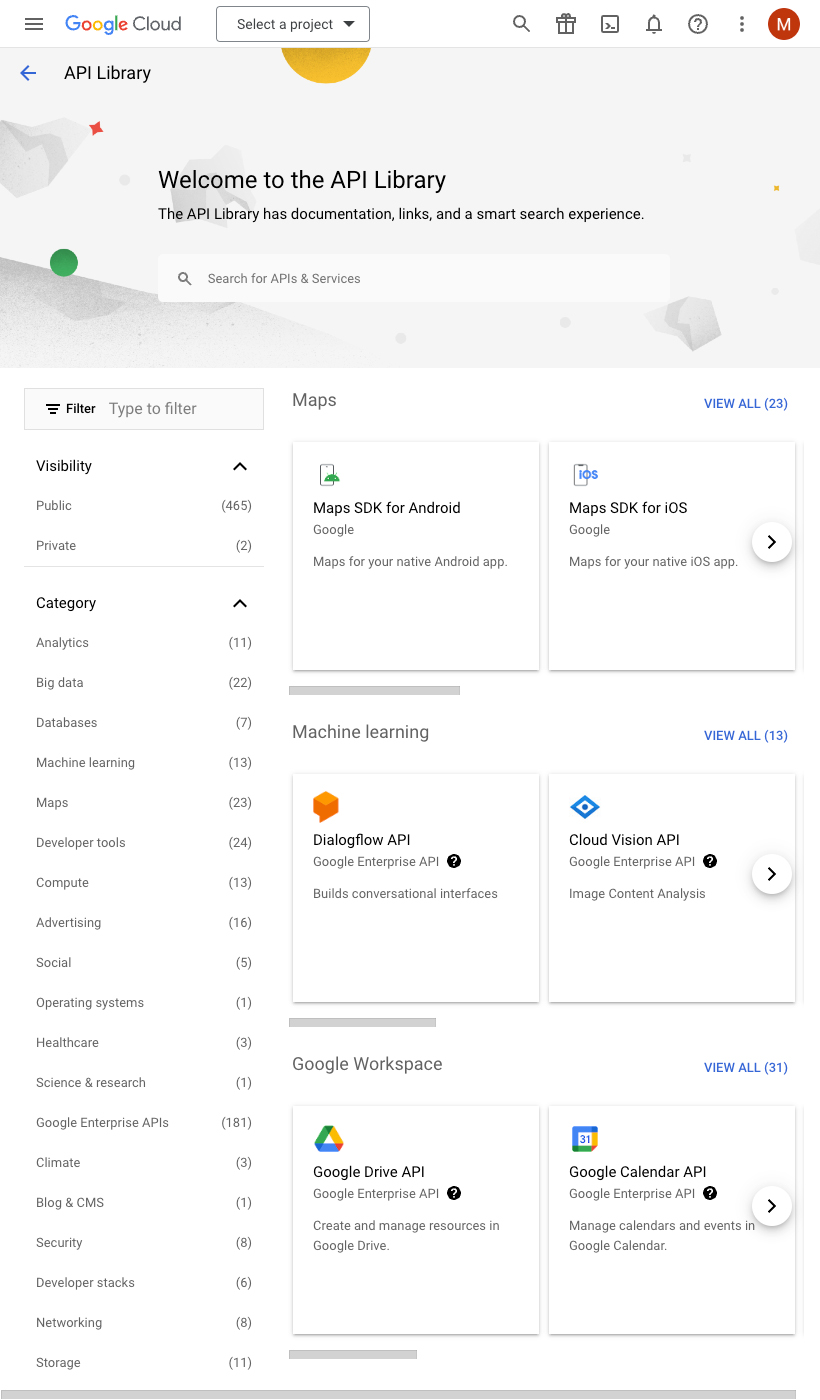
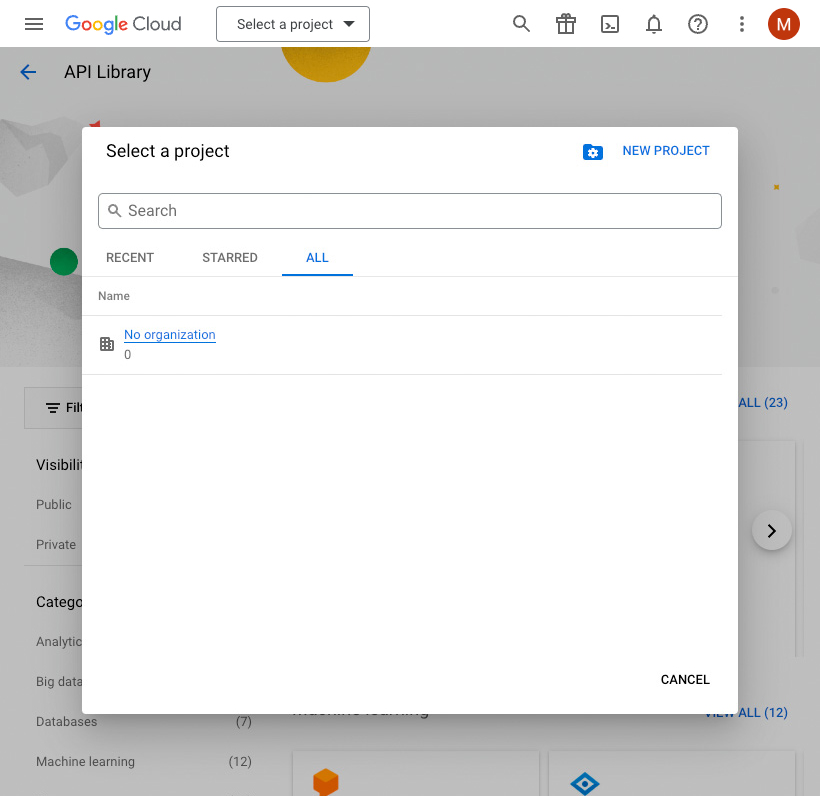
Click the Select a project drop-down menu at the top of the page, and click the New Project button.
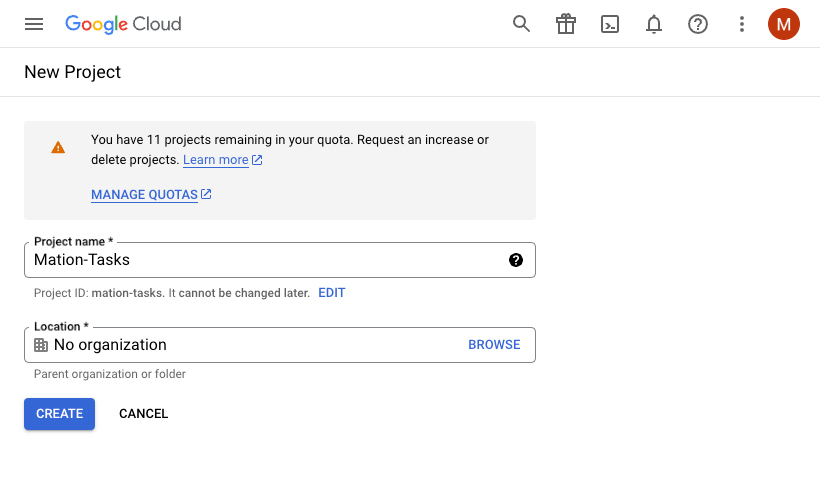
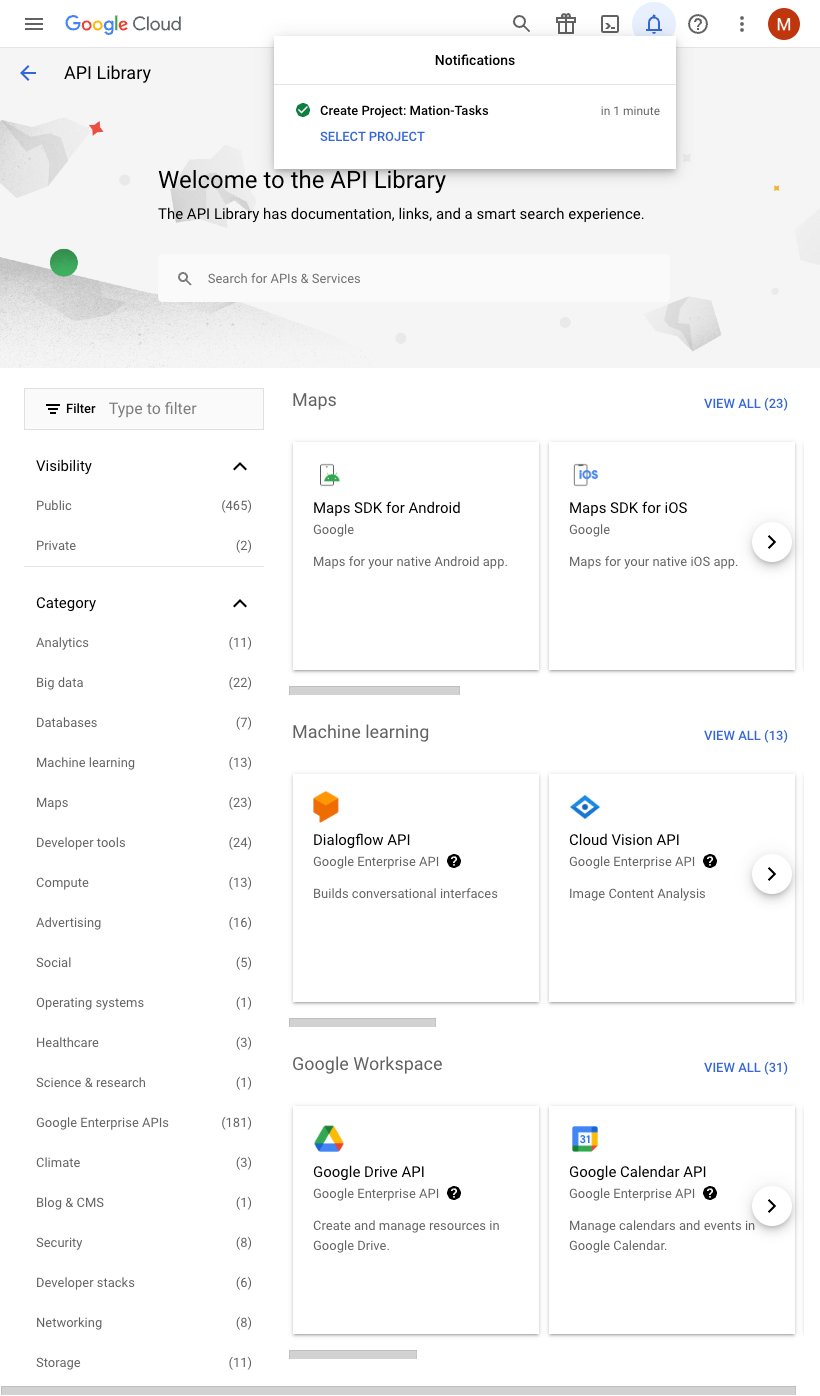
Enter a name for your project and click the Create button.
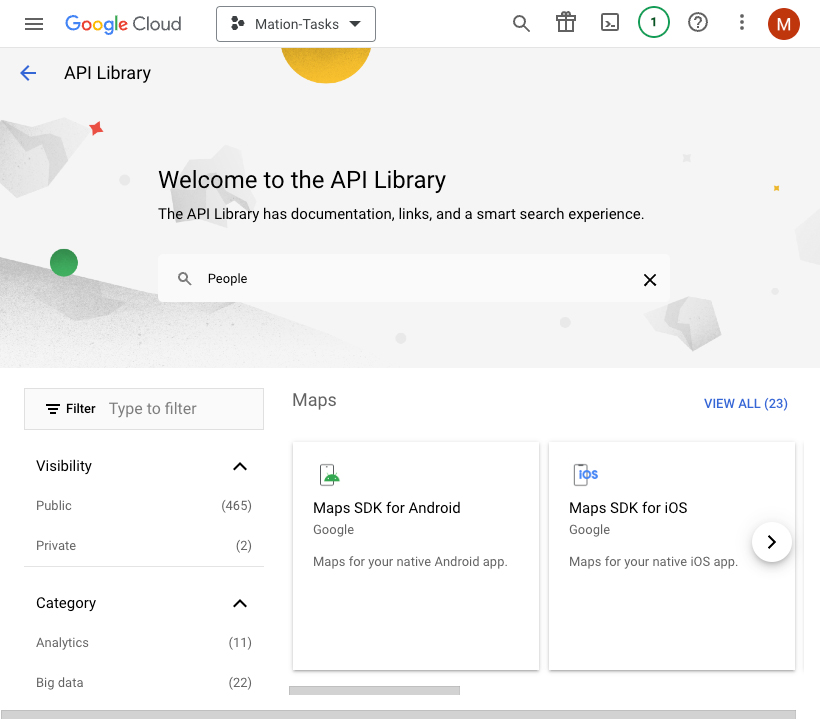
Go to API Library in Google Cloud console.
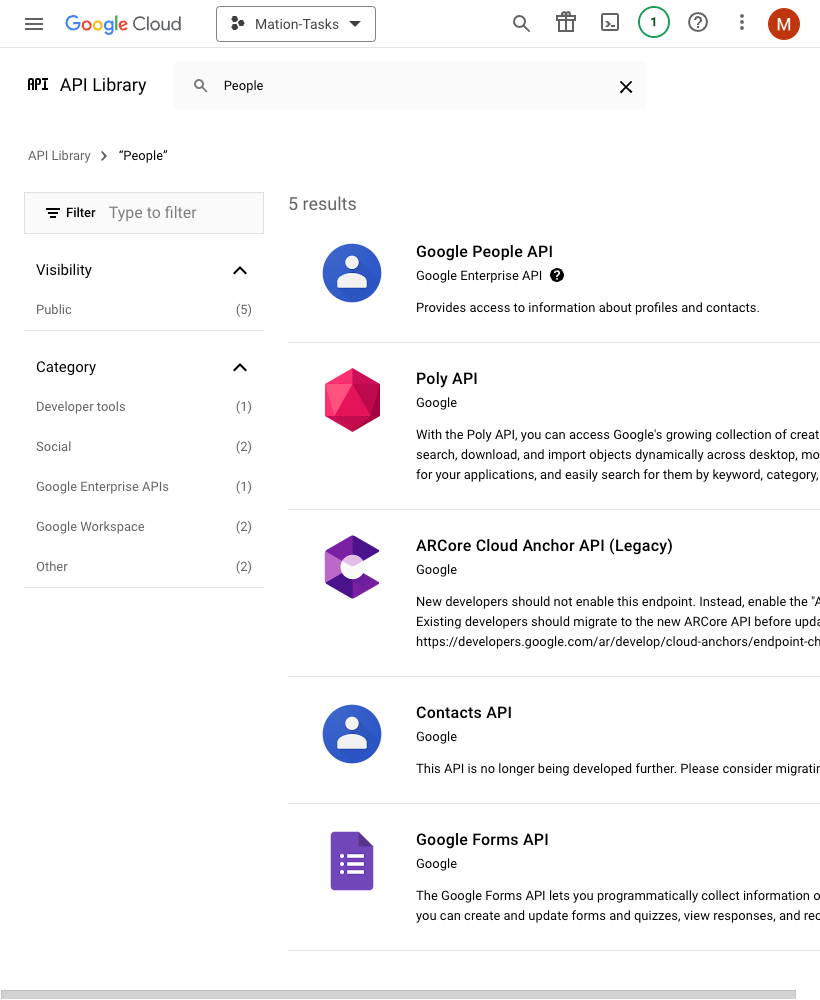
Search for People API in the search bar and click on it.
TIP
In case you've already connected another Google service using the same API skip the following steps and proceed to step 9.
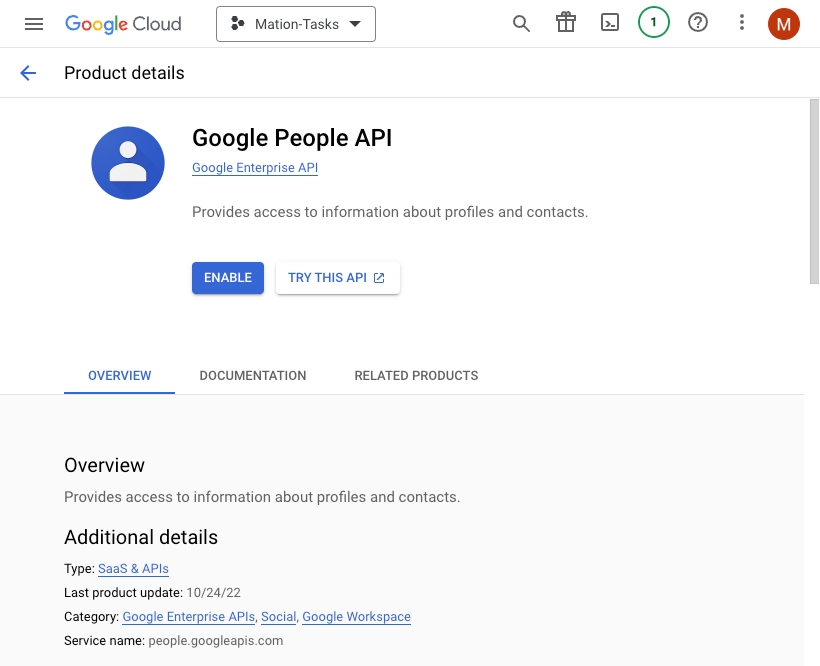
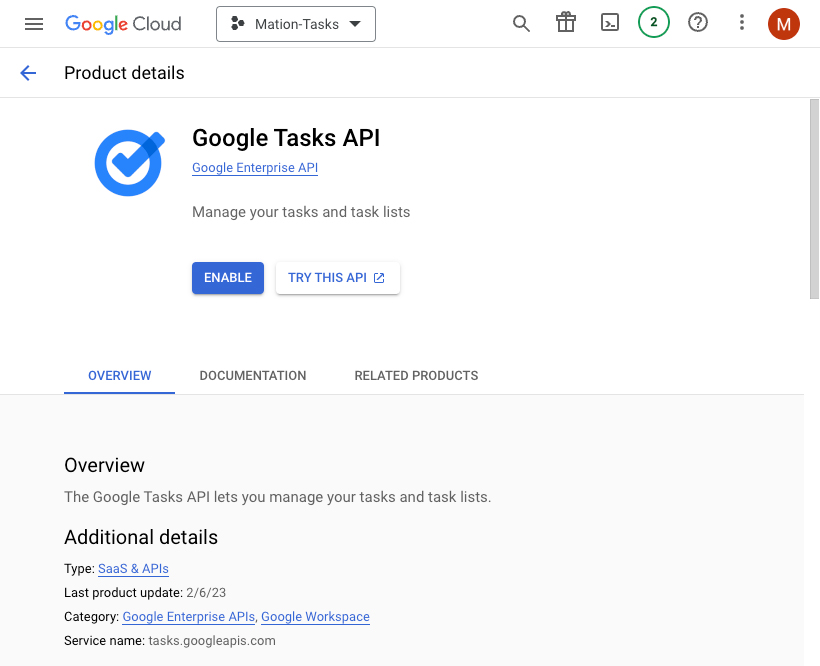
Click on Google People API in the list.
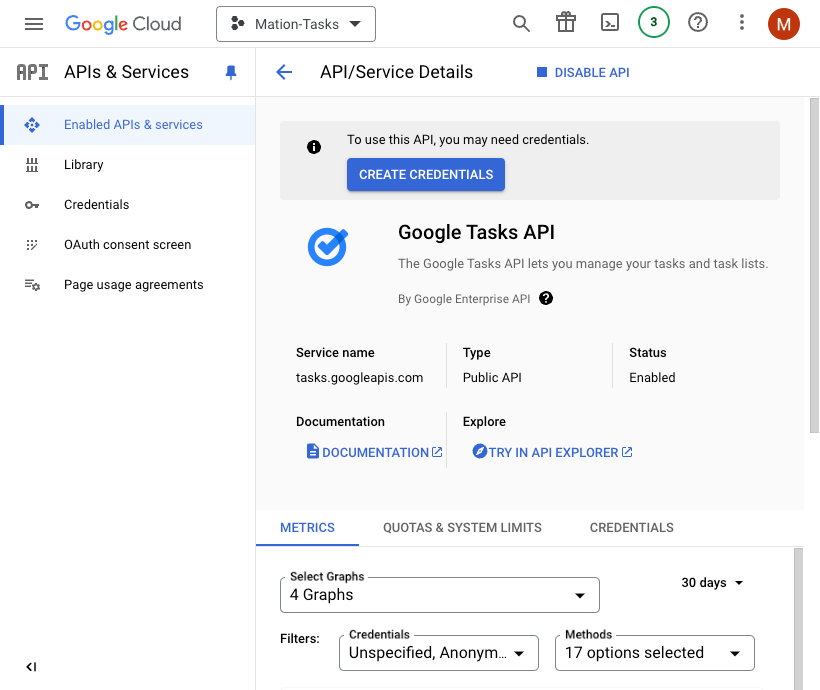
Click the Enable button to enable the API.
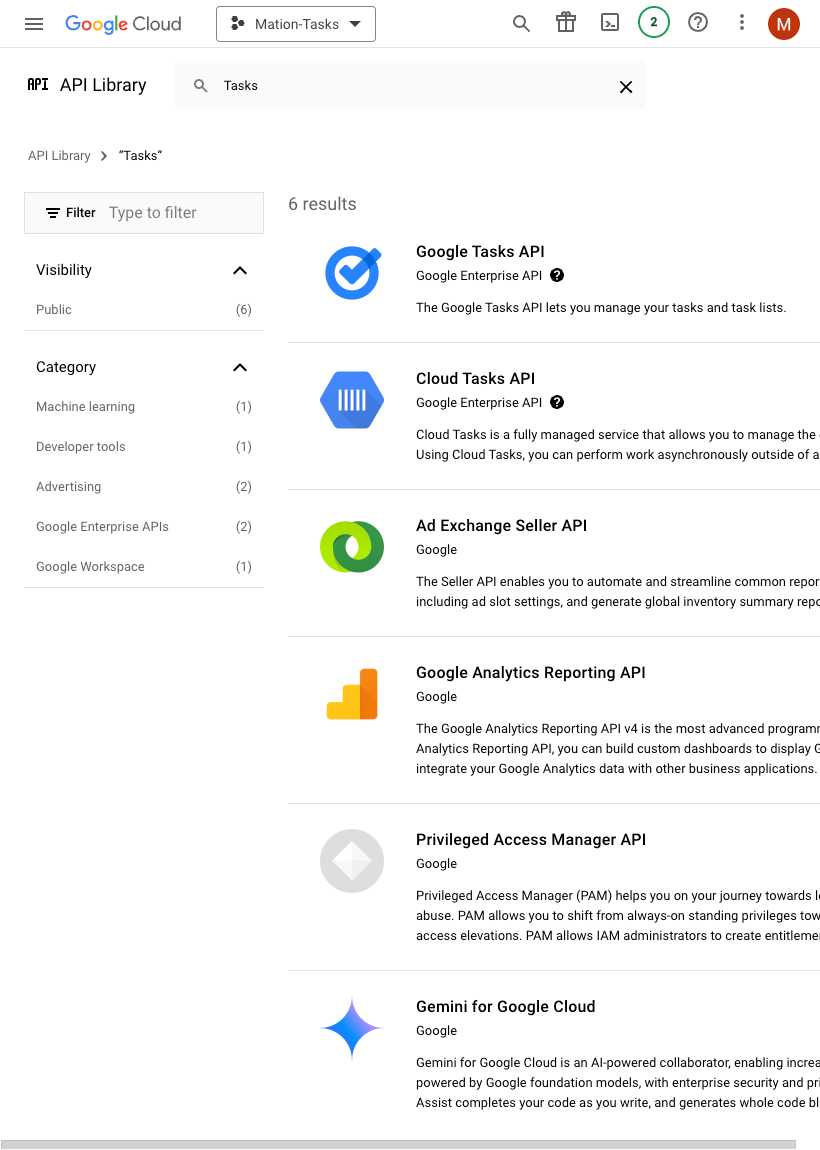
Repeat steps 5, 6, 7, and 8 for the Google Tasks API.

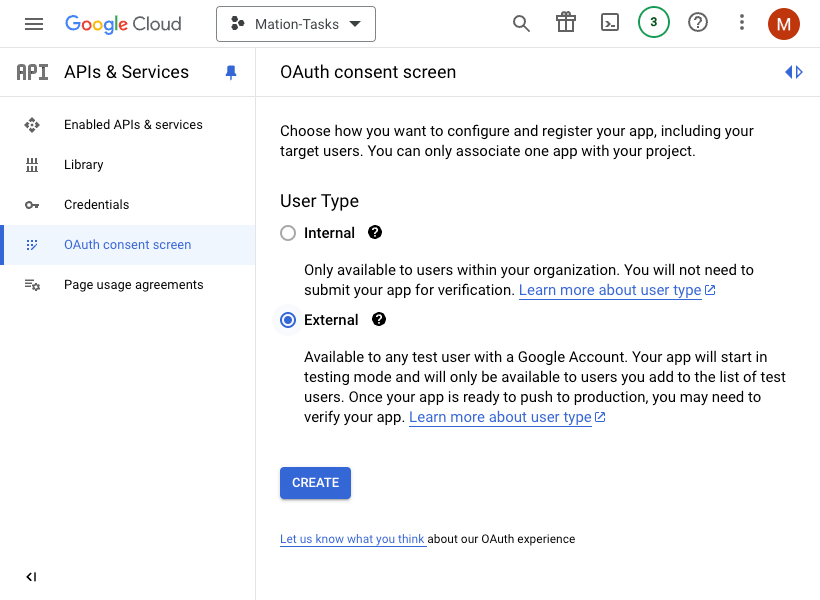
Go to OAuth consent screen in Google Cloud console.
Select External to start your app in test mode. Click the Create button.
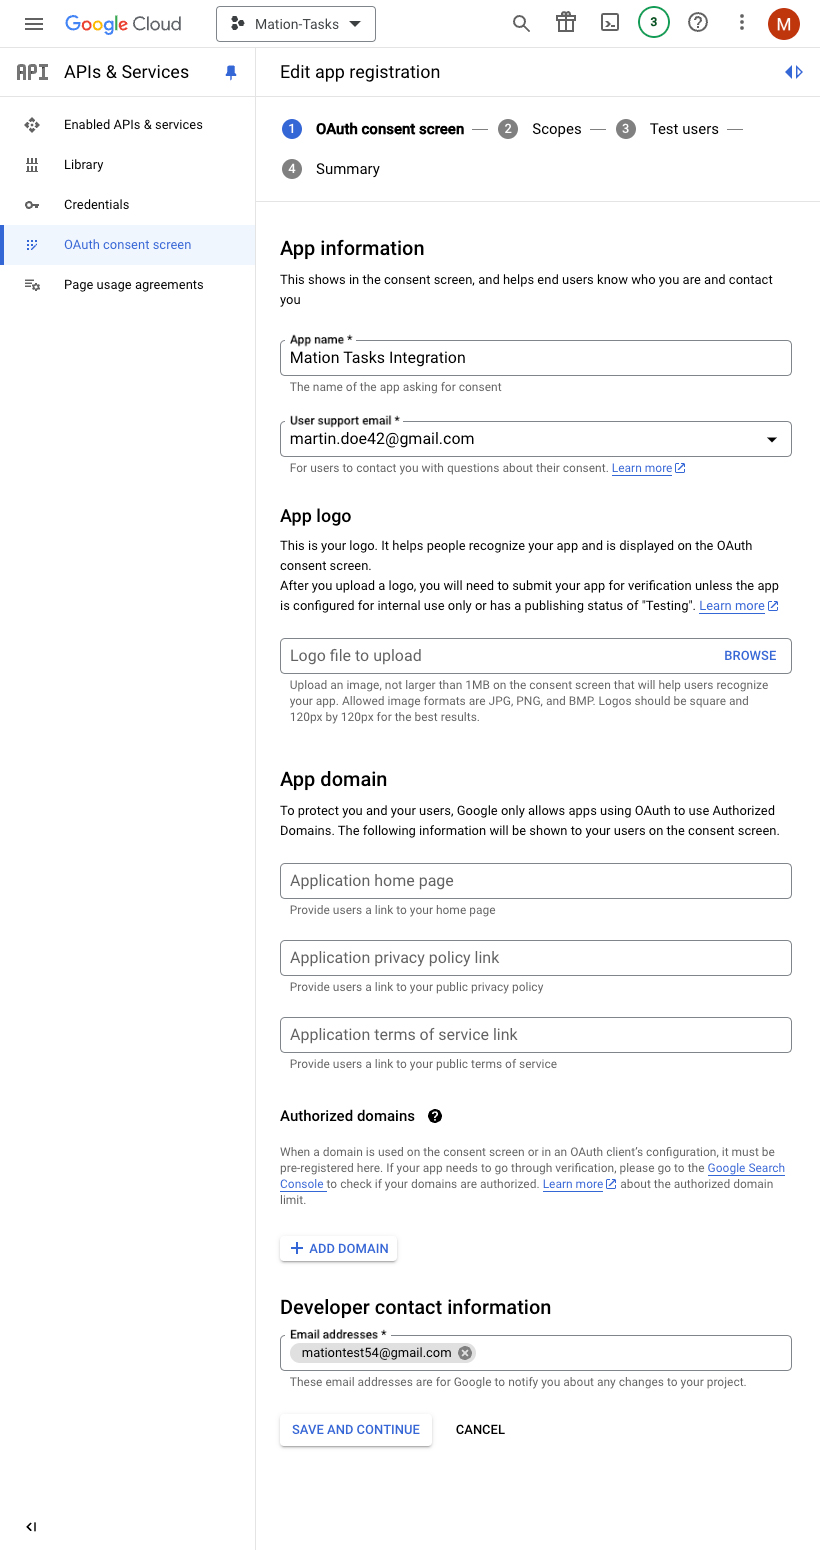
Fill in App name, User support email, and Developer contact information. Click the Save and Continue button.
Skip adding or removing scopes and click the Save and Continue button.
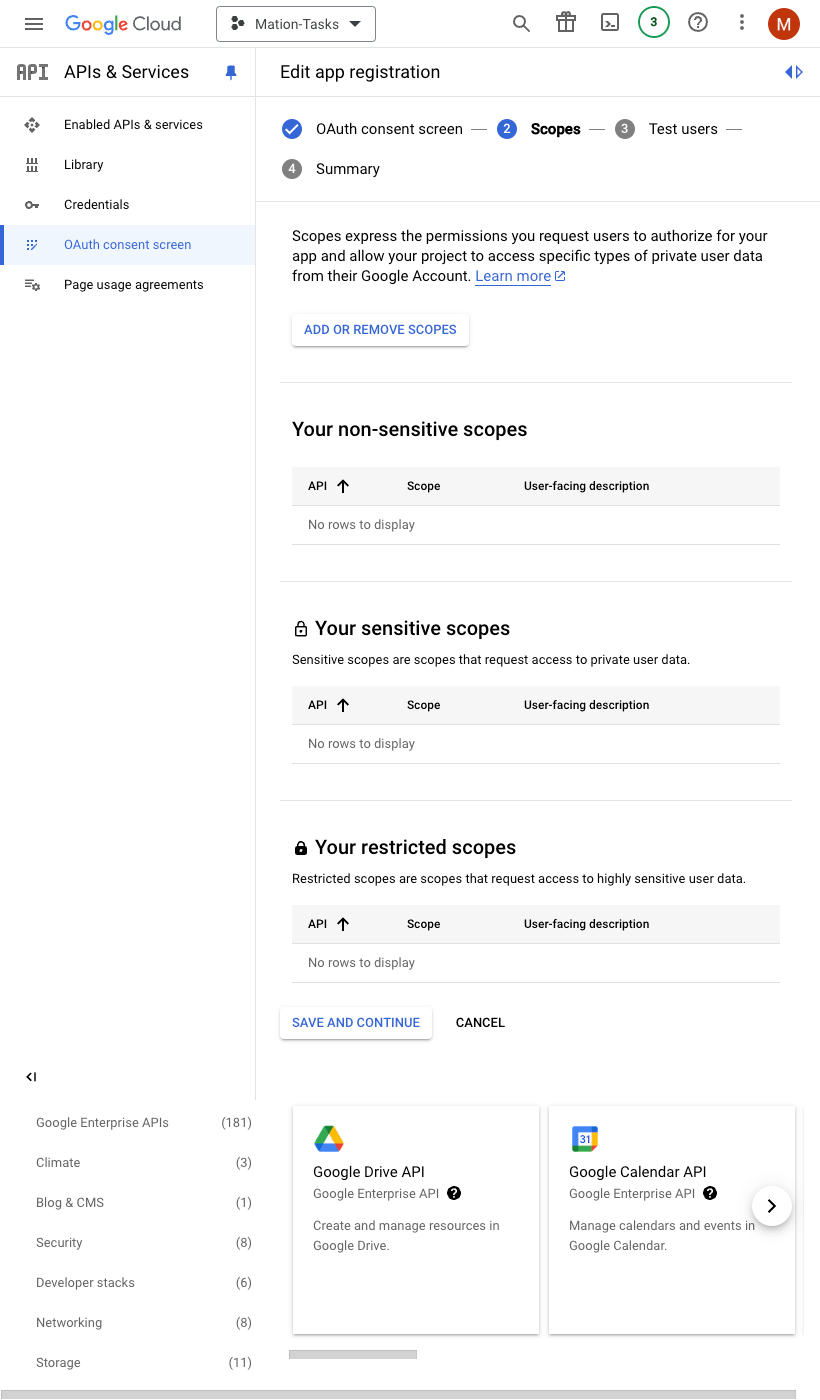
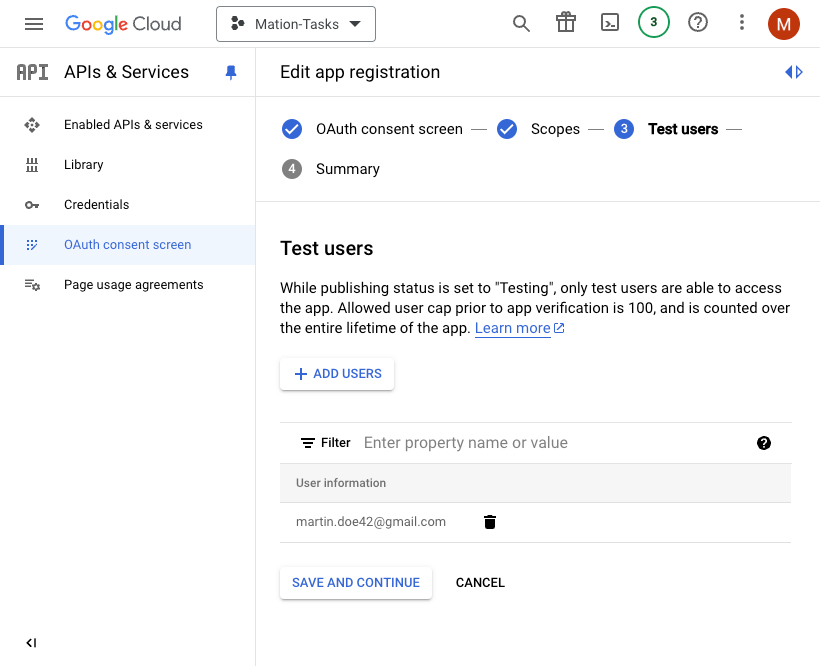
Click the Add Users button to add a test email address, since only test users can access the app while the publishing status is set to "Testing".

Enter an email address and click the Add button in the Add Users window.
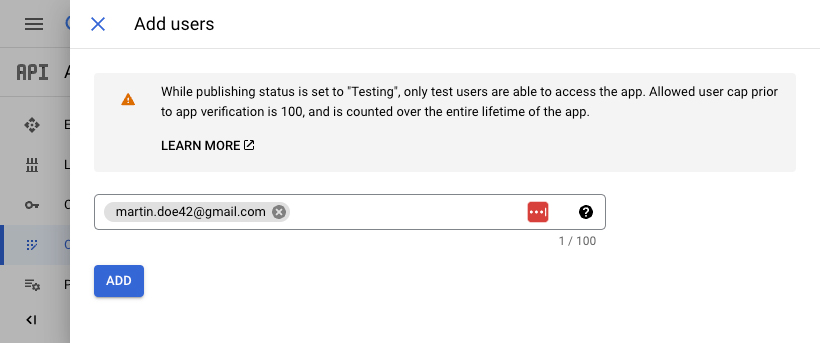
WARNING
Make sure to use the same email address you're logged into Google with as the test user email address.
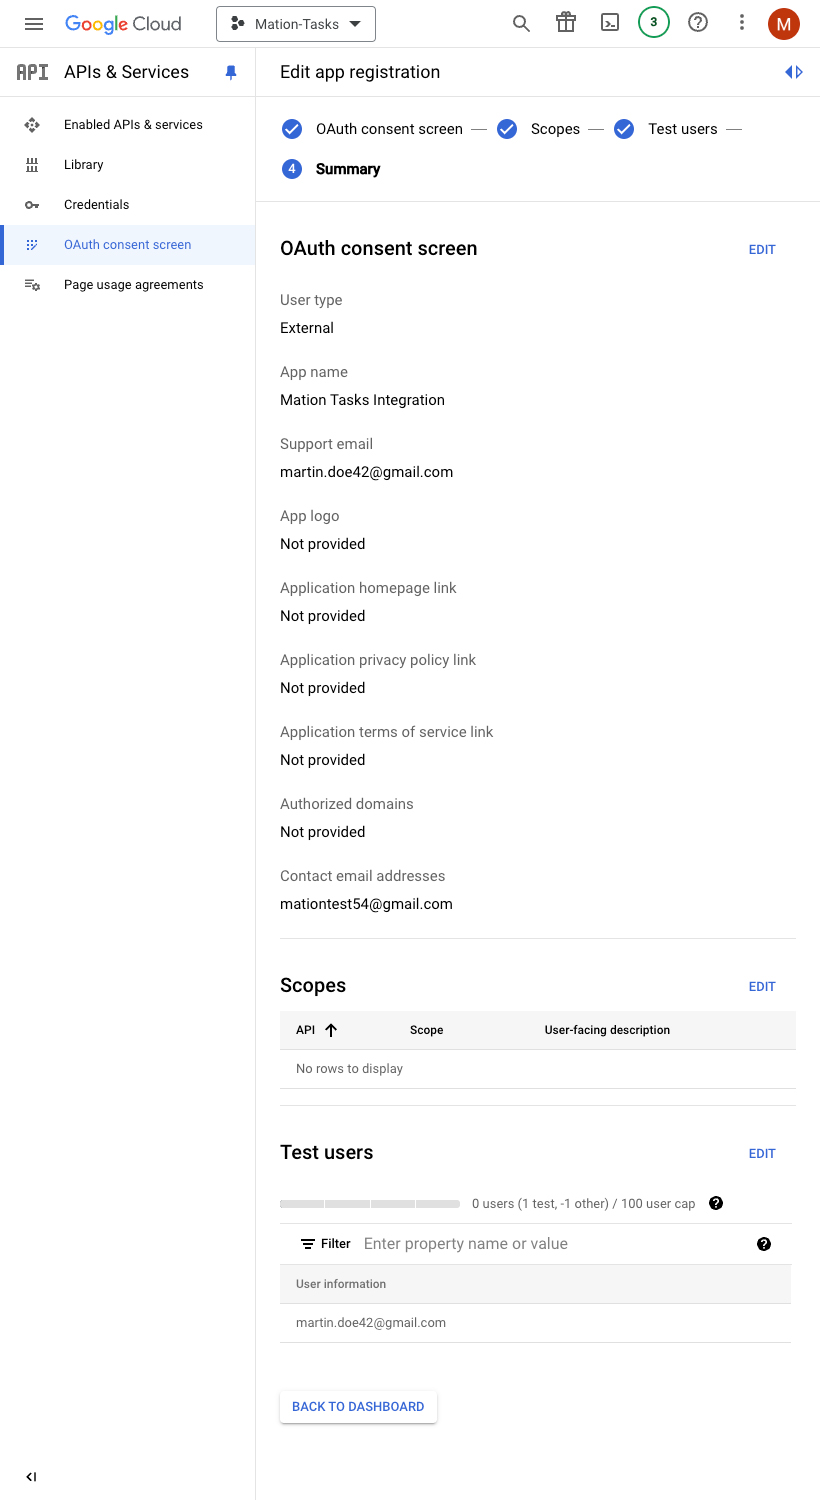
Click the Save and Continue button to complete the configuration of the consent screen.
Go to Credentials.
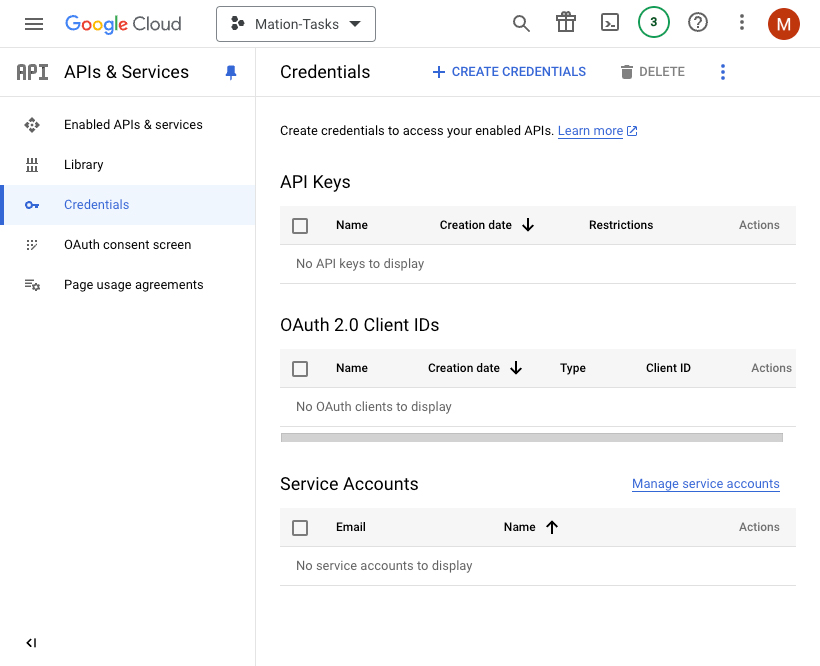
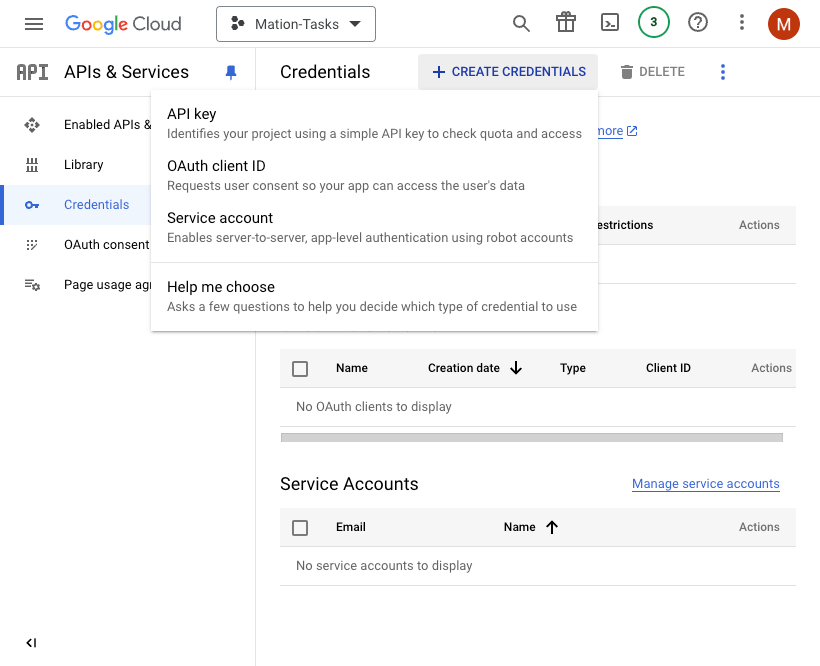
Click the Create Credentials button and select the OAuth client ID option.
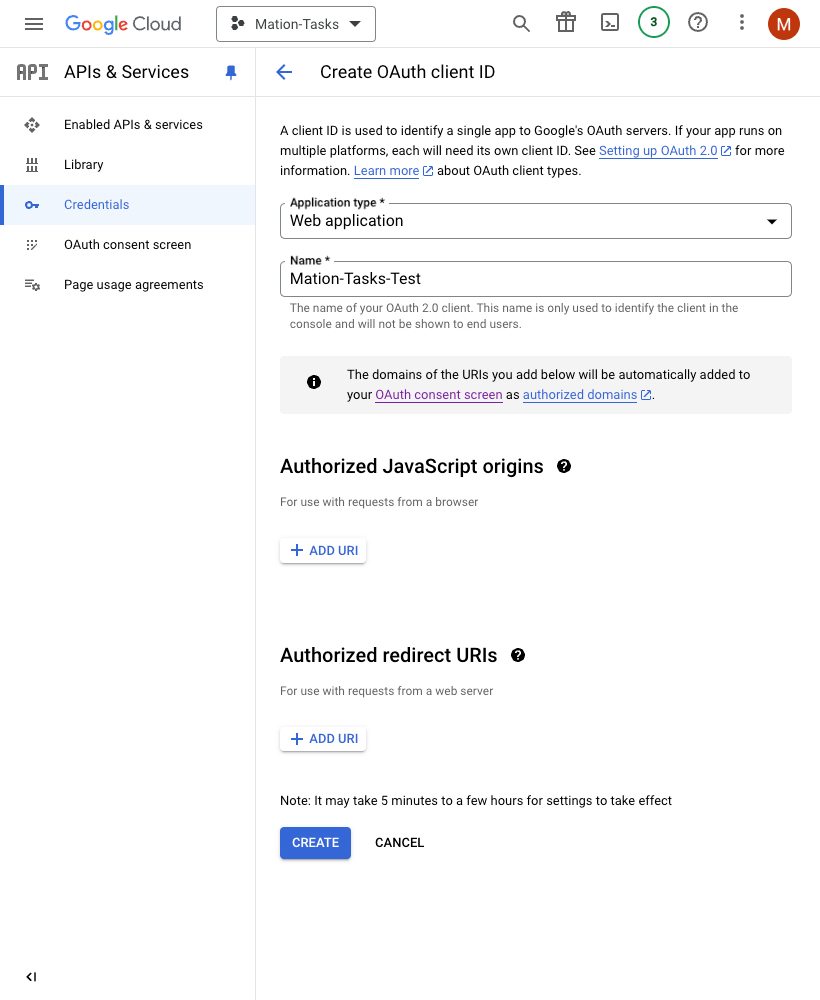
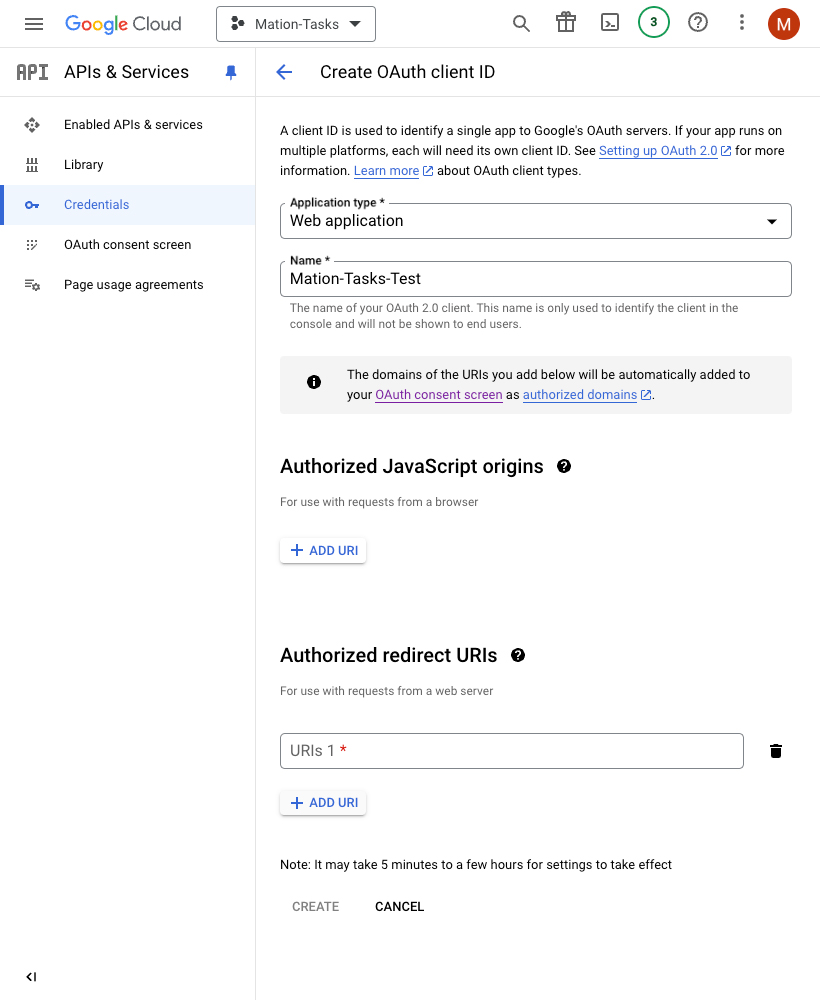
Select Web application as the application type. Fill in the Name field.
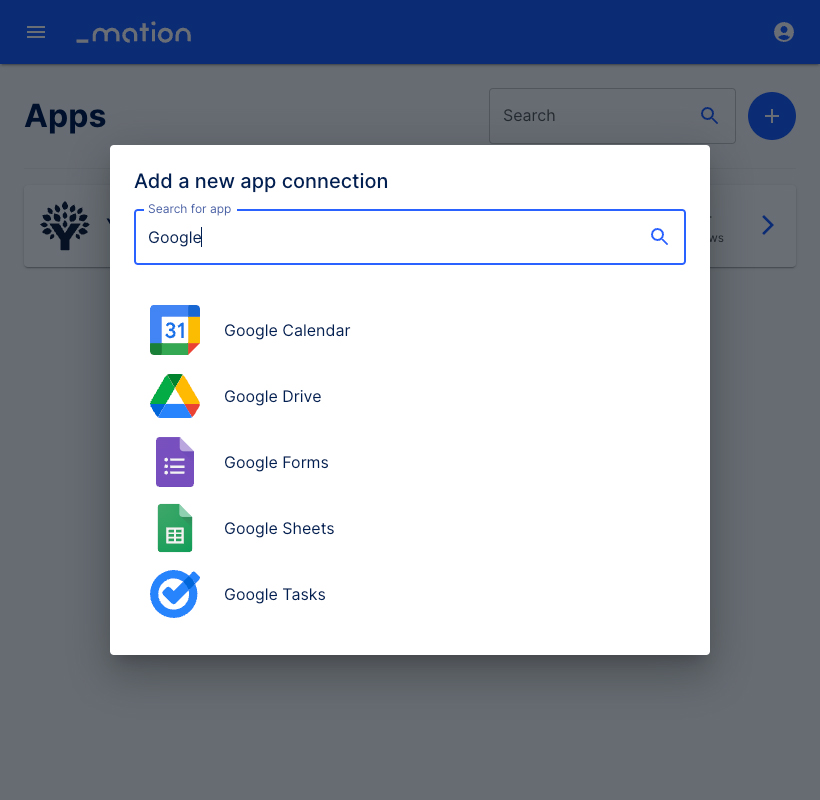
Go to Workflow Automation and navigate to Apps. Click the + Add Connection button. In the popup, select Google Tasks from the list.
Copy the
OAuth Redirect URLvalue.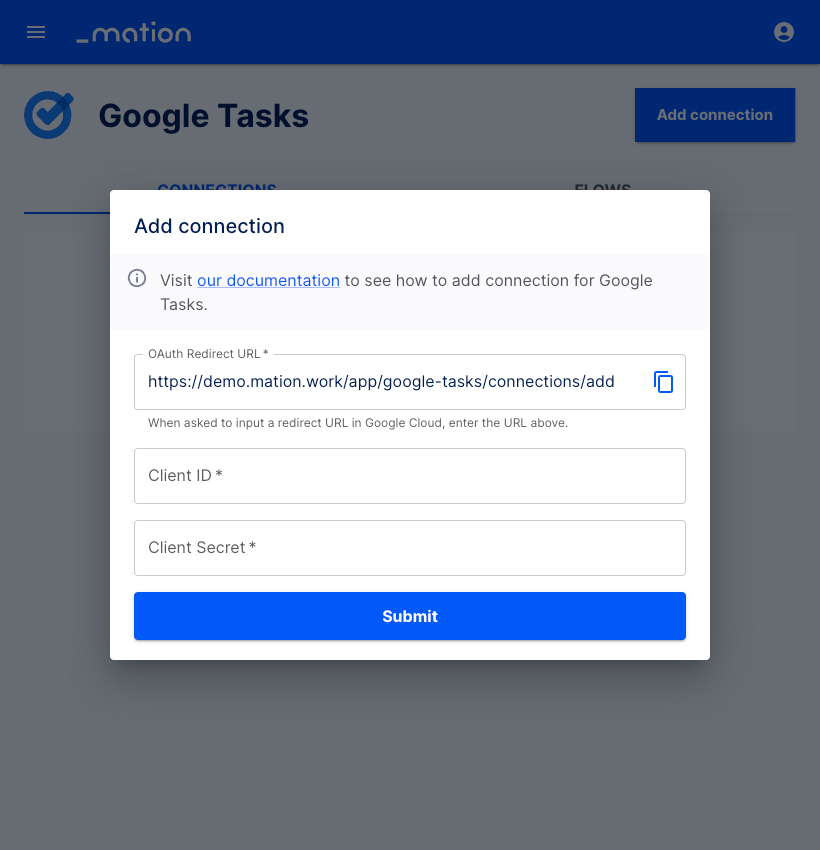
Go back to Google Cloud Console and click the Add URI button in the Authorized redirect URIs section.
Paste the
OAuth Redirect URLvalue into the Authorized redirect URIs field and click the Create button.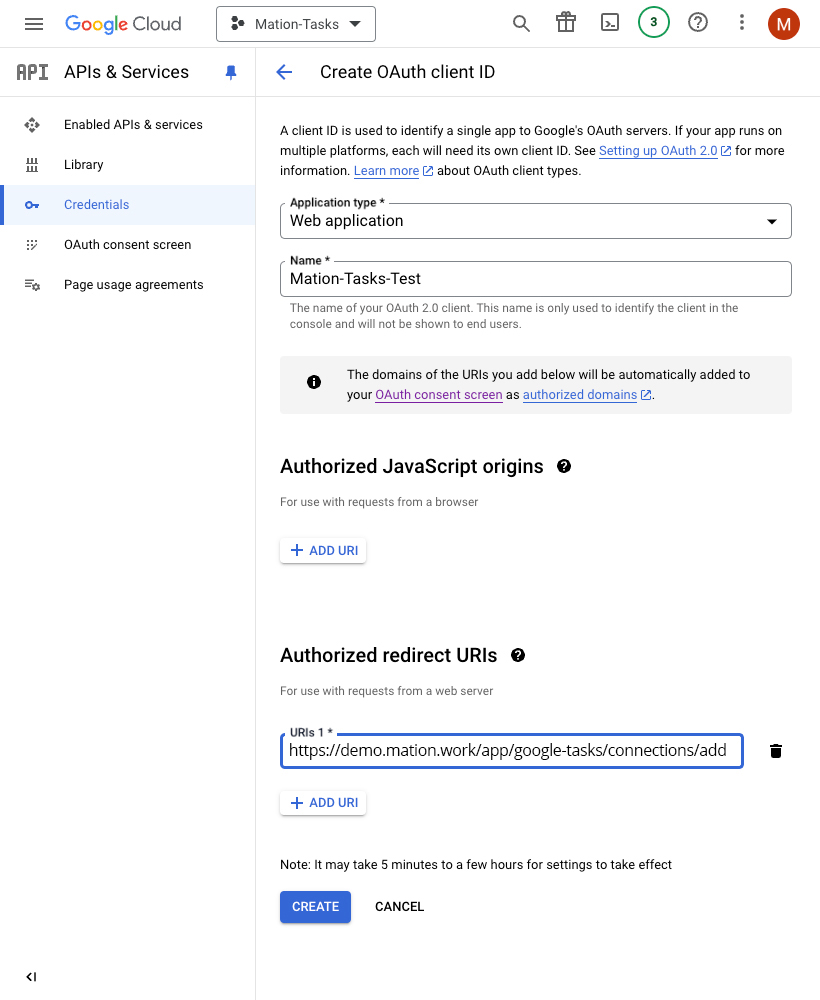
Copy the
Client IDvalue from the following pop-up and paste it into the Client ID field on Workflow Automation.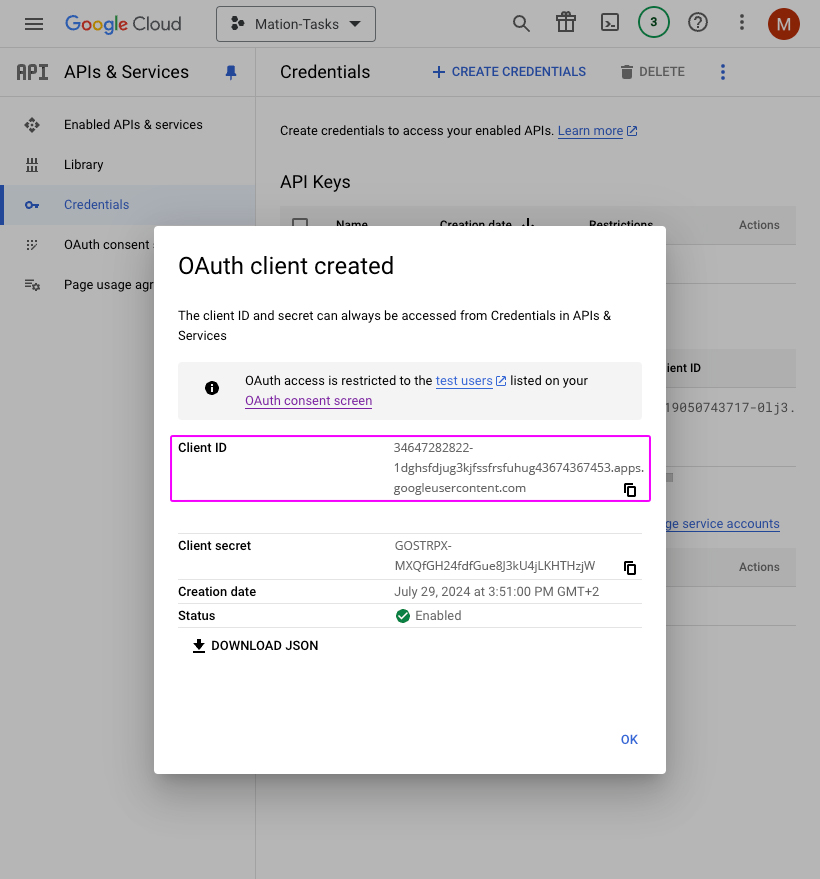
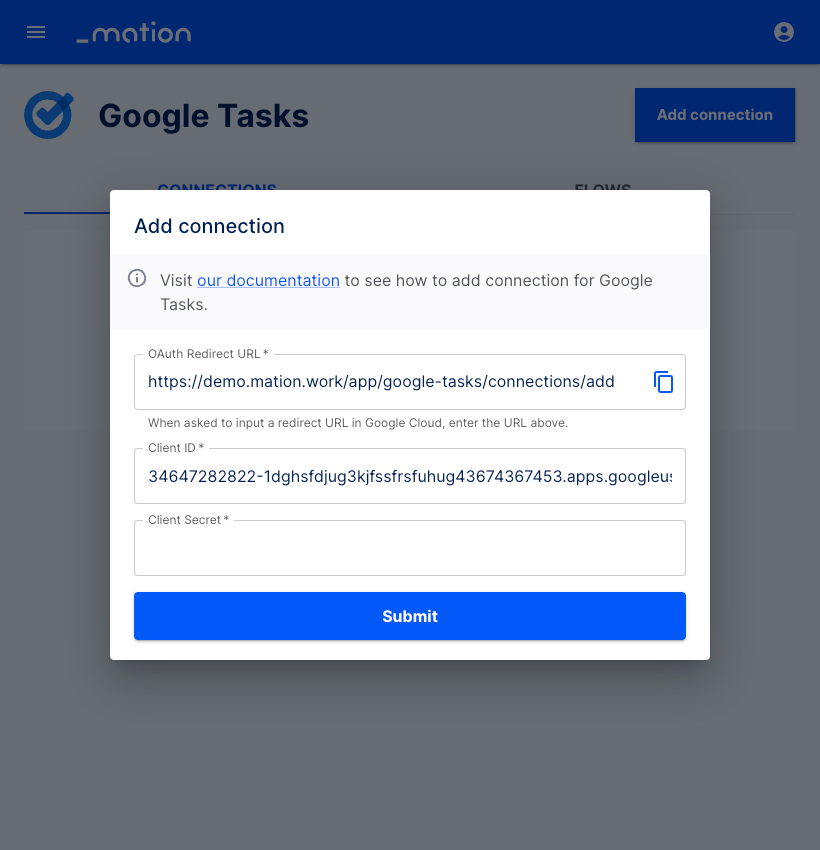
Copy the
Client Secretvalue from the same pop-up on Google and paste it into the Client Secret field on Workflow Automation.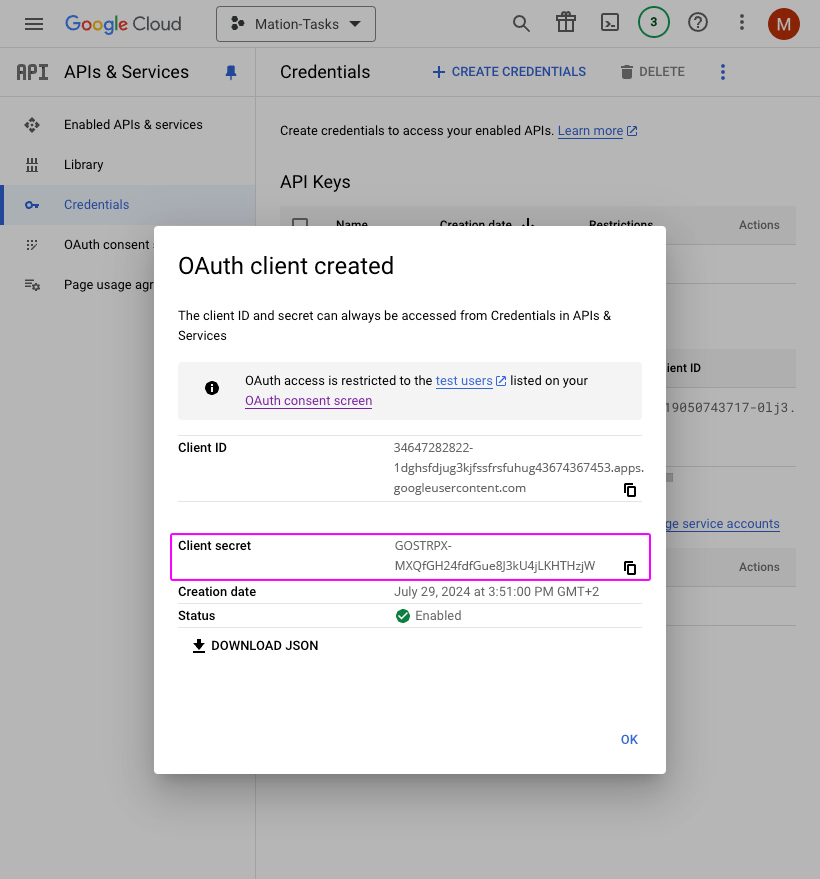

Click the Submit button.
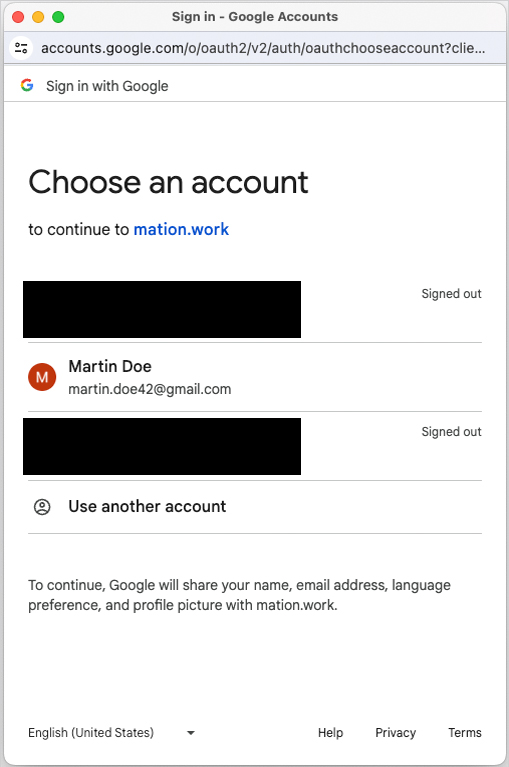
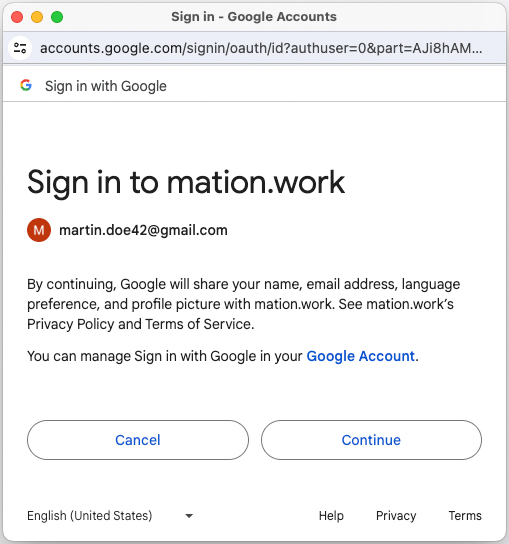
A pop-up window appears. Select your Google account.
Click the Continue button.
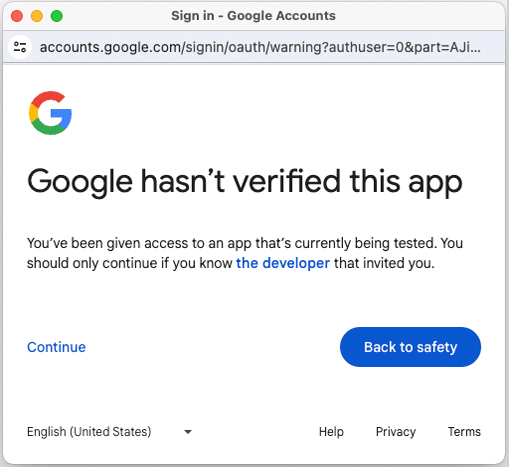
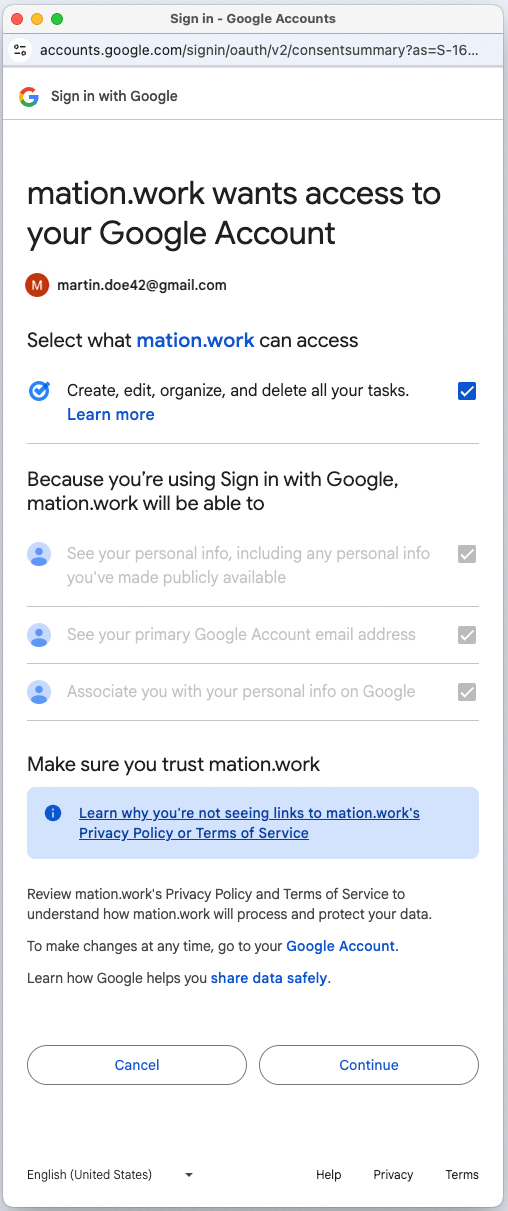
Click the Continue button.
Check the checkbox to enable Workflow Automation to create, edit, organize, and delete all your tasks. Click the Continue button.
Your Google Tasks connection is now established.
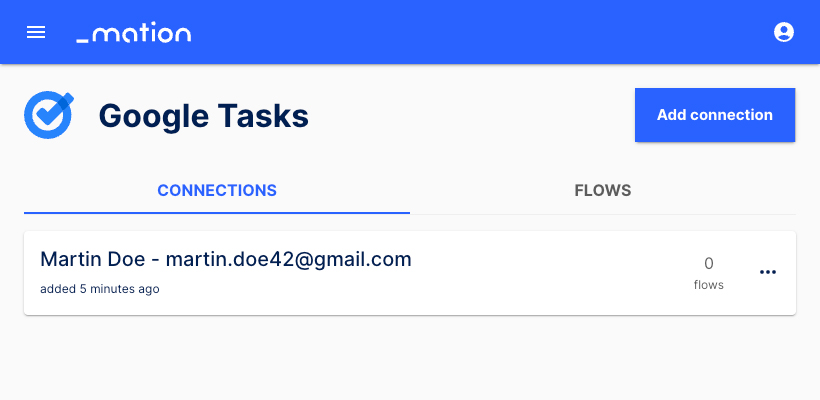
Start using your new Google Tasks connection with Workflow Automation.